***This page contains affiliate links.***
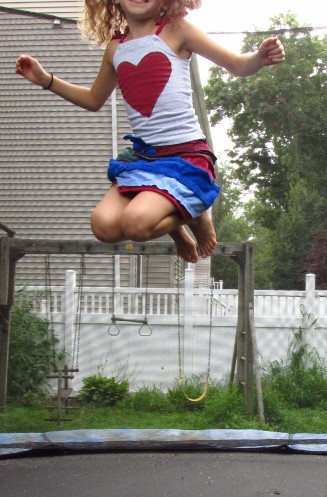
Well, technically it is not a dress. It is a top and skirt. This is a pretty easy sewing project using recycled t-shirts. However you do need a sewing machine and some basic know how. I made this outfit with a 9 year old girl, and she did most of the sewing. It came out really cute, she loved making it and then modeling it.
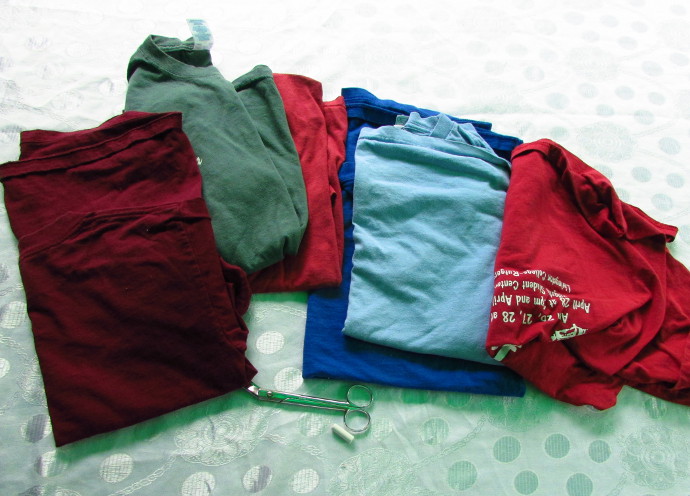
What you will need is a sewing machine, even the most basic one will do great. You’ll also need about 8 t-shirts in various colors. They can be old t-shirts, just no stains or rips in the bottom 10 inches or so. Then you will also need the obvious sewing things, like scissors, chalk and string.
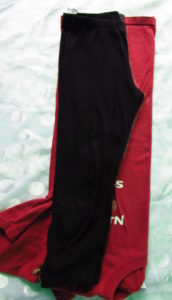
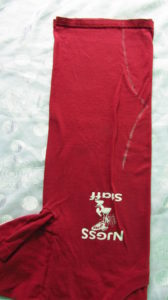
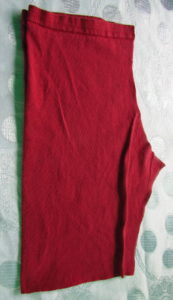
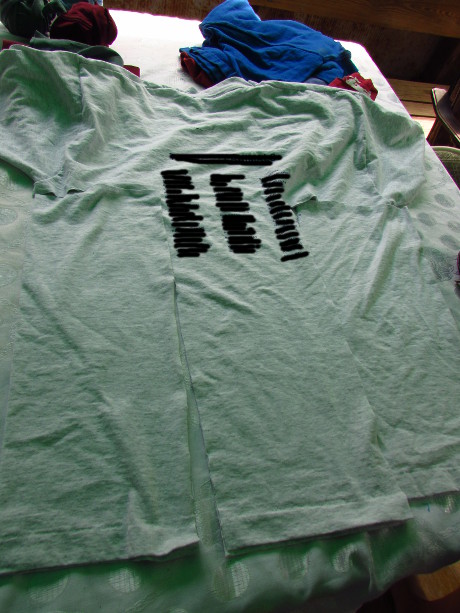
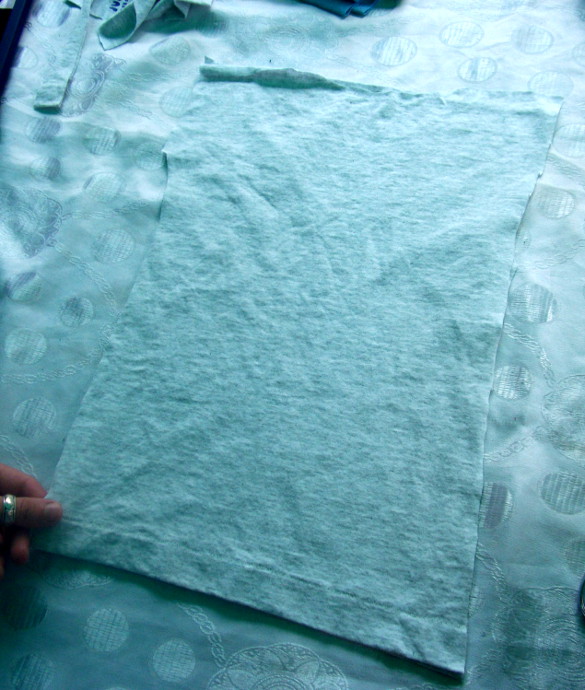
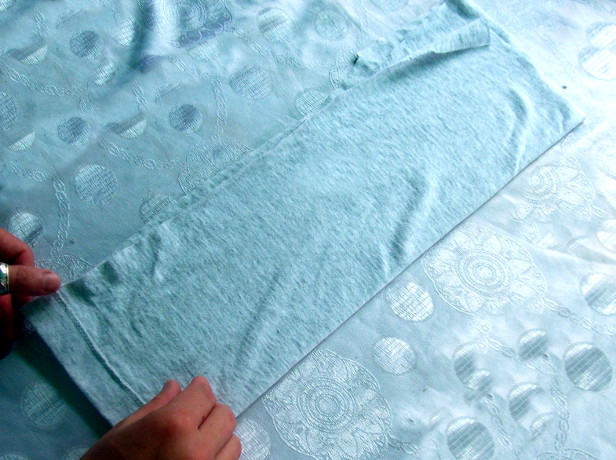
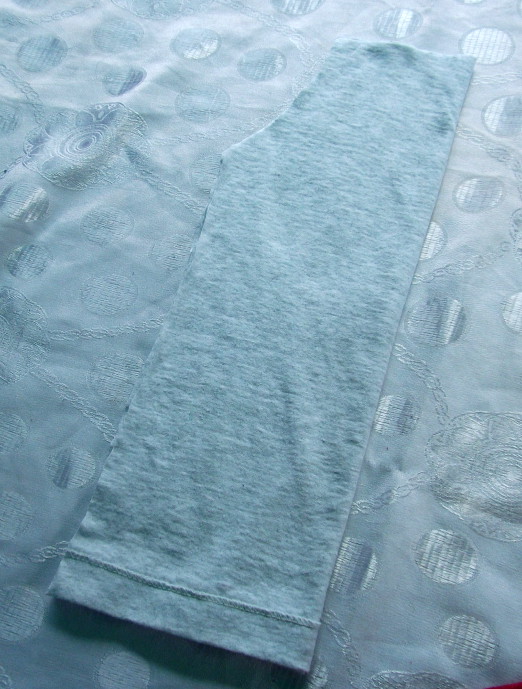
We wanted the skirt to have a pair of shorts underneath for easy jumping and climbing trees, so we started with the shorts. First we found a t-shirt with little writing on it, then we took a pair of favorite leggings and folded them in half (like you see in the picture on top left). Fold the t-shirt in half. Place the leggings on top of the t-shirt with the straight side along the side where the t-shirt sides meet and the belt area of the leggings on top of the bottom of the t-shirt (just look at the pictures above to see what I mean). Trace the shape of the leggings, drawing the chalk line about a third of an inch away from the leggings, it’s the extra space for the seam. Then just cut out the shape, cutting it off where you think the length will be good for the shorts (look at the photo on the lower left).
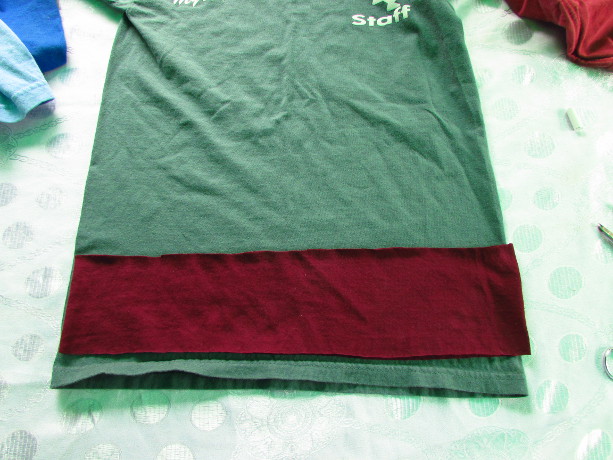
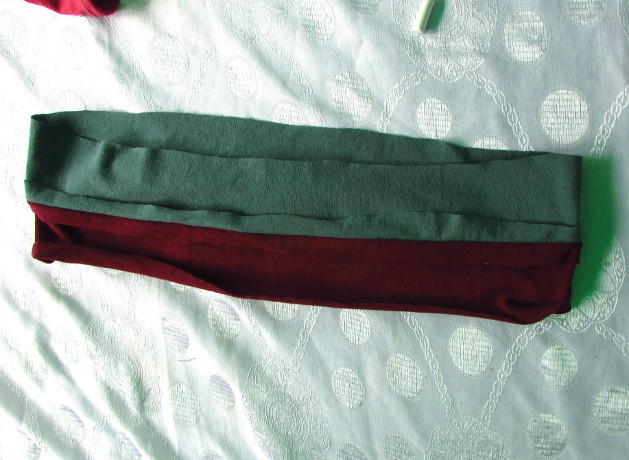
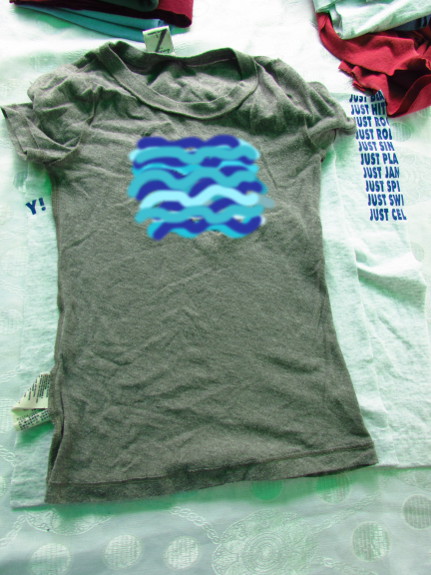
Now it’s time to get the skirt ready. First line pick out a fairly large t-shirt, with enough writing free space, and put it aside, it will be the top portion of the outfit later. Then line up the remaining t-shirts from widest to the most narrow. Cut of strips from the bottom of each t-shirt, about 4 to 5 inches in height, like in the picture above.
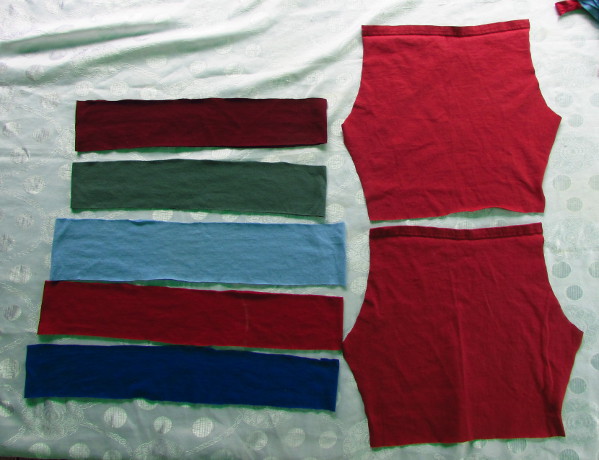
At this point this is what you should have: two pieces for the shorts, and a bunch of pieces for the skirt (in our case it was five) in various colors.
You will still have the extra t-shirt, and you will still need to use one or two of the left over t-shirts for odds and ends when you’re done sewing this together.
Next, it is time to sew the shorts!
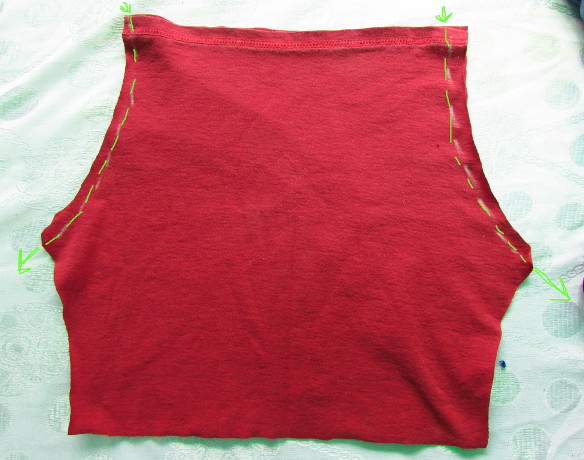
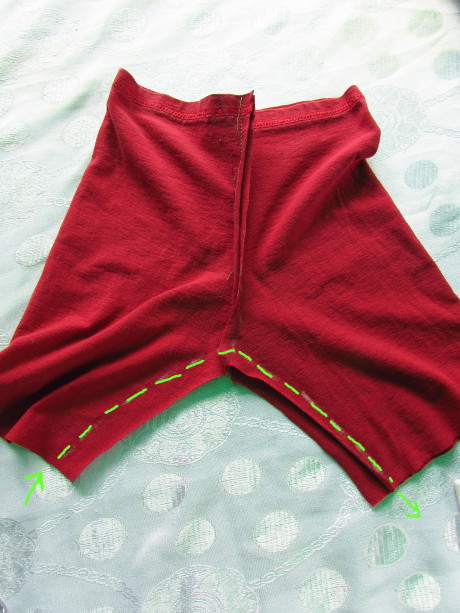
First, put the short pieces one on top of another as shown above. Sew from the waist down to the middle, where I drew the bright green dotted (or what seemed like dotted to me) lines.
Fold the shorts, aligning the two seams you just sewed across from each other. Align the corners of the shorts and sew starting from the bottom of one leg and to the bottom of another. Just look at the picture above and the green dotted line.
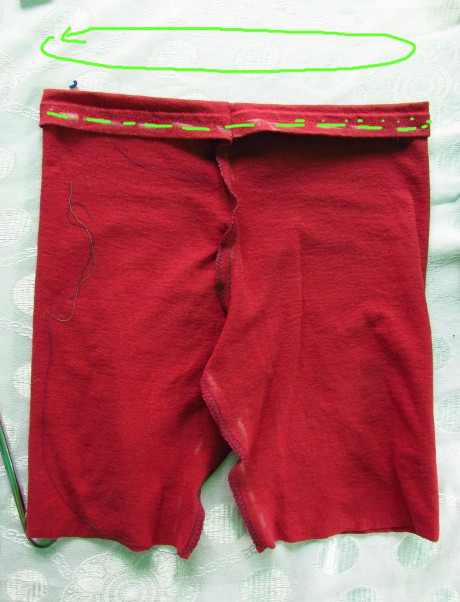
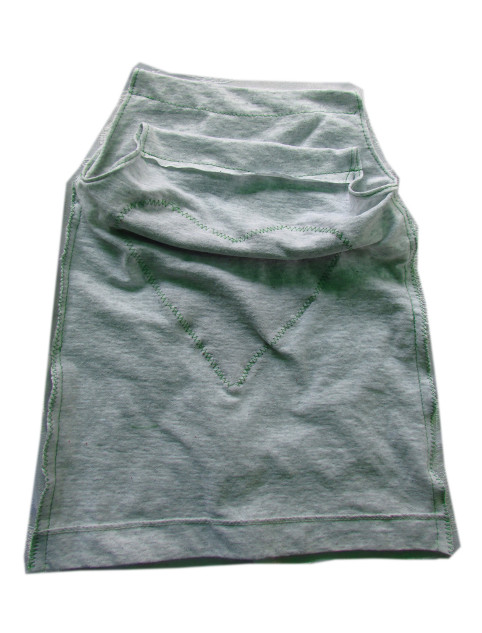
While your shorts are inside out, turn the top out like on the top picture, and sew all around, leaving about 1/3 of an inch to put the elastic band in.
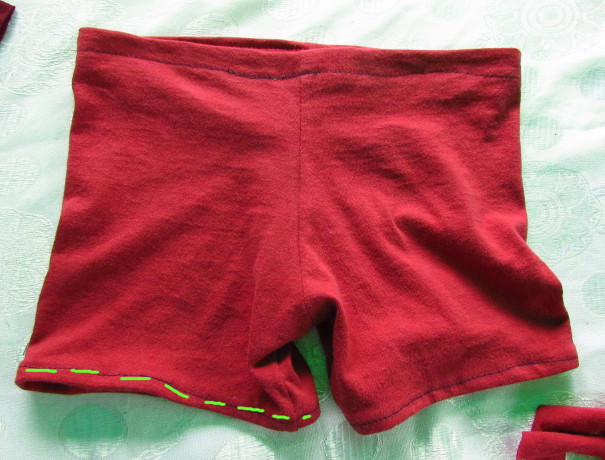
Then turn the bottom of each leg (top right) in as well, and sew it all around to prevent the fabric from running later.
Shorts are now done! Make sure to try them on before going any further and making sure they fit well.
Time to get started on sewing the skirt!
We decided to attach each circular t-shirt strip to each other with the seam outward, to make it more interesting.
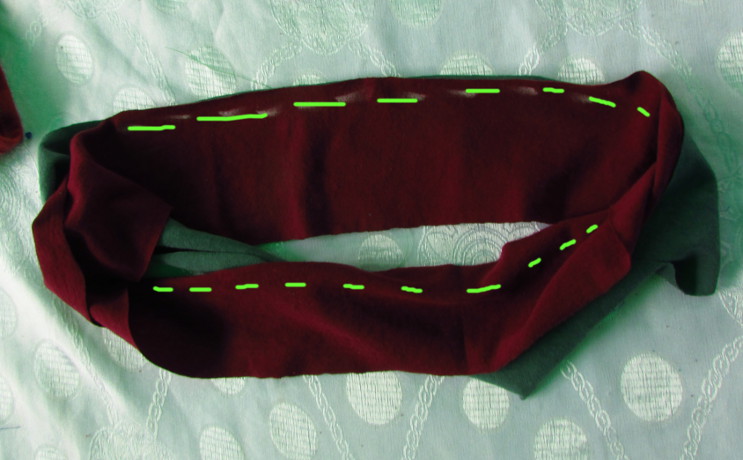
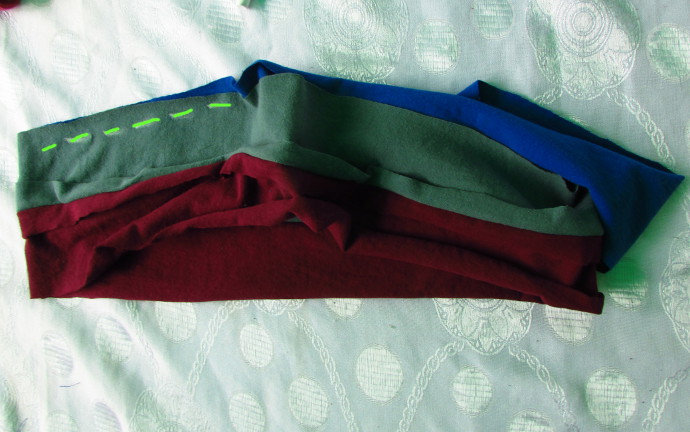
Start by taking two of the most narrow t-shirt pieces and sewing them together around the circle like in the picture on the top.
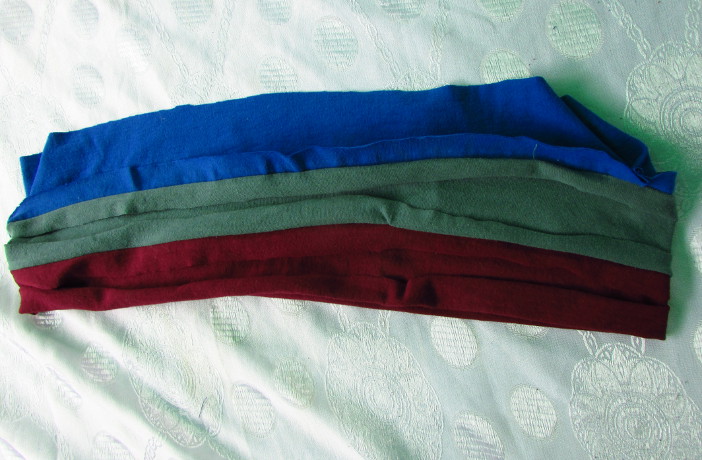
Then once you finish, they should look like the picture on the top right. Don’t make the seam too far from the edge, maybe a half an inch or so, and it makes a cute little ridge.
Keep going with the other t-shirt strips, and attach them to each other in the same way, from most narrow to the widest.
When all the pieces are attached together, it is time to attach the skirt to the shorts. What makes it nice and easy is the fact that we did the seams on the outside, so now all that needs to be done is to put the skirt on the outside of the shorts, just like it would be worn, and sew it on. You will be attaching the narrower end of the skirt to the top of the shorts, right under the belt line. If the skirt proves to be wider then the shorts, then just fold it as you go, making small pleats.
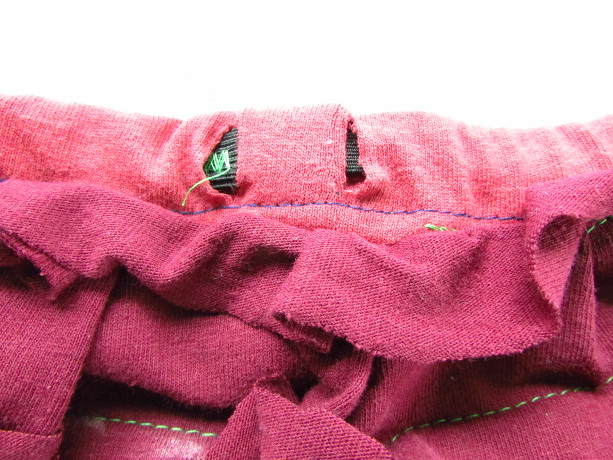
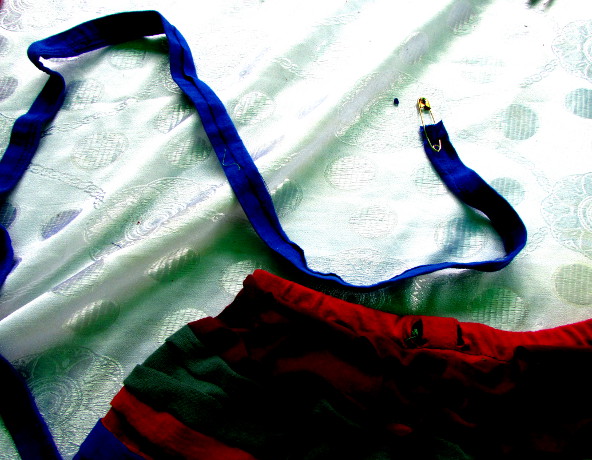
After you attach the skirt, put in the elastic into the shorts. Just measure the elastic around the person that will be wearing the outfit, make sure it’s not too tight. Attach it to a pin, cut two small holes in the top of the shorts, where you made the tube for the elastic, and push the elastic through. After it is through, pull on it, put the two ends over one another and sew them together. Look above for a photo.
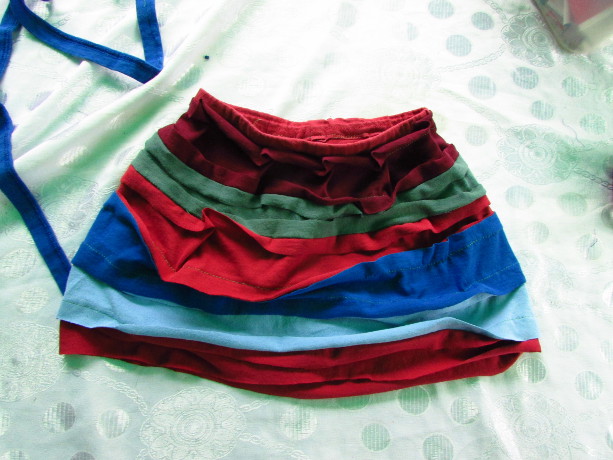
After you’re done, your skirt should look something like this.
From the remaining t-shirts, pick a color and cut a length to make a ribbon. Put the ribbon on a pin and push it through along with the elastic to make a tie. This way the skirt waist can be tightened even more to make it stay on better if necessary.
Skirt is now done!
Time to sew the top!
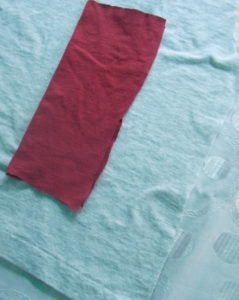
Take the t-shirt you put aside, and cut out two large rectangles with no writing. In our case there was writing in the front and back centers, but the t-shirt didn’t have seams on the sides, so we just cut the two sides, making two large rectangles.
Take a favorite t-shirt that you know fits well and comfy. Lay the two rectangles open on top of one another (they are the front and back of the top), and then lay the favorite s-shirt on top of them.
Trace the sides of your favorite t-shirt, drawing the chalk line about 1/2 inch away for the seam. You have to make sure that it won’t be too tight. If it’s too loose, you can always fix it, but if it’s too tight you will have to start over again. Then cut away the fabric along the chalk line you just traced. We also made sure to keep the bottom of the original t-shirt we’re recycling as a bottom of the new top, as it is already trimmed and will save some work. It will leave two rectangles but now they will be the width you will need for the person to wear.
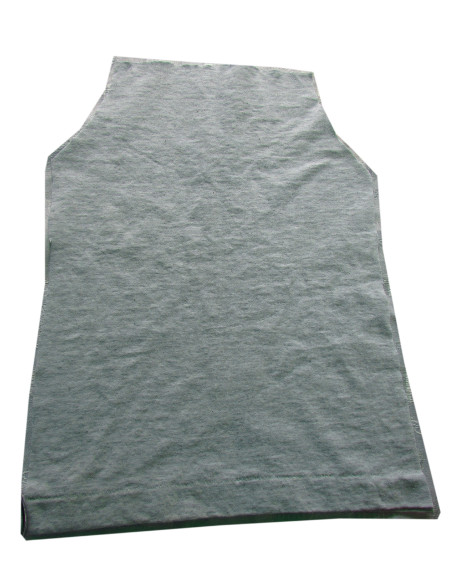
Fold them together in half, bringing the cut edges together, like in the photo above.
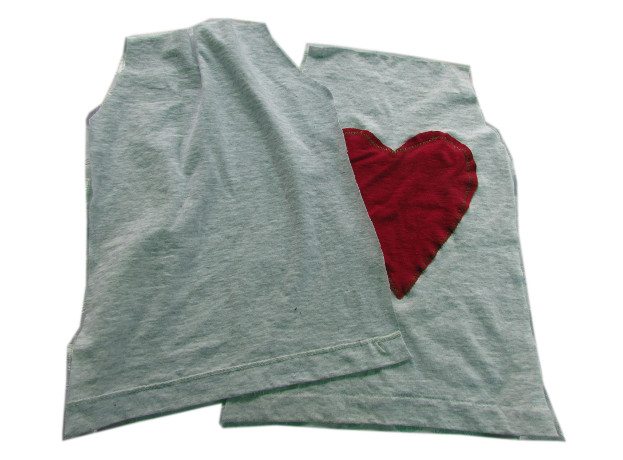
Cut out the top corners from the edges, like in the photo below. This is where the arms will be, and you’re making room for them.
When you open it up, it should look like the photo above.
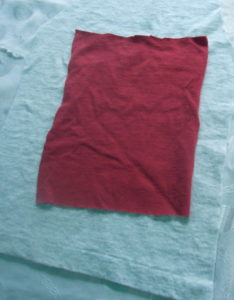
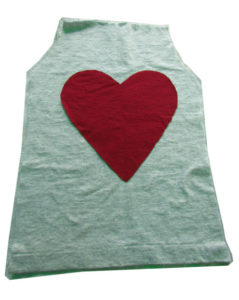
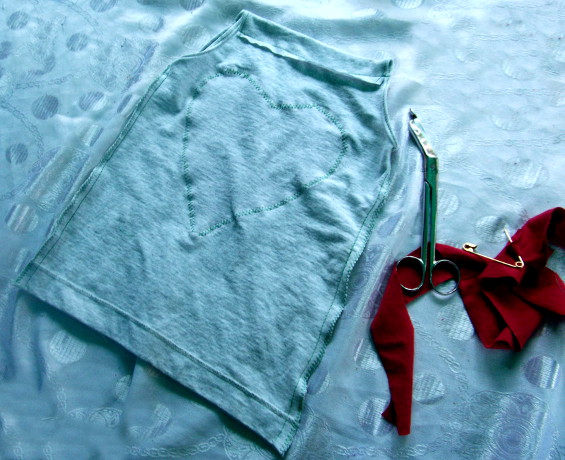
At this point it is time to decorate the top. We took a smaller rectangle of red fabric, folded it in two, and cut out a heart along the fold.
Then using the machine, stitched on the heard to one of the pieces. The reason we did that now, is that it’s easier to get it right when there is just one piece of fabric to deal with as opposed to a finished top.
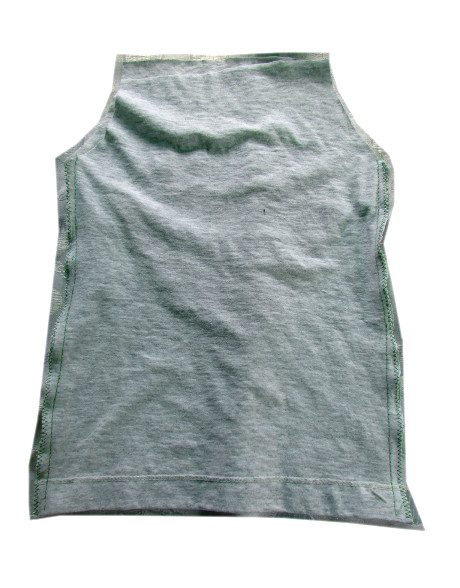
Put the two pieces of the t-shirt on top of one another, with the heart facing inward. It is time to sew the sides to one another, and in this case, the seams are going on the inside, not out.
Sew the seams well. We did it once with zigzag along the edge, and once straight a few mm away from the edge.
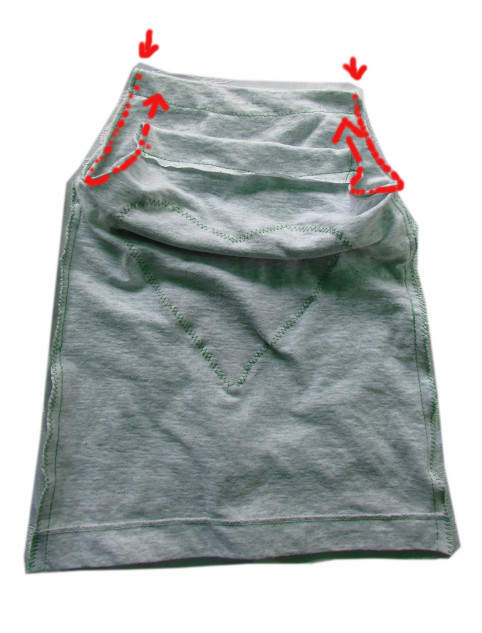
Fold a small fold and sew up the edge of where the armpits are first, to prevent the fabric from running, seams on the inside.
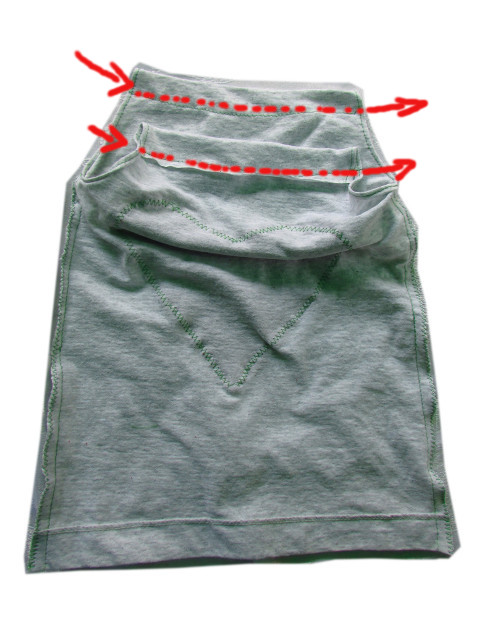
Fold a wider fold, almost an inch down, and sew up across, making a tube shape to put the ties in later.
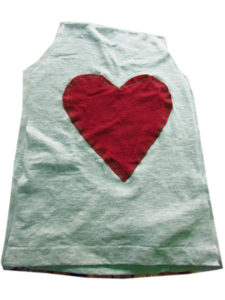
This is what it should look like at this point. Make sure that on the shirt all the seams are facing the inside!
From the remaining t-shirts, pick a color and cut two strips long enough to go through the front for one and the back for the other and to tie on top of the shoulders. Use a pin to put the strips through.
Try on the top, and tie the strips above the shoulders. The top is all done now!
Look below for the finished thing. Thank you to Ms. Rachel for modeling, and helping with sewing, and taking pictures of this project.
