Cold weather always makes me want to sew or knit. That is why I had to make a few aprons. Here is a tutorial for how to sew an apron.
To make an apron you will need about 3 by 5 feet piece of fabric, plus about 1 by 3 for the ties, and another bit for the pocket. I made these for an adult, and these measures are but an approximation. If you are making it for a kid, then of course, you will need less fabric.
The first apron is an old time favorite of mine. It is super simple, but so efficient! The second apron was a fun experiment that I made up out of leftovers as I went along.
***This page contains affiliate links.***
You will need a sewing machine to do this. My sewing machine is quite old, and soon will need to be replaced. When I am ready to replace it, this machine right here is my plan of action.
For aprons, I like to use heavier canvas fabric because I expect the apron to protect my clothing from all sorts of stains, whether I am cooking or painting. For these two I used left over upholstery fabric, and regular cotton for the ties and pockets.
The Practical Apron
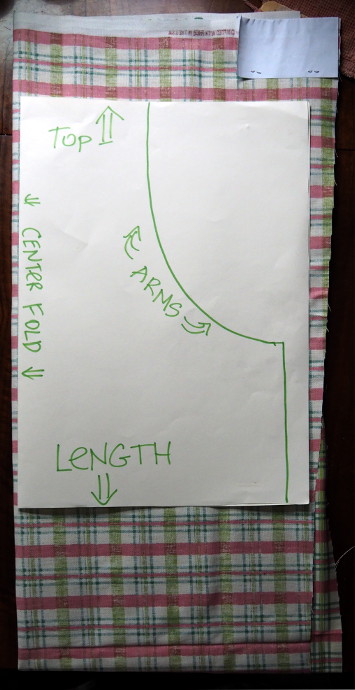
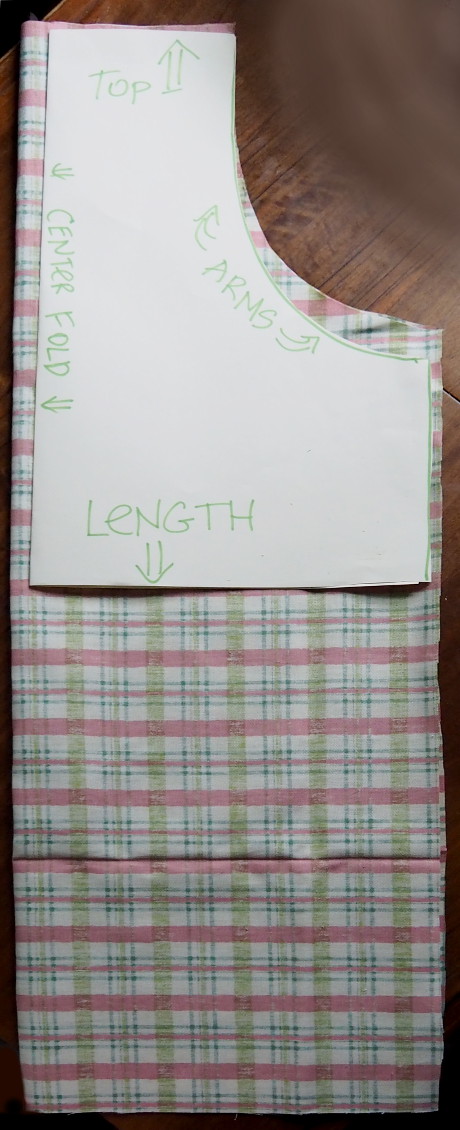
To start, I fold the fabric in half, and on a piece of paper draw a part of the pattern. Basically a rectangle with a quarter of a circle cut out where the arms are. The reason I say half is because my paper isn’t big enough for a full length pattern, so I just left the length off, and cut it to size later.
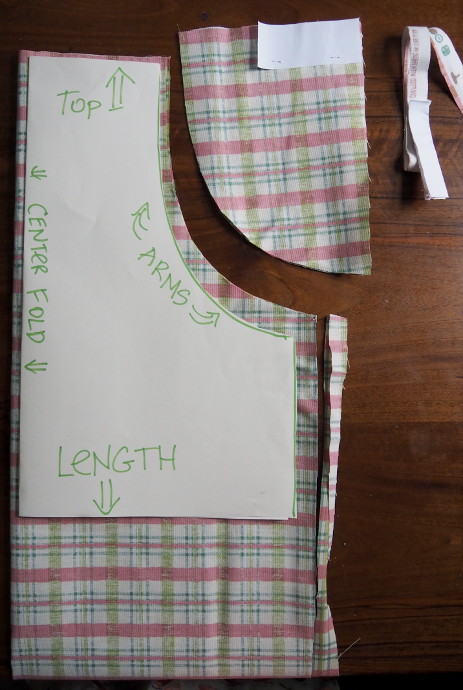
Cut out the pattern, leaving about an inch of fabric all around for folding over.
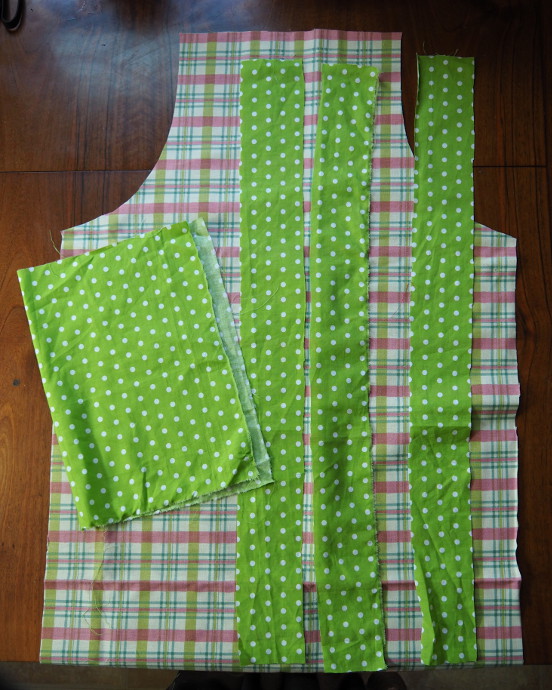
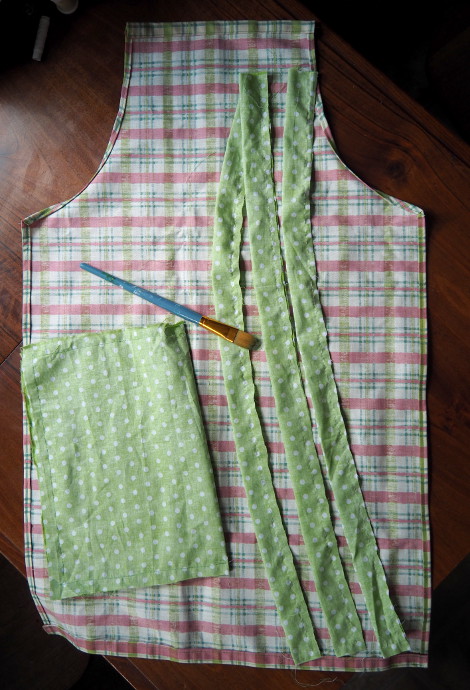
Here is the apron all cut out, with the full length. I shortened the length a bit right after.
Cut out the ties. They should be as long as you need for your neck. You can measure with a seamstress measuring tape. For the waist ties, I used the same length. Each of them are about 2.5 inches wide, to make it easier to turn them inside out when done. The pocket is a rectangle large enough to fold into two.
Fold over the edges twice, and sew all along the apron.
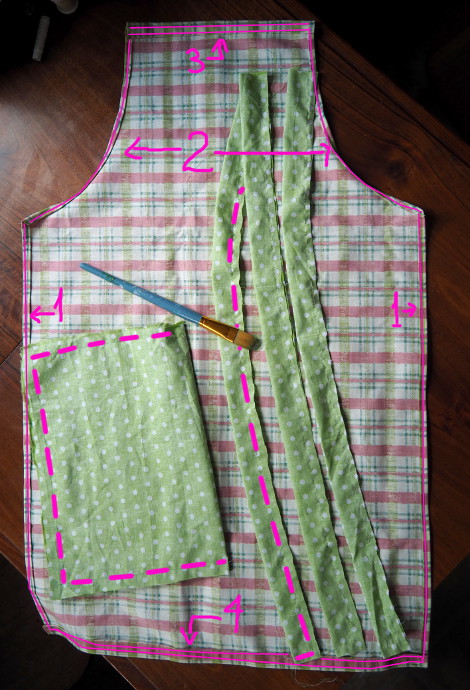
First I did the sides, then the arms, and finally, the top and the bottom. Followed by folding each tie with fabric front facing the inside, and sewing it on two sides. As well folding the pocket and sewing the edges (leave a little bit open in the corner to turn it inside out).
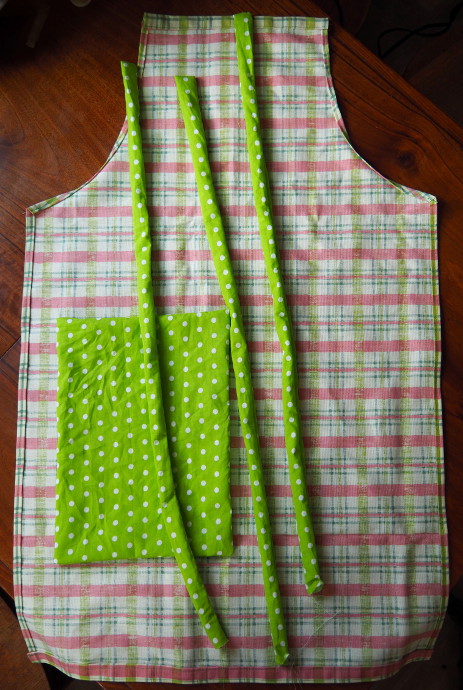
Here it is without the markings.
Using the back of a paint brush, I turn everything right side out.
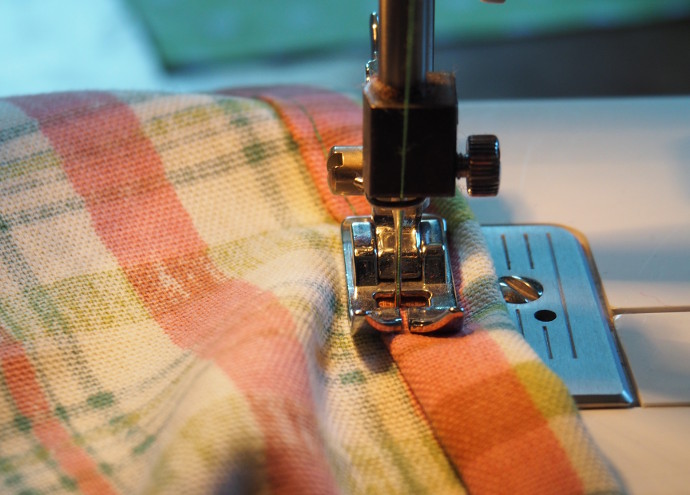
Now sew along the edges with a straight stitch just one time.
Attach the neck tie.
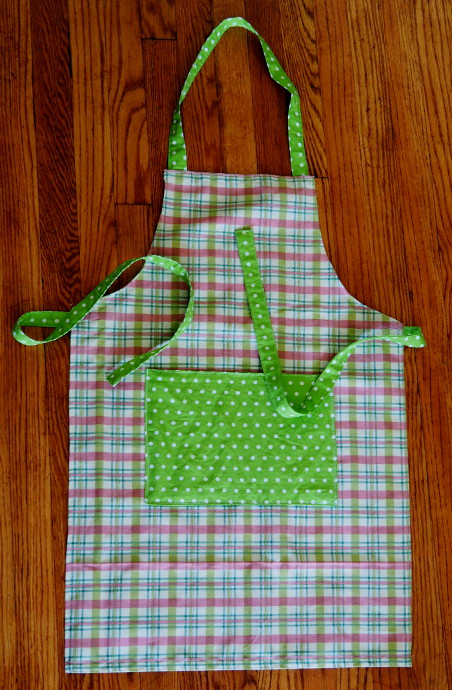
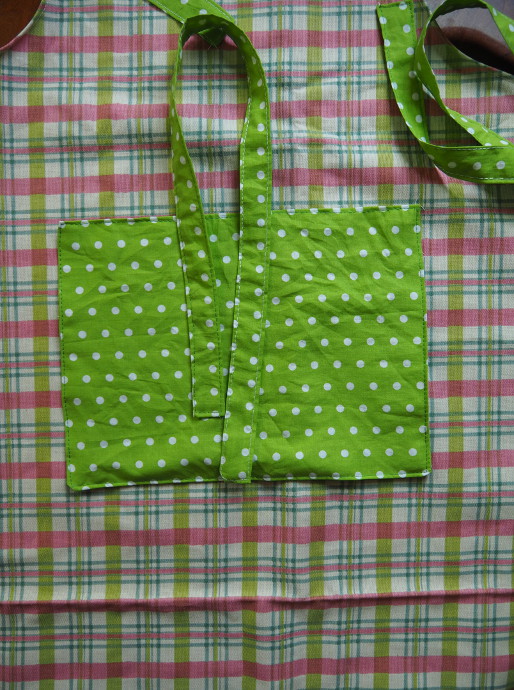
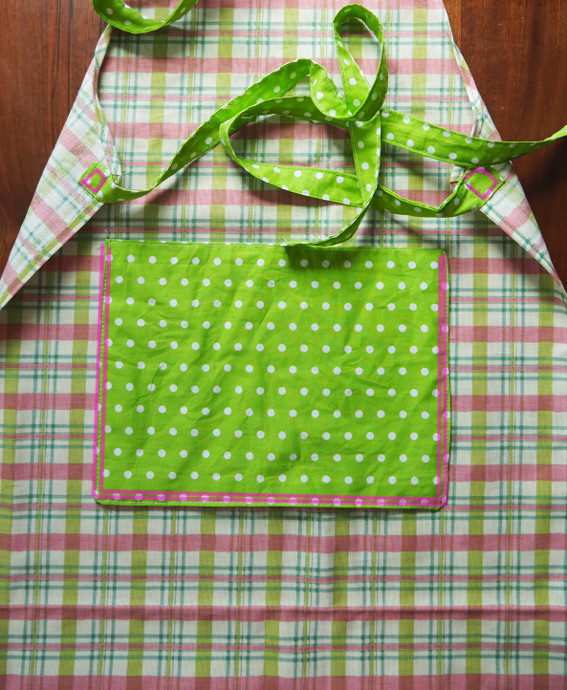
Attach the side ties, and the pocket.
It is now ready.
The Fun Apron
The fun apron is made out of the leftover fabric from the practical apron. Yes, I did name my aprons.
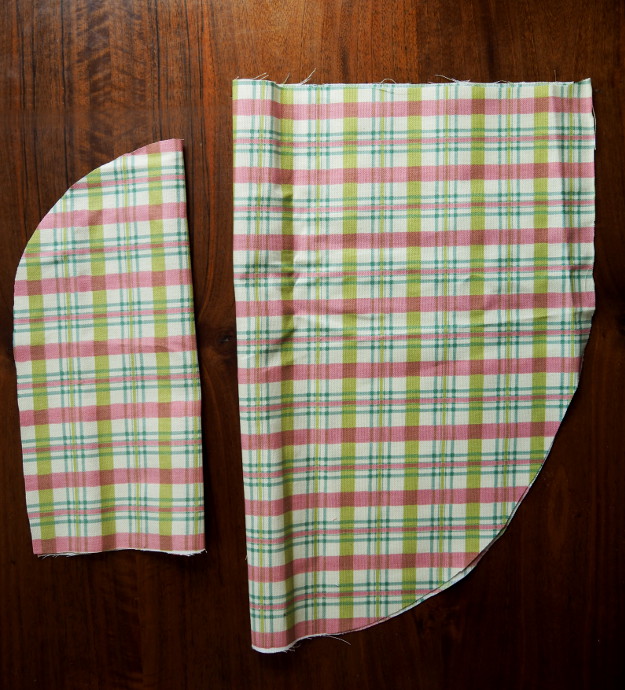
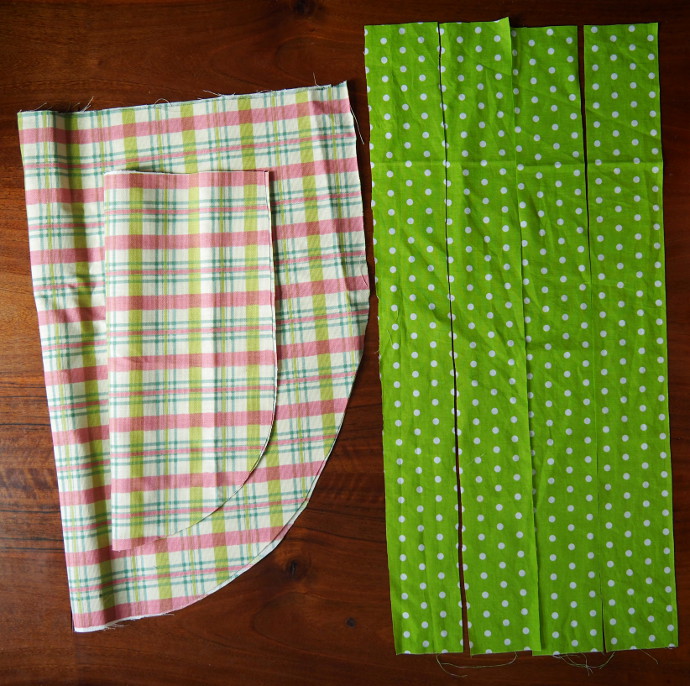
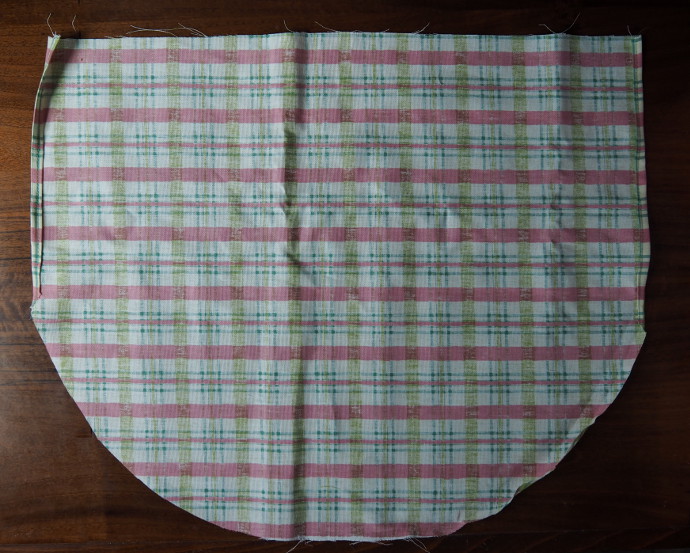
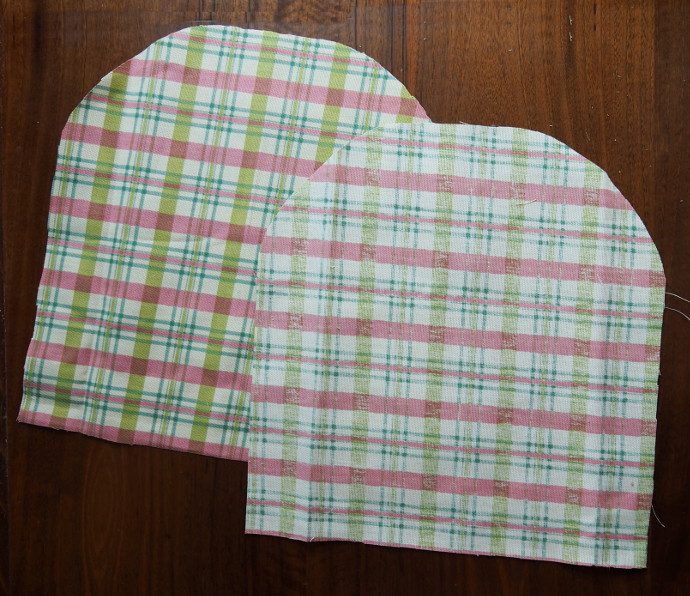
Cut out a large semicircle (by folding the fabric into two), and two smaller semicircles.
Out of leftover green cotton, I cut out four strips. Two for neck, and two for waist.
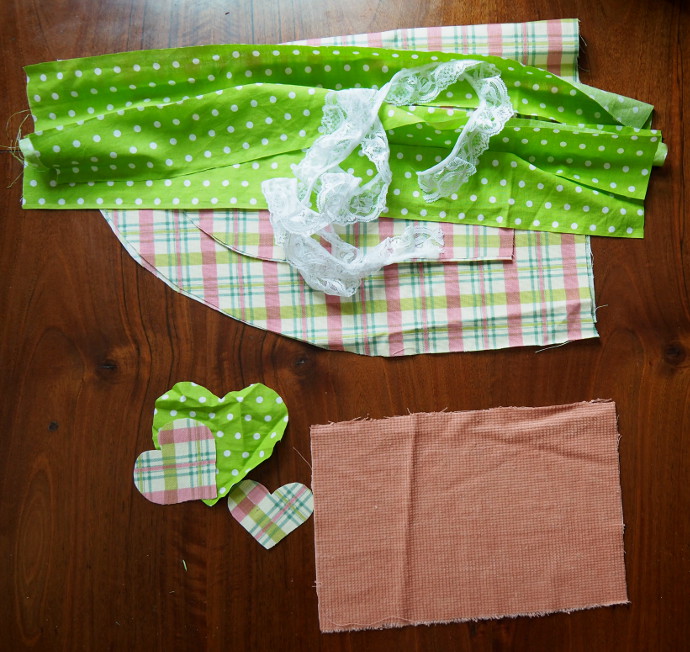
I didn’t have enough fabric left for a pocket, so I found a piece of thick matching pink fabric. Also, I cut out a few hearts to add to the front of the pocket.
Sewing in the edges of the semicircle are always a pain. First a did the two somewhat straight sides, and then I did the curved edge.
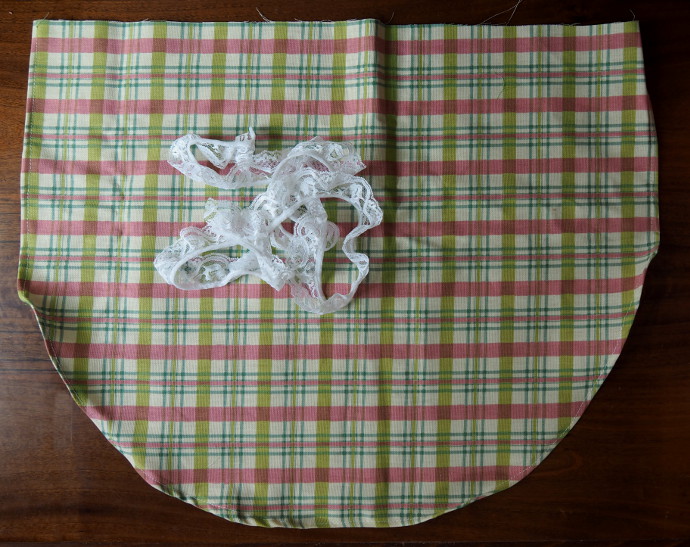
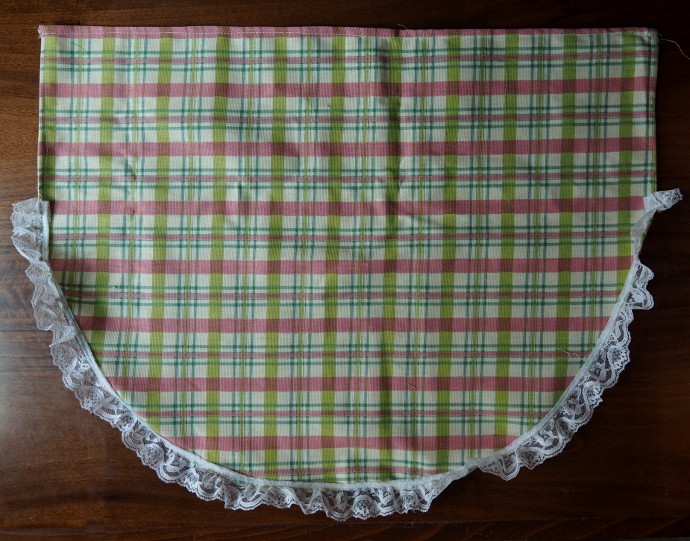
I decided to stick some lace on. Mostly, because I didn’t like how sloppy my curved edge came out, and I was too lazy to fix it. Next time, I will just take two shapes, and sew them together with fabric front facing in. Turn right side out, and stitch the edge (exactly what I will do to the top of this apron next).
I added the lace and folded the top edge over. It is a good time to add the waist ties, just like in the practical apron.
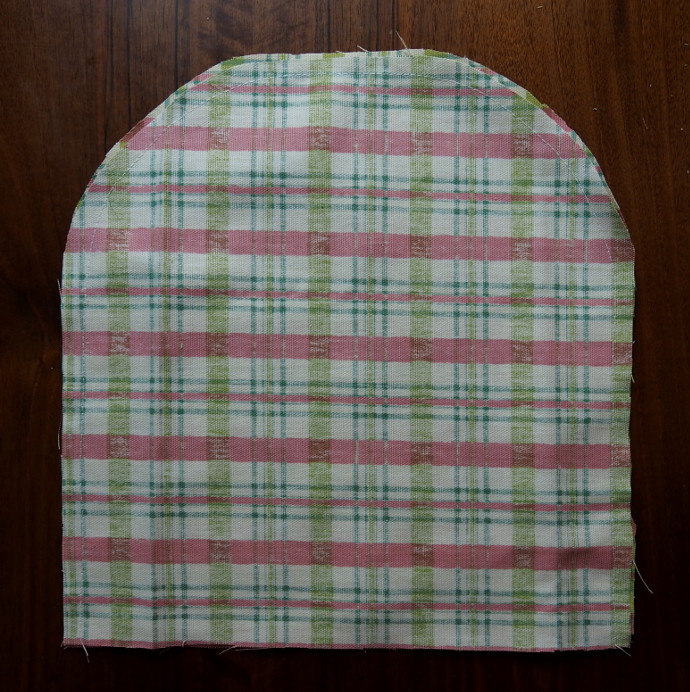
For the top, face the two shapes with front of the fabric in.
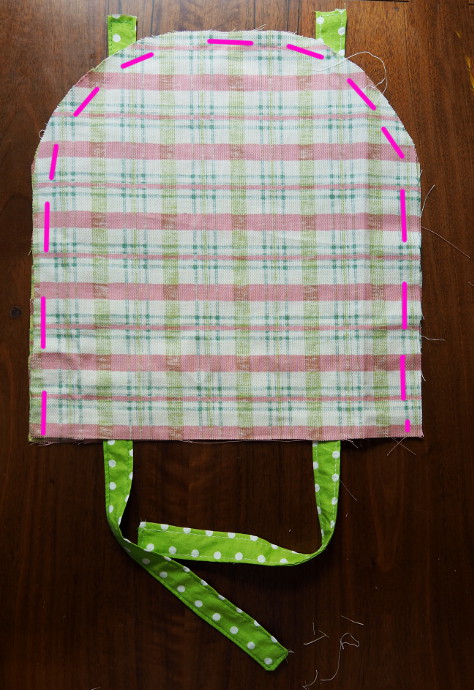
Like this. Also, get all the ties ready, exactly the same way was the practical apron ties.
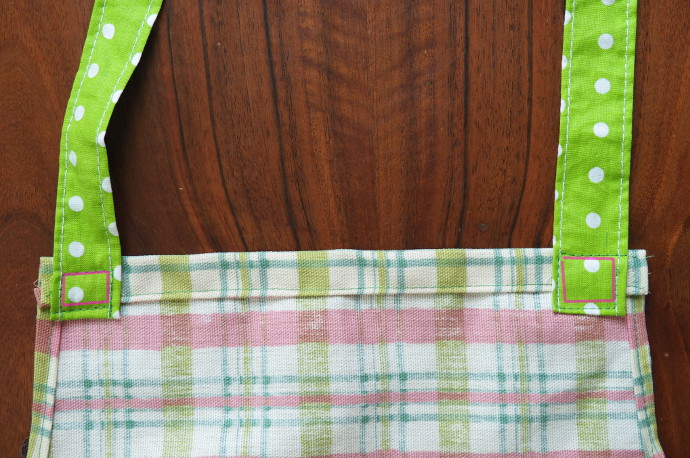
Insert the ties in like you see in the photo, prior to sewing the edges of the top together. Then sew the edges together along the pink line.
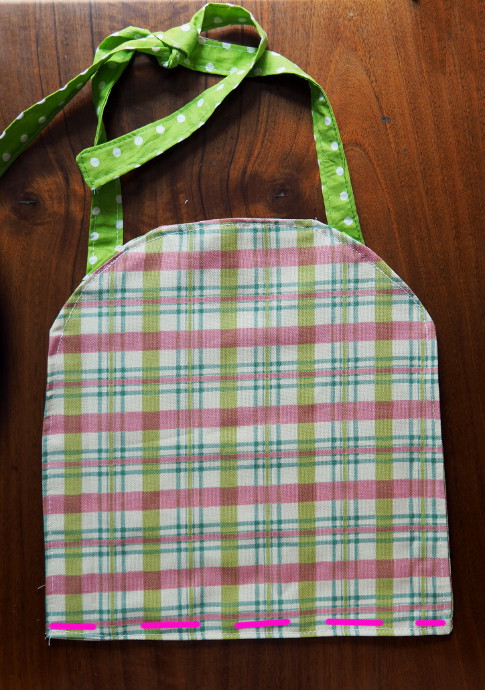
Turn inside out. The bottom now will be all frayed. Turn it inwards, and sew through. Then do the same around the entire top piece.
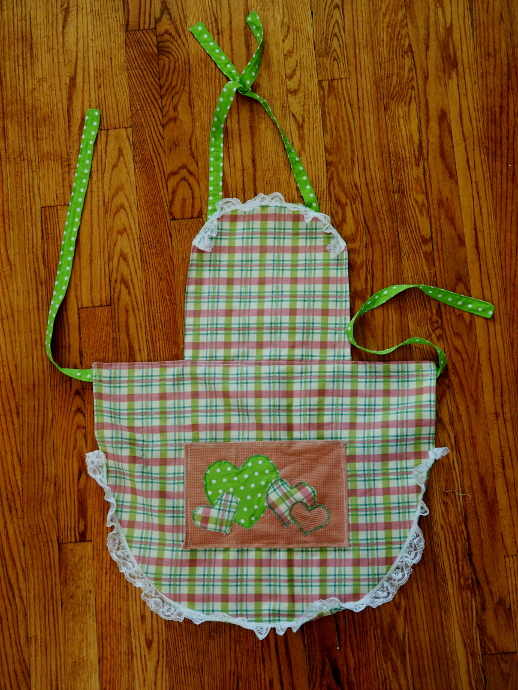
Attach the hearts to the pocket first, just using a zigzag stitch several times around. Then fold over the edges of the pocket just once, and stitch them in. Position the pocket in the center, and sew it on the two sides and bottom. To attach the top to the bottom, I positioned the bottom flat underneath the top, pinned them together, and sewed down in a straight line.
All done!
There are a hundred and one ways to make an apron, and this is just two variations.
