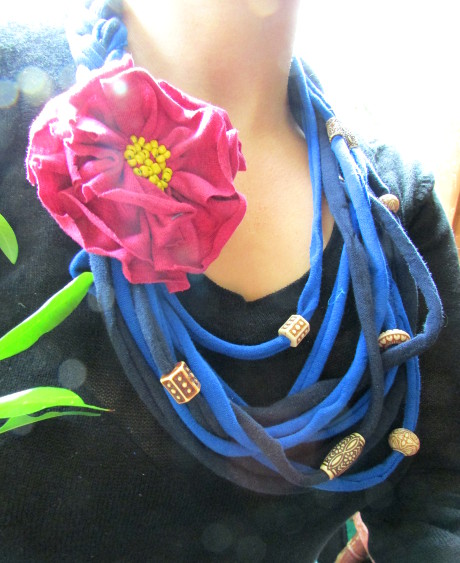
Everyone has old t-shirts at home. I love to recycle our t-shirts into lots of neat things. Below are instructions showing to recycle a few old t-shirts into a beautiful necklace.
I made two necklaces for this purpose. I took a while trying to figure out how to make a flower that I would like. Once I did that, it was easy.
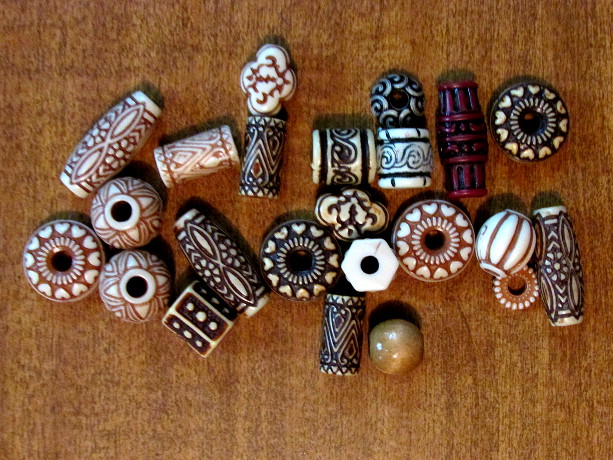
What you will need for this project are: an old t-shirt for the necklace strands (you can use two or more t-shirts for color), a t-shirt for the flower, scissors, string and needle, some large seed beads for the flower center, and beads with a wide opening for the necklace strands.
A quick note: the t-shirt for the necklace strands should be without seams on the side, and for the flower t-shirt it really doesn’t matter.
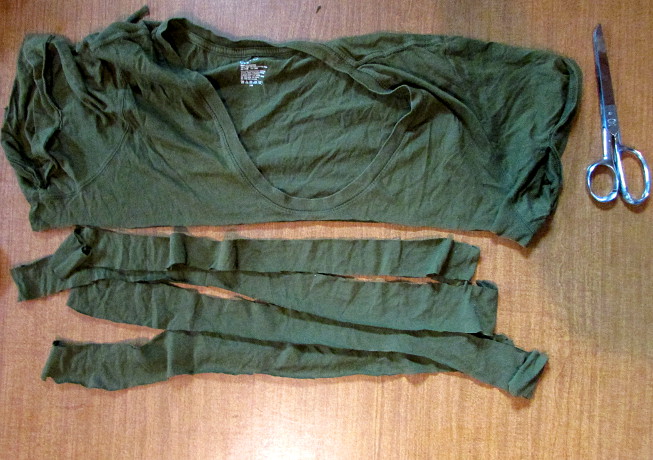
Cut off strips of the t-shirt to make the necklace strands. Since I did two necklaces, you will see alternating colors here, but the steps are still the same. For The blue necklace I actually used two colors for the strands: a light and a dark blue. Cut the strips across the t-shirt, like shown above.
Cut enough strands to make a necklace, my magic number was eight or nine.
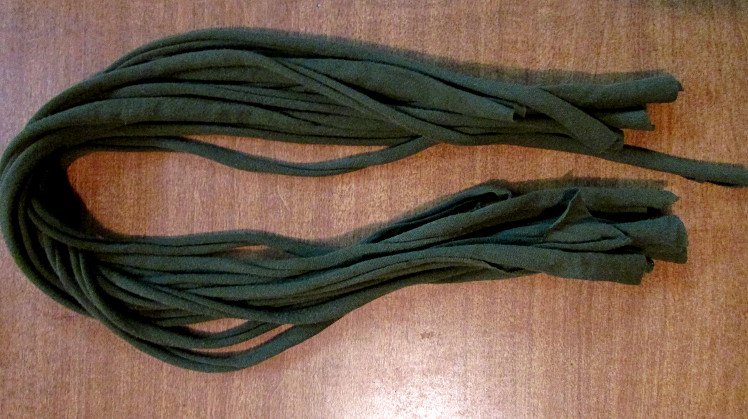
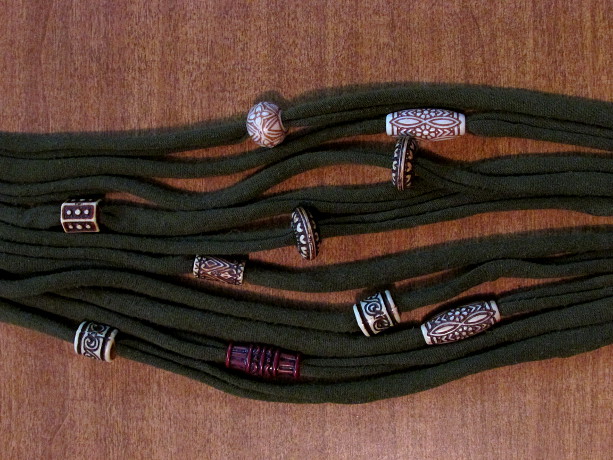
Once there is enough, stretch them out by pulling on each end, until they become little tubes of t-shirt fabric.
For the next step, take the beads with a wide opening, and put them on the t-shirts strands. Don’t worry about arranging them, you can do so later.
To make it easier to put them on, cut the tips to be a bit thinner, and use small scissors, or a toothpick, or a big needle to push the fabric through the bead opening.
Now it’s time to get started on the flower. I have tried to make flowers about ten different ways, and liked this one quite a bit. I also made flowers differently for the headband, you can see them HERE. For each flower cut three strips of a t-shirt. The strips should be about from one side to another. Another words, if you cut a strip across the t-shirt like you did for the necklace strands, you will only need half of that for each flower strip, each strip should be a little taller/wider then the next, but apporximately the same lenght. When I was cutting it I made my first strip 1 in, second strip 1 1/4 inch, and third 1 1/2 inch, approximately, and all of them were about 12-14 inches long.
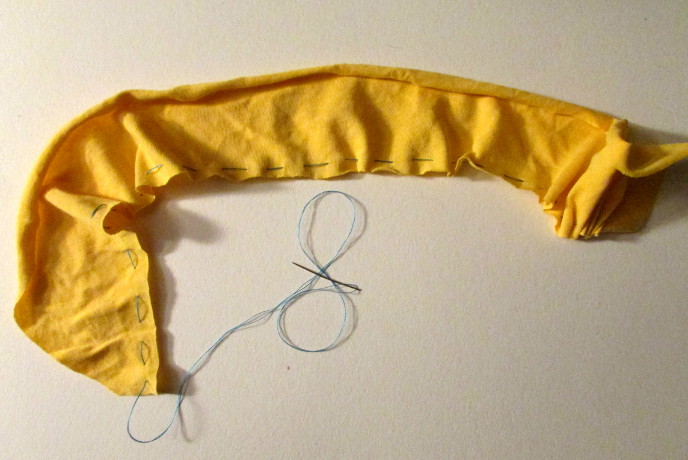
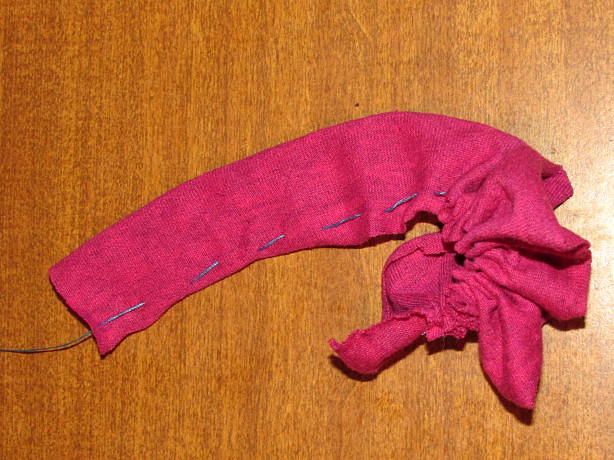
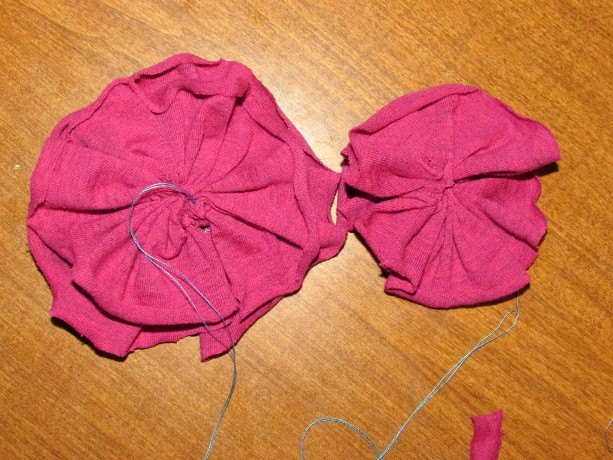
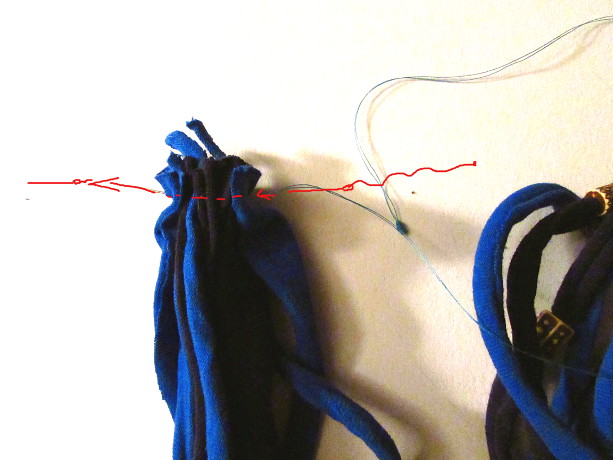
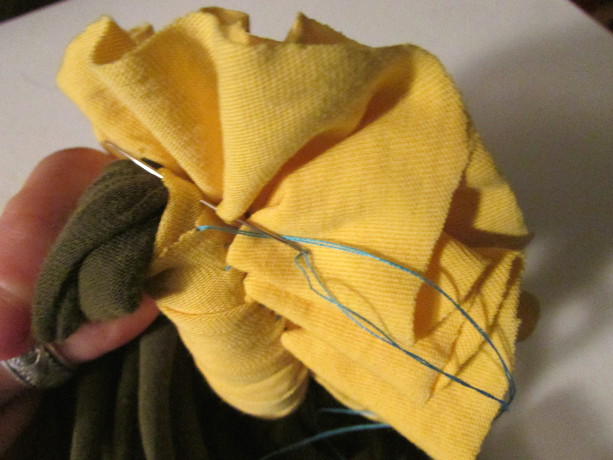
Now use your string and needle to stitch and gather one end of the largest strip, like shown in the picture above.
Gather it together, bringing the ends together in a circle.
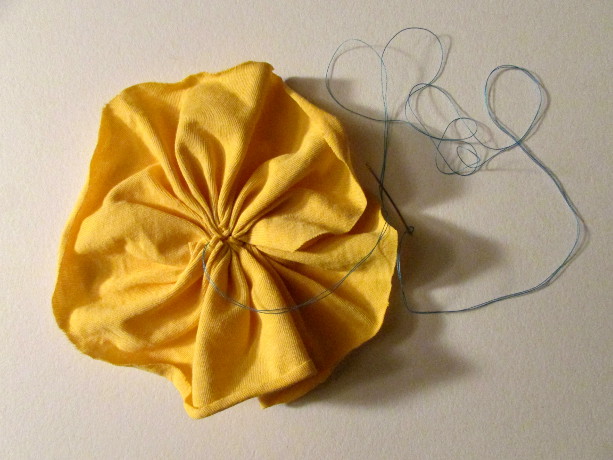
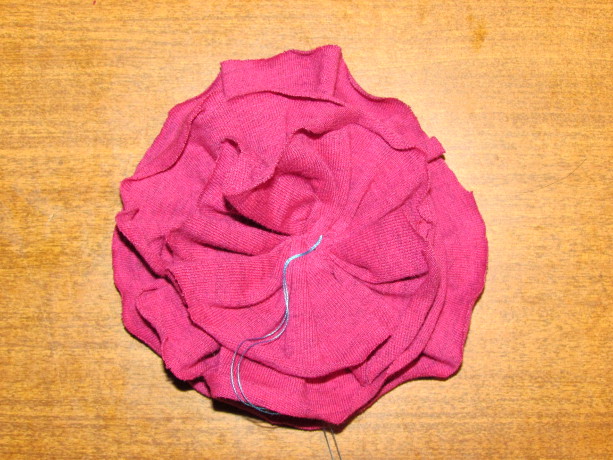
After that do the same with the next biggest strip of t-shirt fabric. Attach the second one to the first one. Then do the same with the last, smallest strip of fabric. Attach the last one to the first two.
Don’t cut the string off yet, you will need it for the beads in the middle.
Once you have gathered and attached the largest, middle and smallest strips of fabric and made it look like a flower, it is time to straighten the fabric out a bit, fluff it up, and trim where you feel the edges stick out too far. Work with the flower until it looks like you want it to.
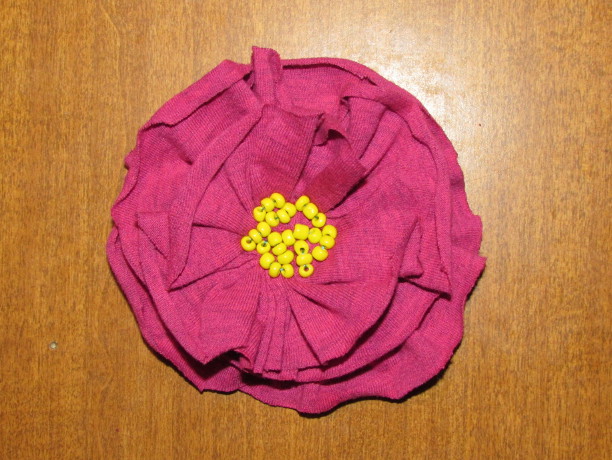
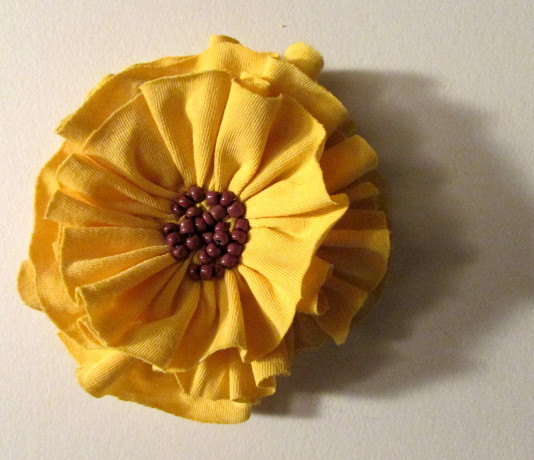
Use the string and needle to sew on some beads. I used large seed beads, putting on three at a time. I sewed them on until they formed a nice round center. Once you are done with the middle, tie off the string and cut the needle off.
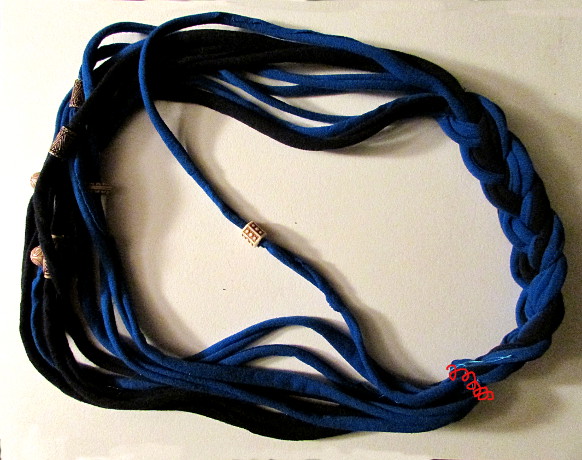
Now back to the necklaces. I did the blue one first, and it was a little different then the green one. The blue necklace strands were quite a bit longer, so there was enough length to braid a part of the necklace.
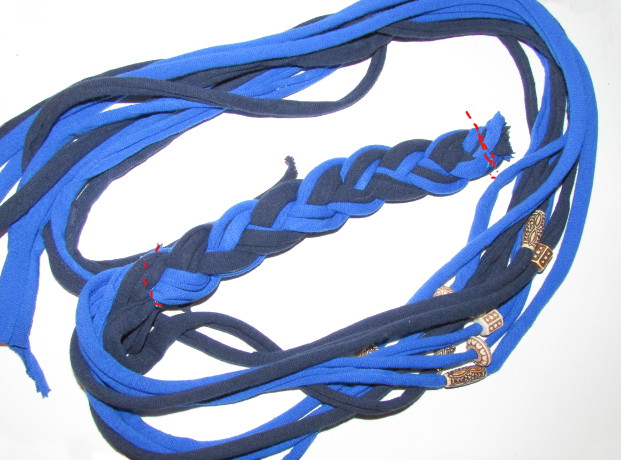
I started by gathering the ends together neatly and putting the needle through each of them. Then just adding a few stitches to hold them in place.
This area will be covered by the flower, so I wasn’t worried about my stitches being neat, just strong.
After you stitched them all together braid a part of the necklace, about 1/3 of the way.
At the end of the braid add a few stitches to keep the braid from coming apart. In this case there is going to be nothing covering the area, so make the stitches tiny and neat, this way they are not too visible.
The next step is to gather the loose ends of the necklace strands and to sew them on neatly to the tip of the braid.
Sew them on a few at a time until they are all secure.
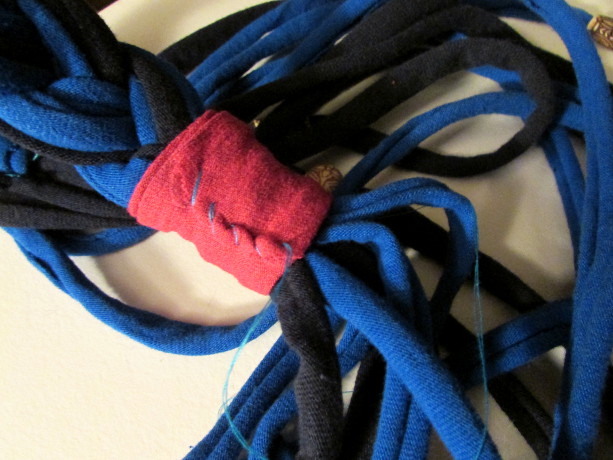
On my photo I added the red lines on my computer so that you can see where I sewed the necklace together.
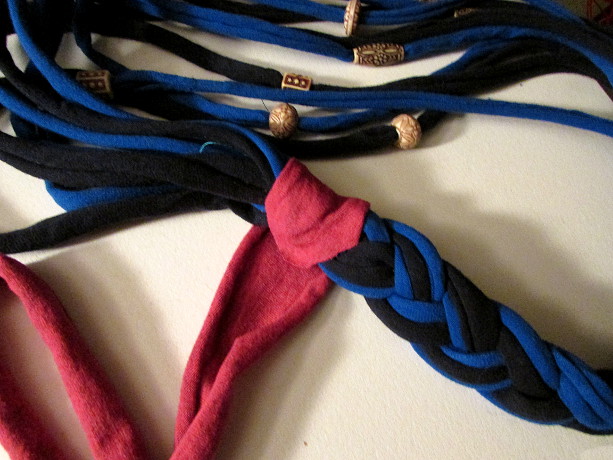
Cut a one inch strip of the same color as the flower, and wrap it around the area where the necklace is stitched together.
Neatly sew it in place.
Now back to the green necklace.
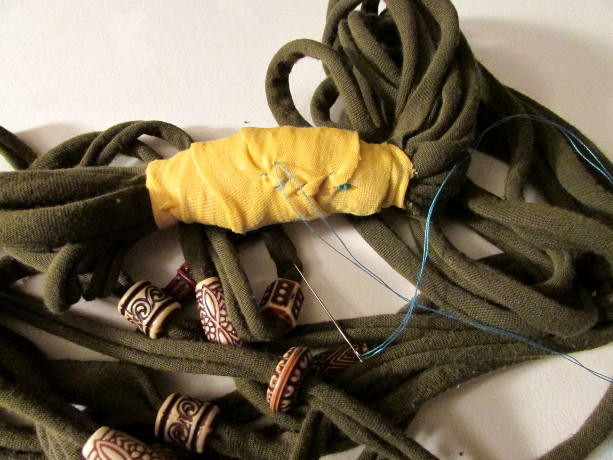
Because the strands of the green necklace were much shorter, there was no room for a braid. Instead I sewed them together as is.
After they were sown in, I used a piece of yellow fabric to wrap around the area and neatly stitch in place.
Also, don’t cut the string off yet, you will need it to attach the flower.
For both necklaces (I didn’t take a photo of the blue one as I was doing it) sew on the flower.
Just place it down flat over the stitches, and sew all around nice and neat.
Tie off the string and cut the needle off.
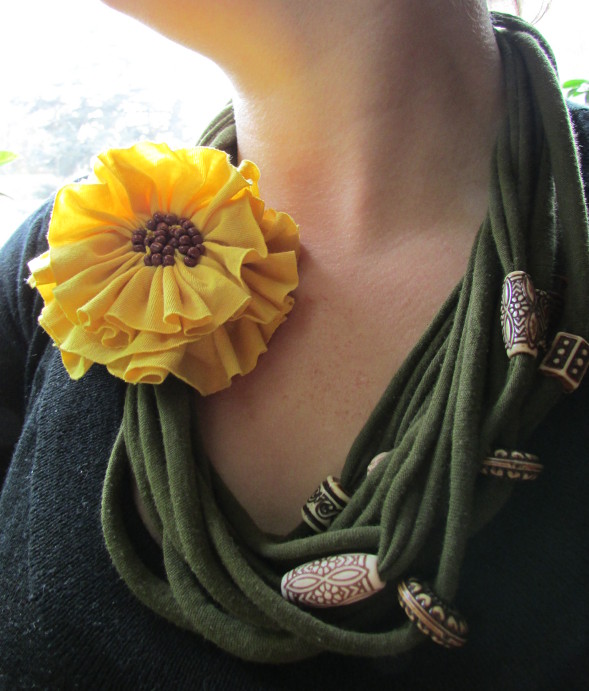
All done!!!
I really like how these turned out!
