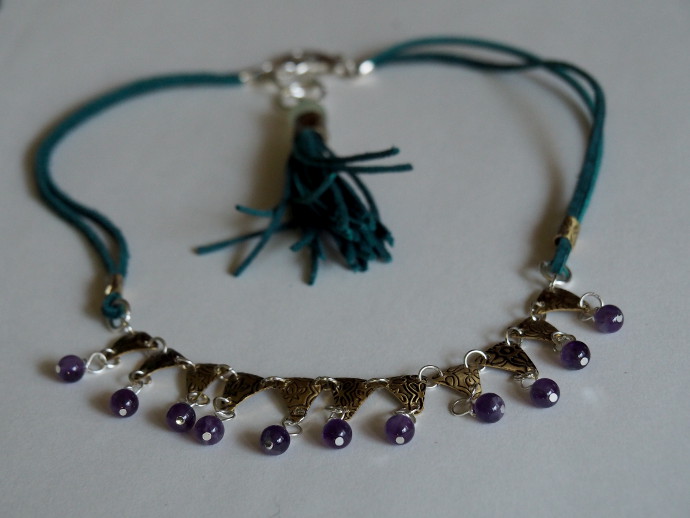
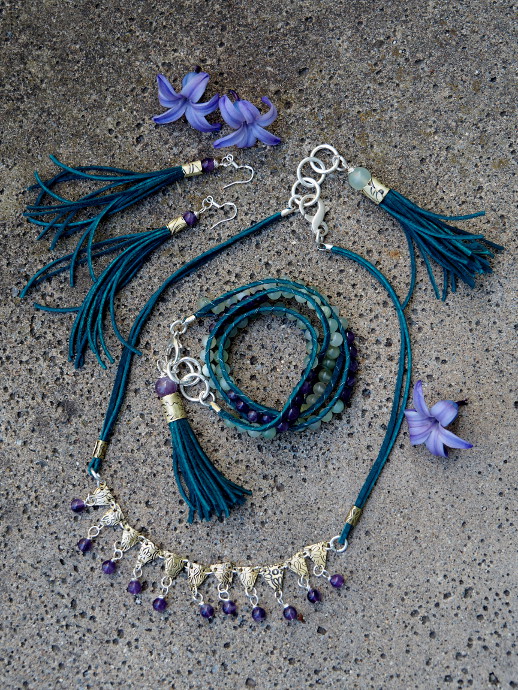
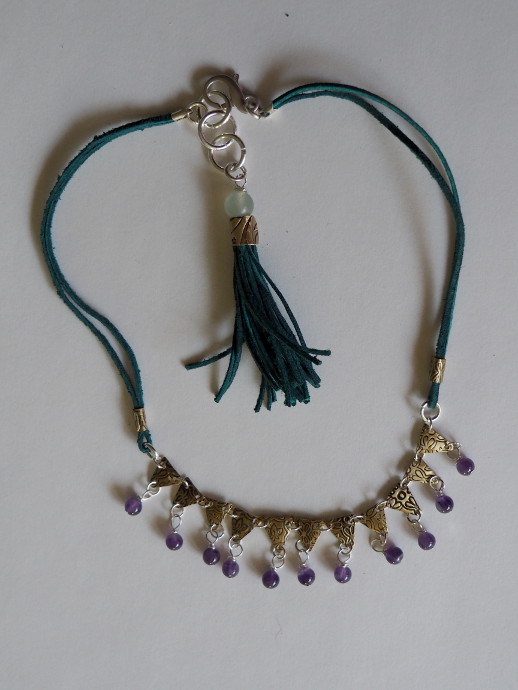
If you have seen the wrap bracelet, and the awesome tassels, you know there is an awesome necklace too. It was my first time cutting my own metal! I knew right away that I wanted the necklace to have two leather sides, and a center piece. First, I made a metal circle, and it did not work out very well. So I decided on triangles. I was going to tier them into a big triangle, but that didn’t work well either. When I laid them out in a row, I liked what they looked like with a bead at each end, so that is what I went with. It was really a fun thing to do. So much fun, in fact, that I got more sheet metal to play with soon!
I am very excited how this necklace turned out. Here is how to make this leather and metal necklace.
***This page contains affiliate links.***
Full disclaimer: Folks at Endless Leather sent me some fantastic supplies to try out and to make jewelry with. They supplied me with the leather and the hardware for this project, and before I go on, I would like to note that everything that I got from them was excellent.
As always, first things first. Supplies! I got the super soft leather lace and jewelry findings from Endless Leather.
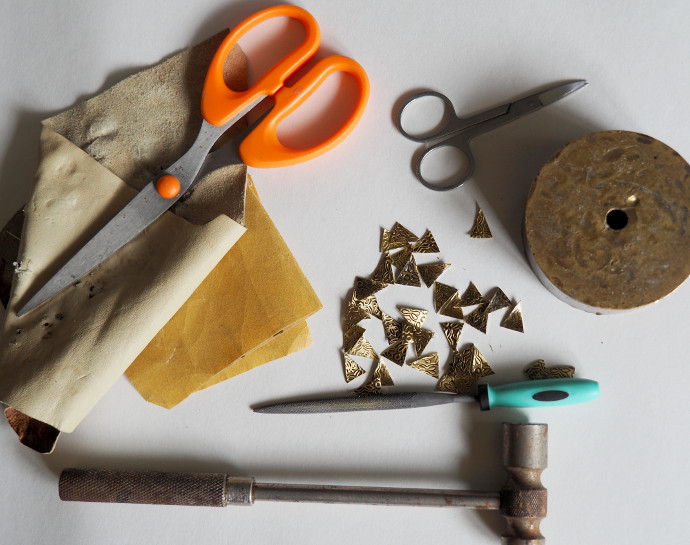
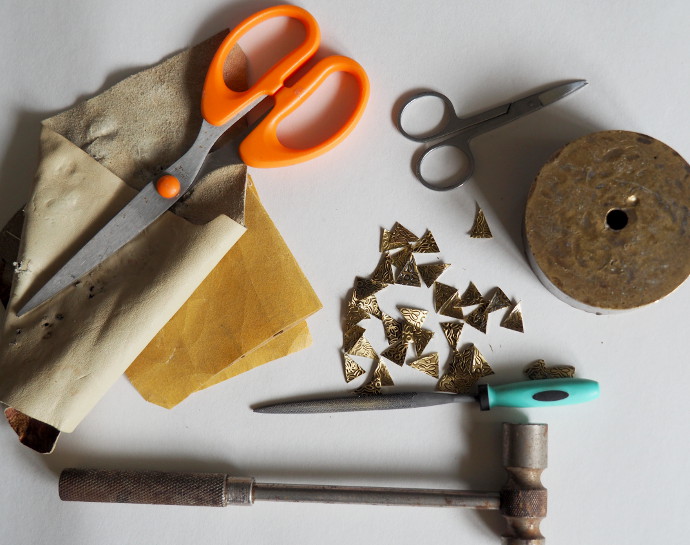
The metal you see here came from Michaels. I have not seen anything similar on other sites, though I am sure it is out there. The closest I found is this 6 by 6 sheet of 24 gauge copper (which I plan on purchasing and trying out soon). It was easy enough to cut with regular scissors. I also have purchased a metal file (from a local store) in order to file away any jags or sharp edges. Stirling silver 5 mm open jump rings are needed to connect all the triangles. Also, as usual, my trusty pliers, a pair of scissors, Stirling silver head pins to attach the beads with, and stone beads, I had 4 mm amethyst beads on hand. You will also need a hole punch to make three holes in every triangle. A jeweler’s hammer and stamping block were very helpful to help me work with the metal.
How to Make This Leather and Metal Necklace
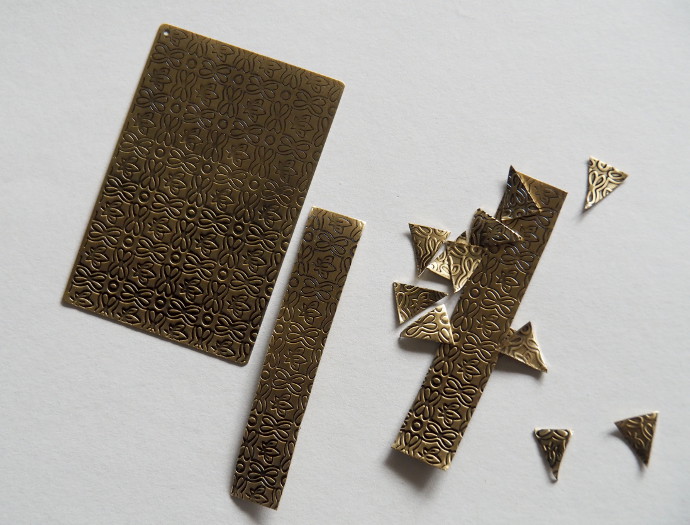
It was my first time cutting my own metal! I cut it into even strips, and then made them into little triangles. It kept it simple and easy to cut with regular scissors.
I worked each triangle over by cutting off sharp ends, filing down any sharp pieces, and hammering them so that they all convex.
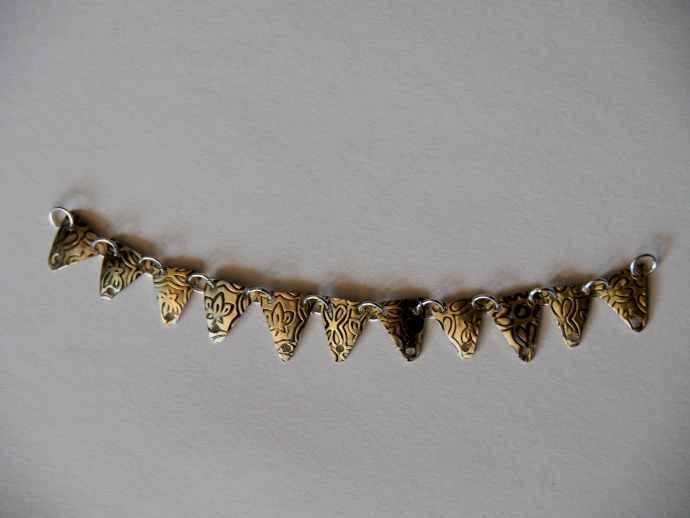
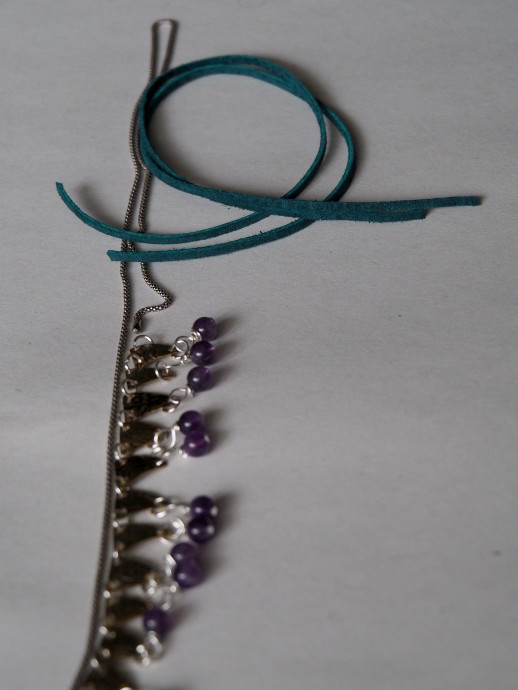
Once the triangles are all smooth, I punched three holes in them, one on each corner. Then I connected them by the top two corners with the jump rings.
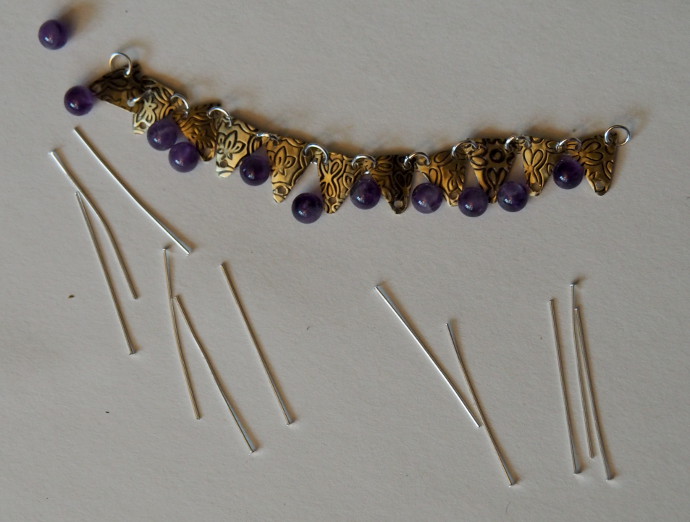
I got the pins and the beads ready to go.
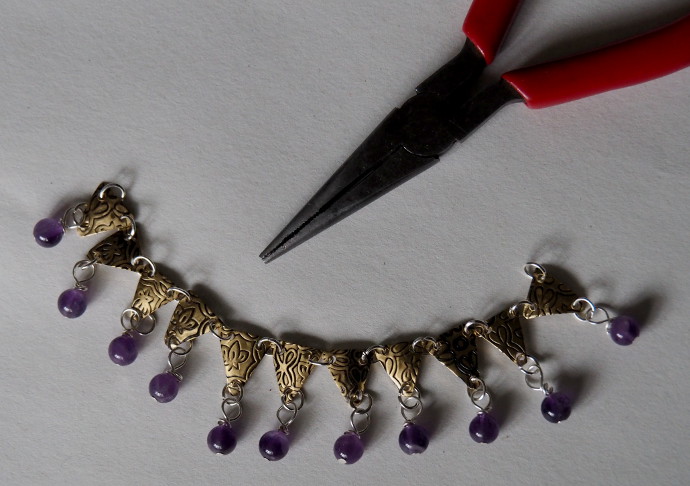
Use the pin to create a loop on each bead, and attach the beads to the triangles with a jump ring.
Using a necklace I wear, and like the length of, I measured two pieces of leather. Each leather piece will be folded in two, so double the length you would need.
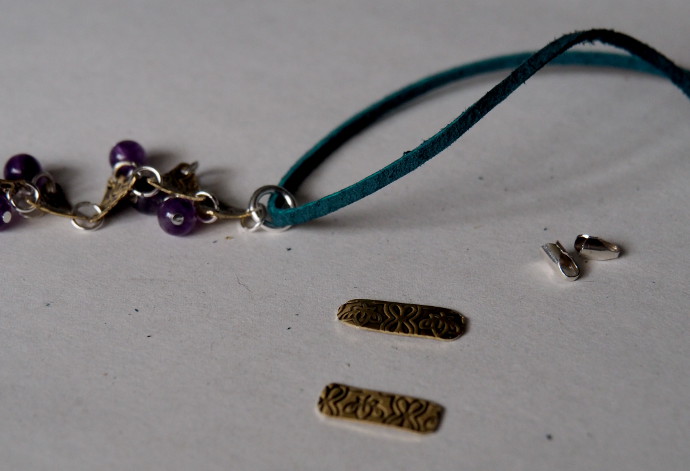
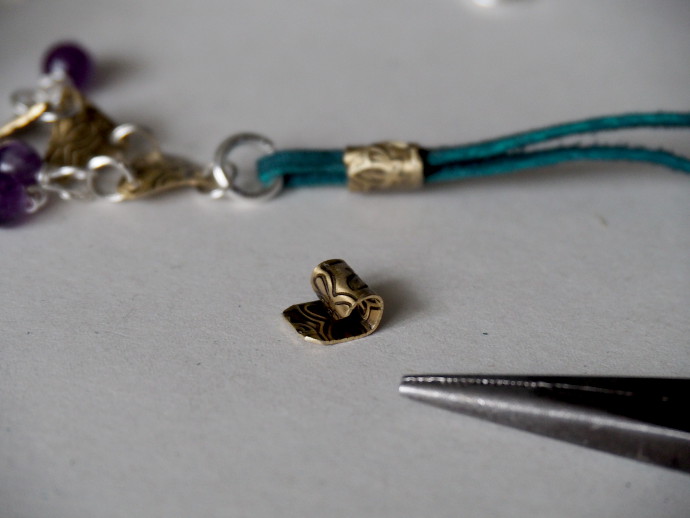
I attached a larger jump ring to each end of the necklace, and put the leather through it. Then I cut two thin stripes of metal to put around the leather and keep it in place.
I pre-bent the metal piece, slid the leather into it, and then used my pliers, and hammer to secure it into place.
Finally, I put each leather end into the end cups. To keep it secure, I added a tiny bit of glue onto the inside of each end cap using a toothpick. Finally, I attached the lobster claw, and the large jump rings, and a tassel. If you would like to how I made the tassel look at the end of the tutorial.
All done!
How to Make a Leather Tassel
How To Make a Boho Wrap Bracelet
