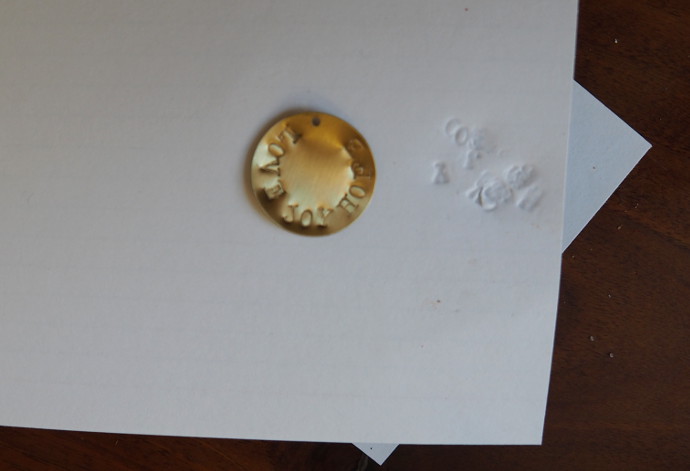
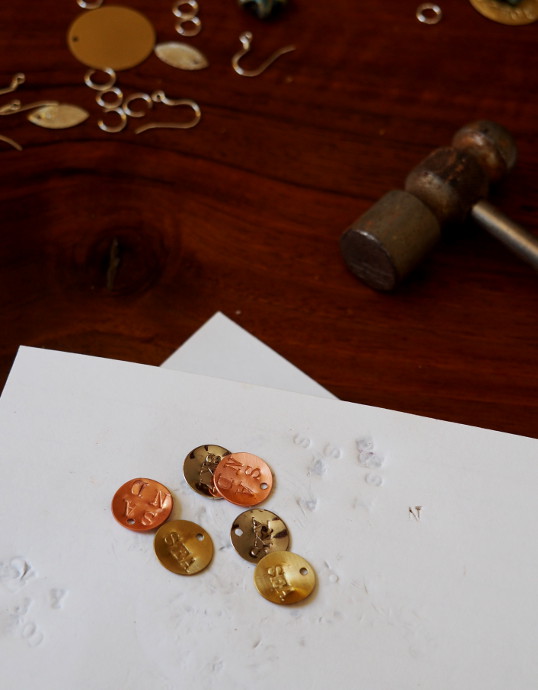
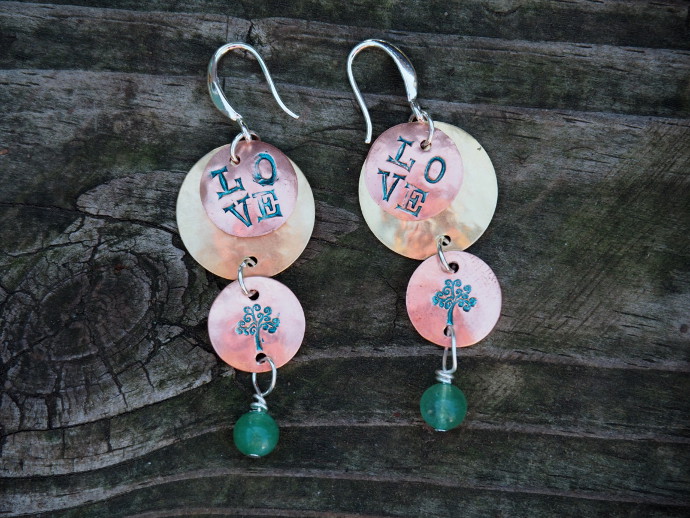
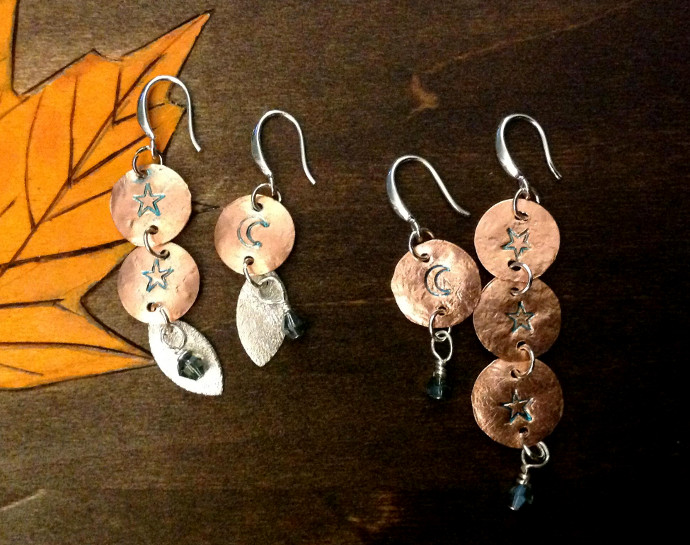
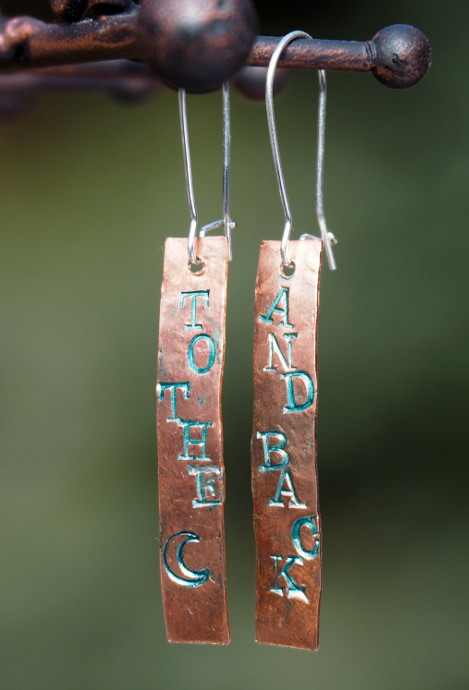
Recently, while cleaning our garage I came upon a set of tools that used to belong to my father in law. They were jeweler metal working tools: a jeweler hammer, a stamping block, and an alphabet. I immediately got ten thousand ideas of what to do with them. Soon enough there was no where to hide from the hammering noise in this house. Turns out I really enjoy the process.
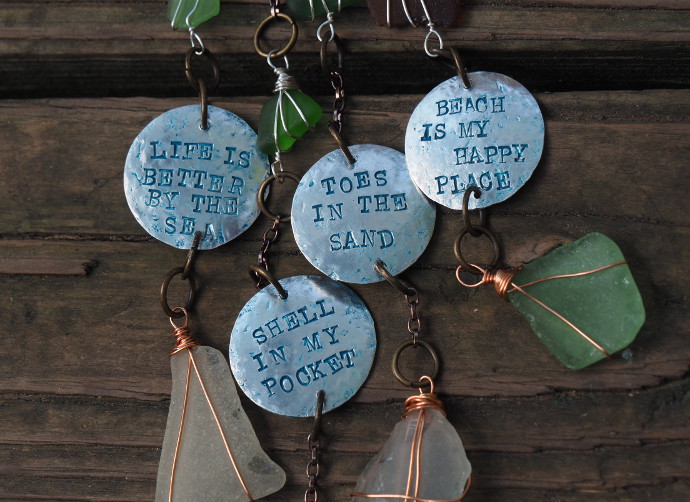
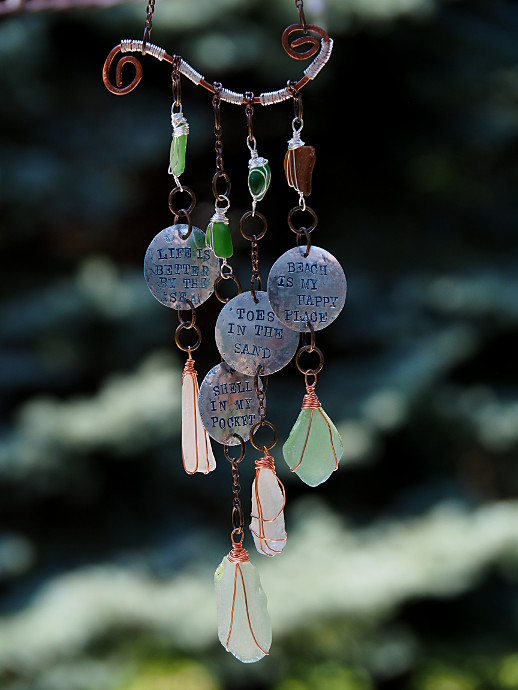
Here is the lowdown on how to make hammered earrings, and other hammered things. I made mostly earrings at this point, but I also made this wind chime first, for practice:
***This post contains affiliate links.***
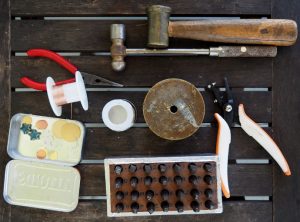
Hammering and stamping jewelry requires quite a bit of supplies. Simply because it is not easy to substitute the tools you may need with an alternative. Here are the supplies you will need to make your own stamped jewelry. While I had found mine in my garage, these are the ones I would buy if I needed to:
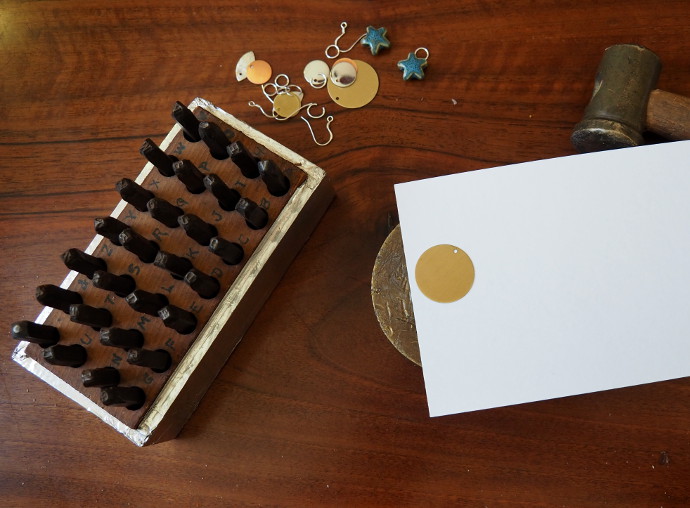
- Jeweler Stamping Block
- Jeweler Hammer
- Pliers
- Metal Stamps: Letters: after trying several alphabet stamping kids, I realized I am a fan of Newsprint font. While my own alphabet stamps are much older, I had the chance to try the exact one that I linked to here, and I have to say that I liked it. Also, as an option, I bought Star, moon and sun stamp, and borrowed from a friend, the Tree.
- Copper Stamping Discs or Aluminum Stamping Discs (I used these kind for the wind chime) or Bronze Stamping Discs. I have bought these particular supplies from a local supplier, as well as from ebay, and amazon. Be careful when purchasing these. I got one batch that was so scratched up, I wound up sending it back, and finally found a store on eBay that I really liked. Every single piece they sent me was beautiful, and they are local to where I live, so that’s a plus.
- Metal Hole Punch: I bought a very simple metal hole punch in a local craft store. Very similar to this one.
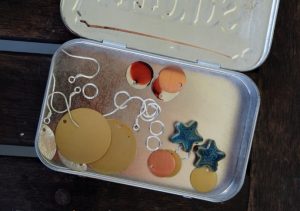
- Stirling Silver Earring Wires. Be careful what you buy online for these. It’s hard to tell sizes. I like to be sure that it is a stamped Stirling silver earring wire, like this one, or this one. While I have purchased these online, it has been a hit or miss kind of thing. I prefer to go locally to a place to buy them.
- 6 mm Open Jump Rings
- Stirling Silver Wire, or Copper Wire. I like to use 20 to 24 gauge for smaller things. 16 and 18 to shape larger things.
- Glass and Crystal Beads
- Also for the wind chime, I had a large piece of really thick copper wire (which I found in my house). I’d guess about 10 or even 8 gauge. I also had thicker jump rings, and chain. I bought all of those at a local craft store. If you are wondering why the letters are blue, I had used a variety of things to give the lettering a different color: nail polish, acrylic paint, permanent markers. They all worked great.
Now with supplies out of the way, here is how to make stamped earrings.
First, let me say, get some cheaper metal to practice on. Like this pack of aluminum washers. I found mine in, you guessed it, my garage. You could pick up a small pack from a local repair or auto parts store.
After you have some practice under your belt, get ready to stamp. Actually, I have progressed to using a sound absorbing piece of rubber under my block (yep, it was in my garage, my father in law really liked tools of all kind!), and a piece of leather over it. It makes for a lot less noise and a lot less sliding. When I first started playing with it, I used a soft cover book under, and a piece of card stock paper over it.
The more I practiced the better I became at aligning my letters.
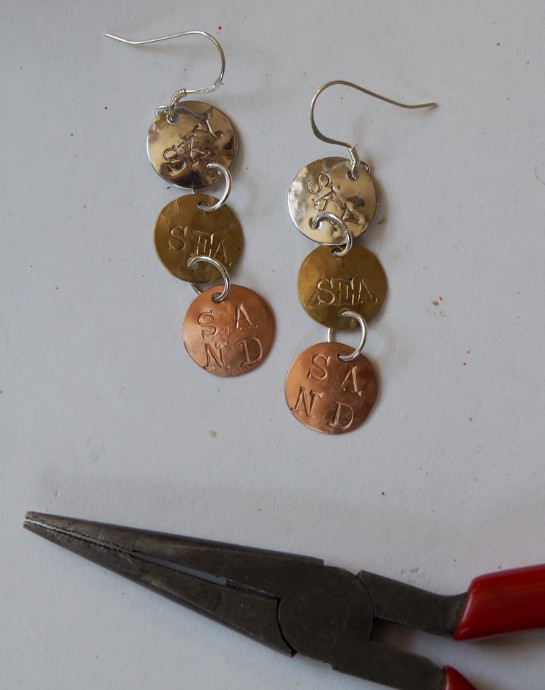
Here are a pair of earrings from start to finish:
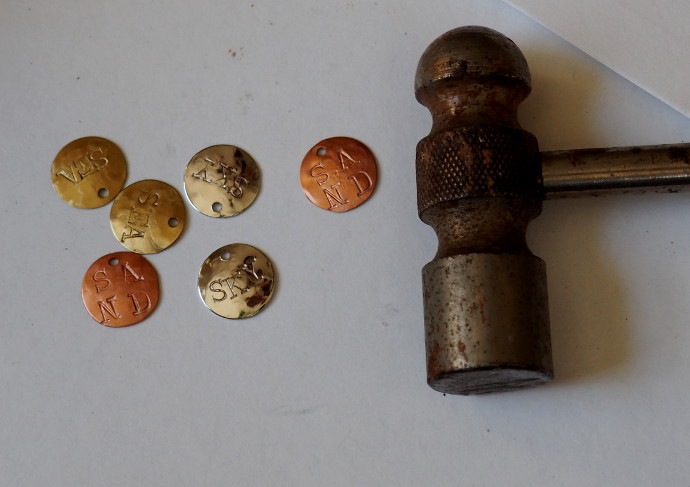
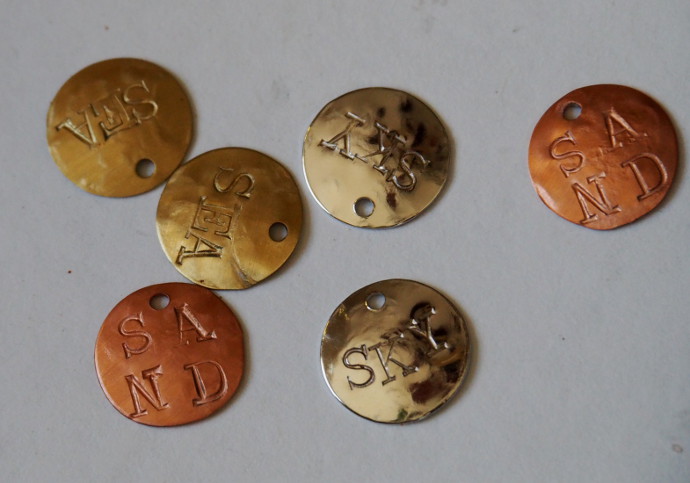
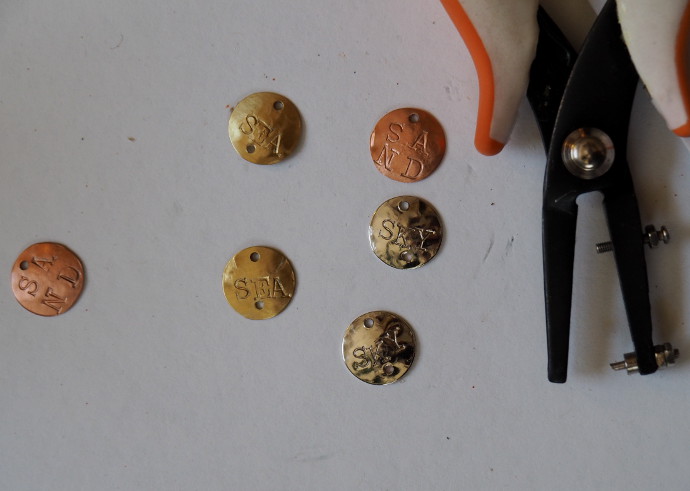
I started with three half inch circles, and stamped the words: Sky, Sea, Sand on them. One thing I didn’t like is how bent and uneven the thin piece of metal looked after stamping.
I flipped them over after stamping, and covered with another piece of card stock (or leather). Then using the round end of my hammer (darn that thing looks old and in need of cleaning), I hammered them gently until they became more convex facing the front.
That is what they look like after I ‘turn them inside out’ in the step above.
Using a hole punch, I make a hole in the sky and sea. Sand goes on the bottom, so it won’t need an extra hole.
Using jump rings I put it all together. All done.
This small discovery in my garage opened up a world of possibilities for me. Next I want sheet metal, and cutters, and a soldering iron, and so much more!
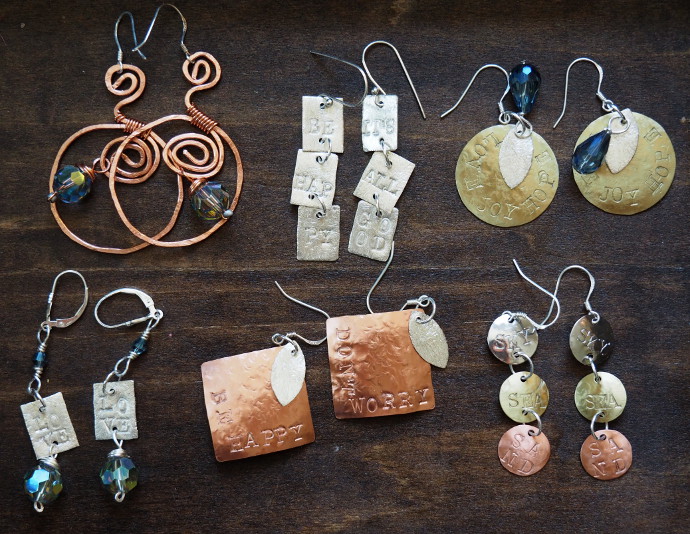
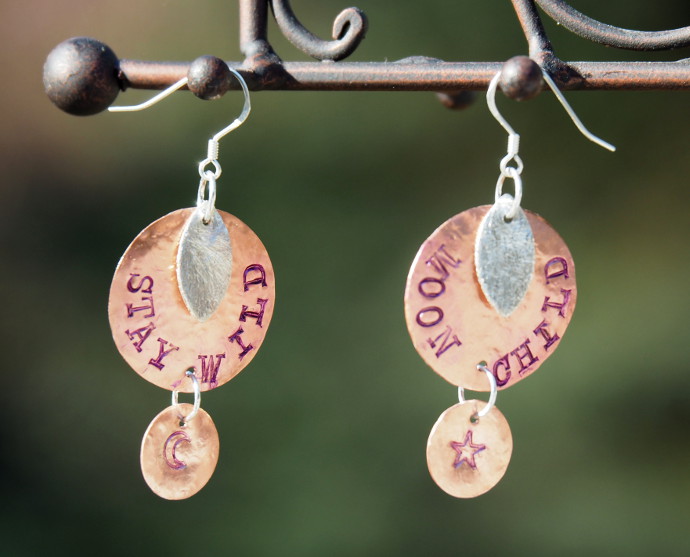
Here are a few things I have made while playing with the stamping set and a hammer:
