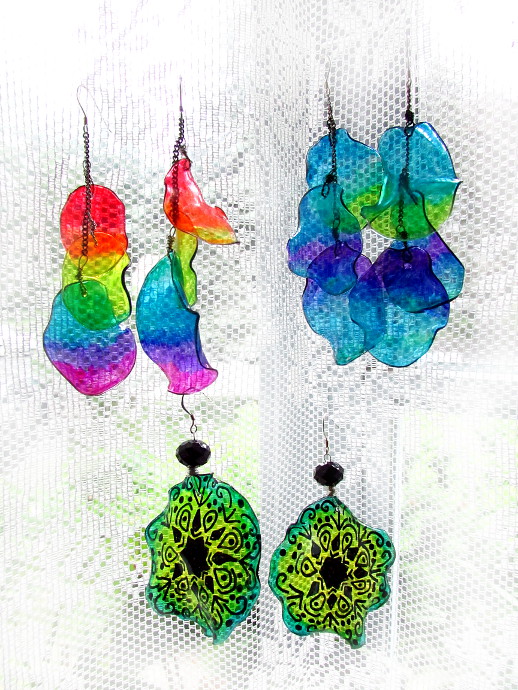
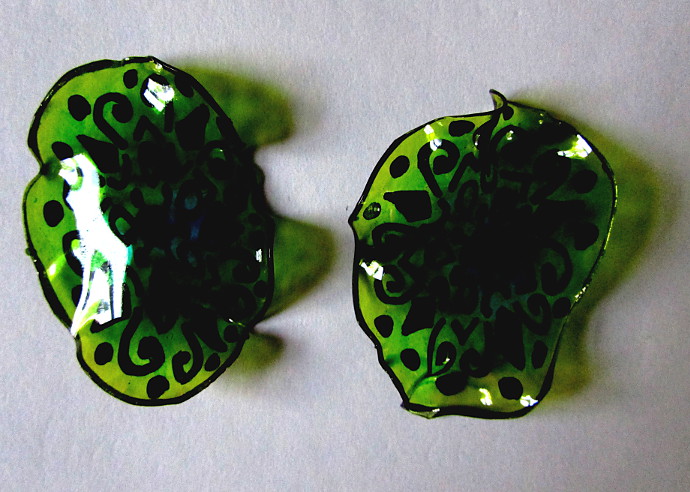
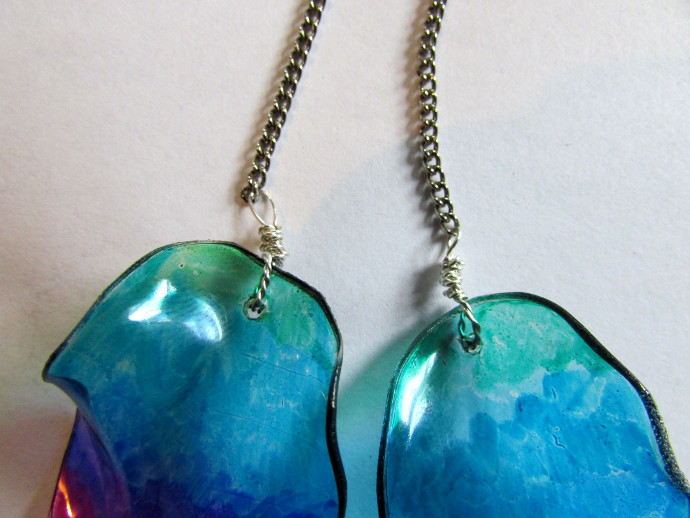
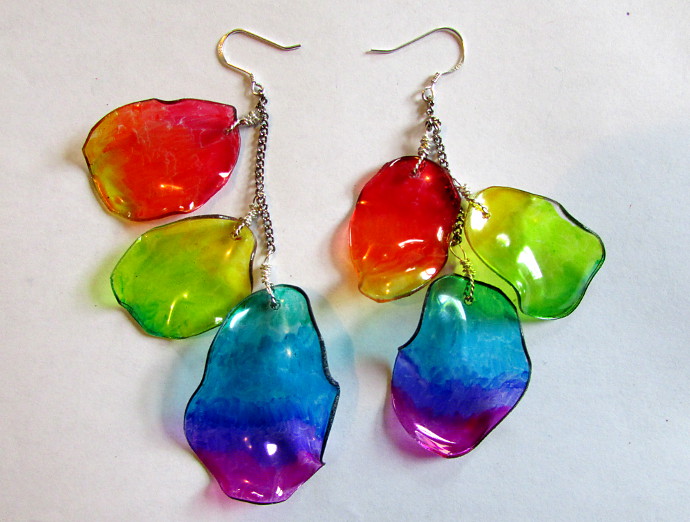
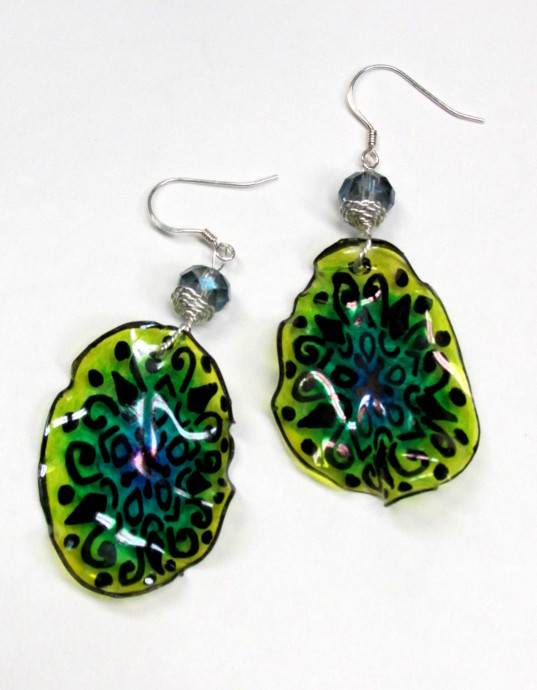
This is what happens on boring rainy days. We do school work stuff, and then mom starts melting things. This time it was a seltzer bottle that was waiting to be thrown into recycling. I decided that I need some earrings made from a recycled plastic bottle. Here is how they came out (I rather like them):
Here is how I made them:
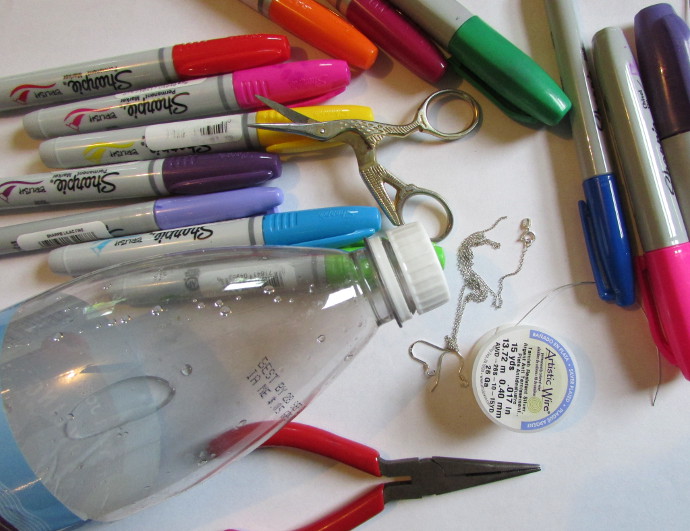
First, the supplies I used.
***This page contains affiliate links.***
I started with a sturdy plastic bottle to transform into earrings. I also needed a sharp pair of scissors and an old broken chain to cut and repurpose. The other supplies I used were pair of bottlenose pliers, like THESE. To add color I used SHARPIE PAINTBRUSH TIP MARKERS (which are amazing and I love them) and A REGULAR SHARPIE BLACK MARKER. A few pairs of FRENCH HOOK EARRINGS, and some ARTISTIC WIRE (I used 26 gauge). Lastly, a hammer, a thin nail, a candle and matches.
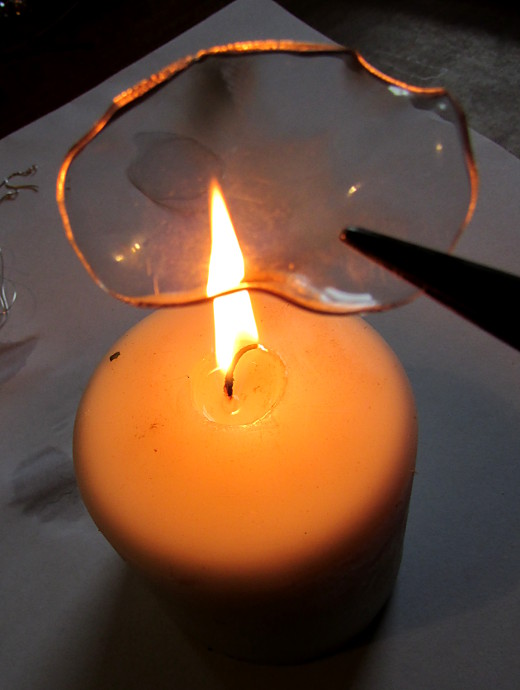
Let me also mention that while holding the plastic over the handle I was concerned with the fumes. I was careful not to burn the plastic, but just warm it up enough to warp it, so it didn’t actually have a smell. However, I still wanted to be out in open air to do this.
Recycle Plastic Bottle Into Earrings Tutorial
Making of Recycled Bottle Earrings # 1
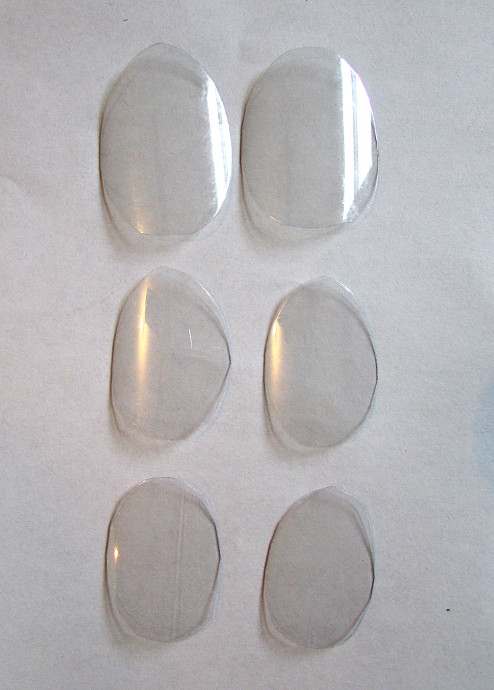
For the dangly earrings first I cut out three ovals for each. They ranged in size from bigger, then smaller, and then even smaller.
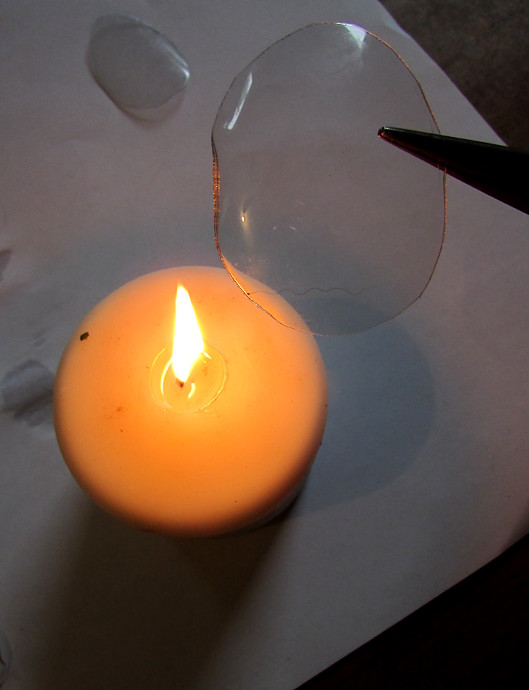
After that I held the ovals with my pliers so that my fingers don’t burn, and gently heated up the plastic to mold and bend it how I like.
The plastic will shrink where the heat hits it, and warp. I played around with them until I was happy with how they looked.
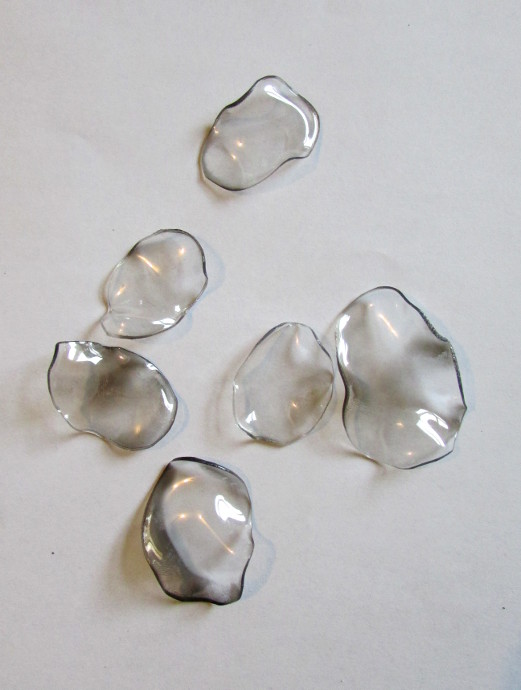
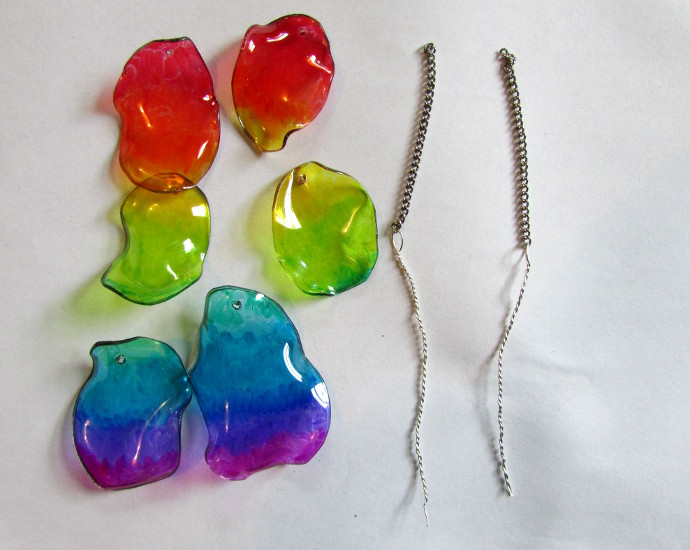
Here they are all warped and bent. Next, I washed off the soot from the candle.
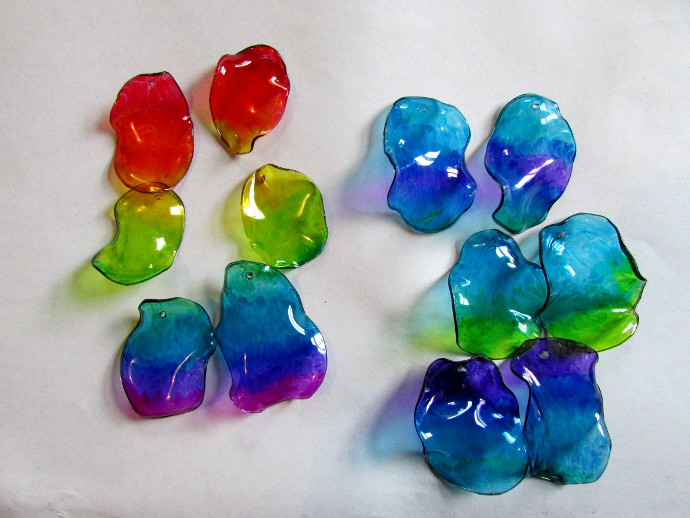
After washing off the soot, I used permanent markers to color them in.
Making of the Circle Patterned Earrings:
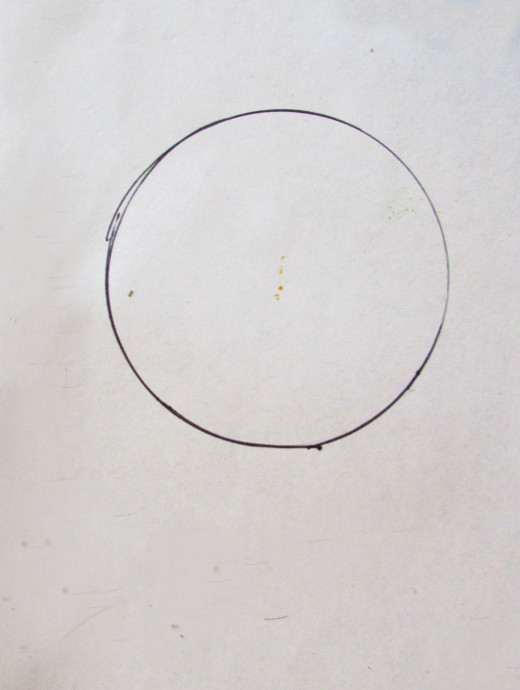
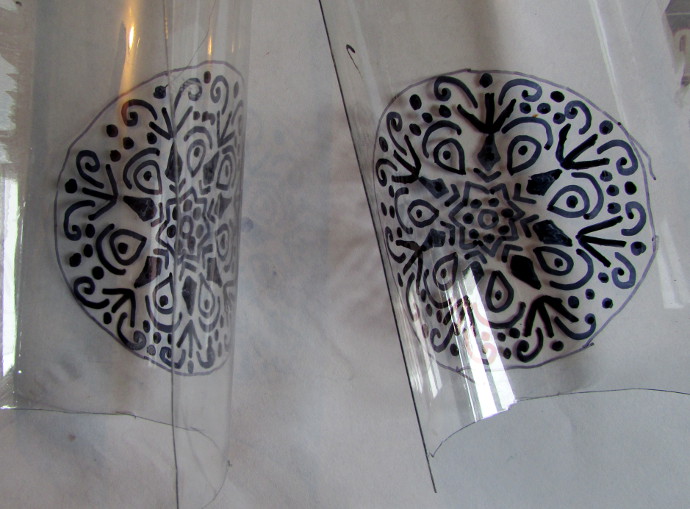
First, I drew a small (about two inches in diameter) circle on a piece of paper.
I traced the circle onto the bottle, and drew a pattern on it using a black permanent marker.
Cut them out.
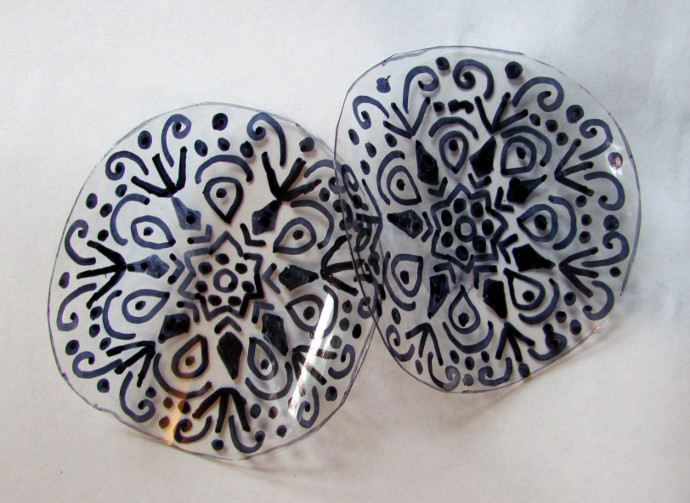
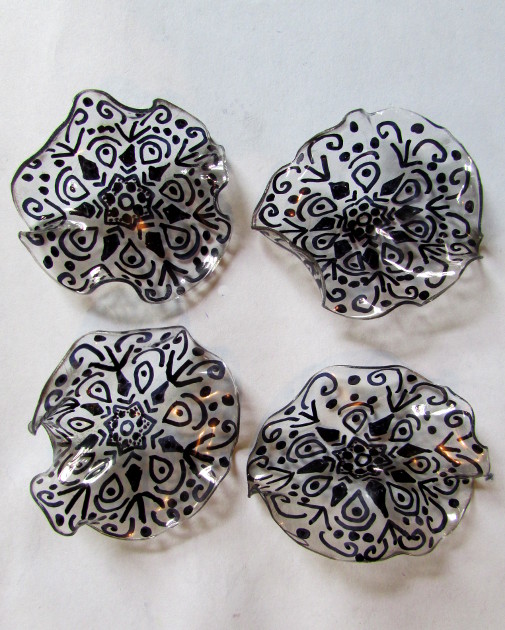
As in the first pair of earrings, I melted and warped these using a candle and pliers.
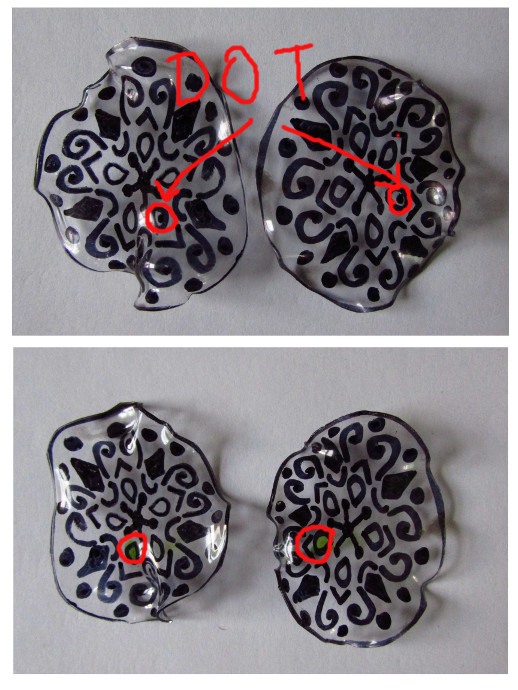
When drawing a pattern, I added an extra ‘test dot’. When it is time to color with permanent markers, I had to do it on the opposite side of the pattern. The ‘test dot’ allowed me to see which is the opposite side. Just using a permanent marker of the color my earrings would be, I drew over the ‘test dot’ with that color. If the test dot got erased, that means my pattern is on that side. The important thing is NOT to color on the side of the pattern, so I flipped over the earrings and colored on the opposite side.
There they are, all colored in.
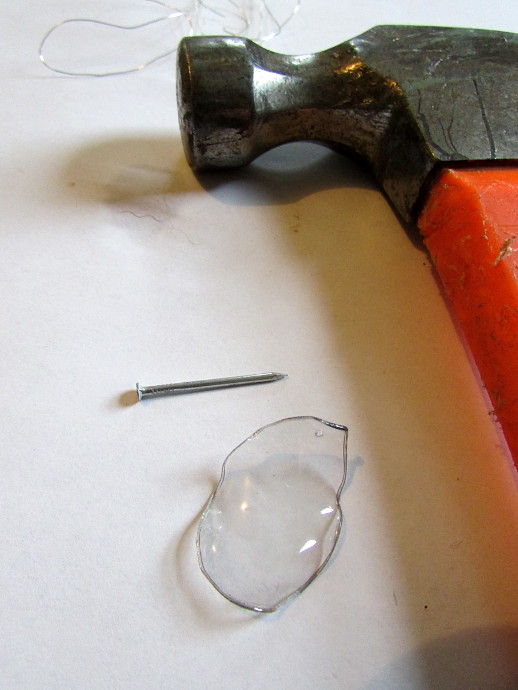
Next I will use a hammer and a nail to make a small, neat hole in the top of the earring for the wire to go through.
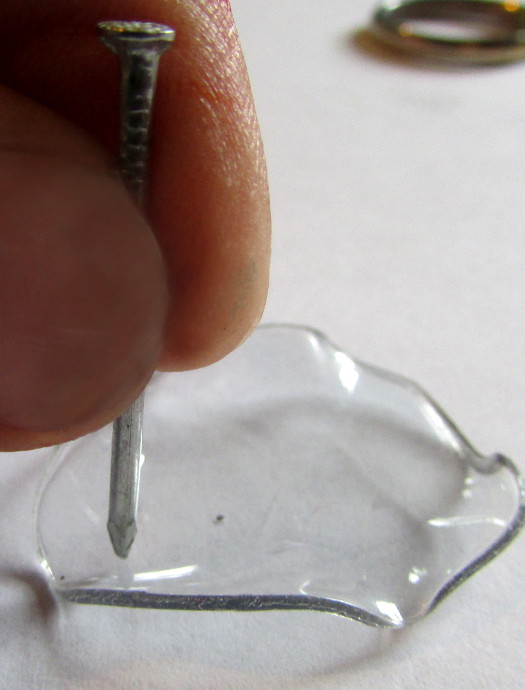
I placed the nail where the hole would be, and gently hammered it in.
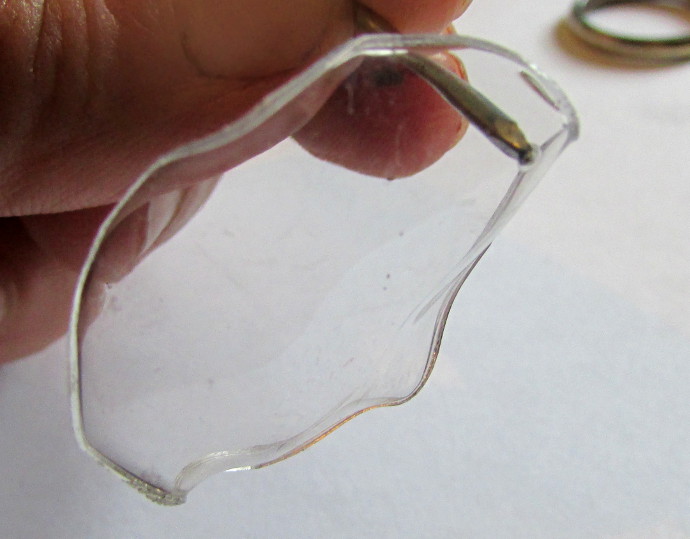
I stopped hammering when the nail went through to the other side.
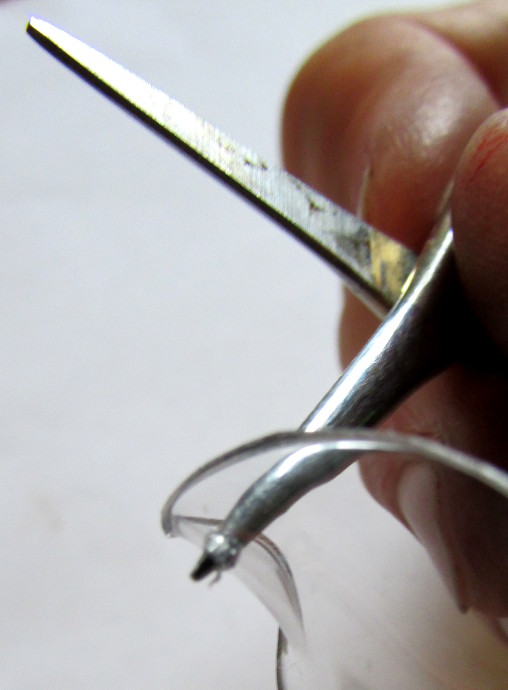
If the hole wasn’t big enough, I would use the small scissors to make it wider.
For Recycled Bottle Earring # 1
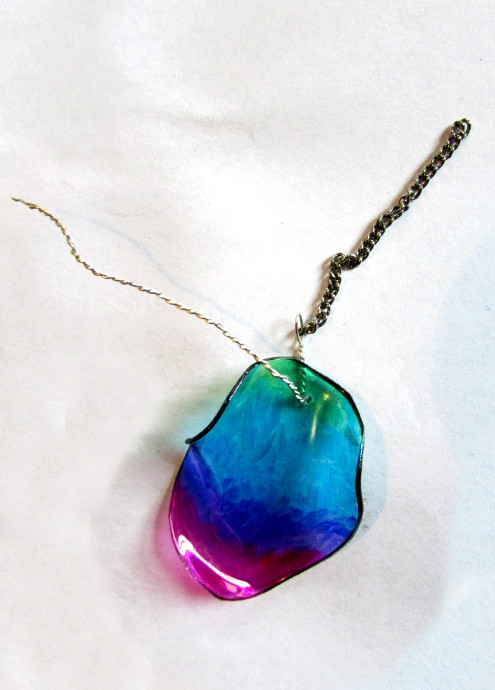
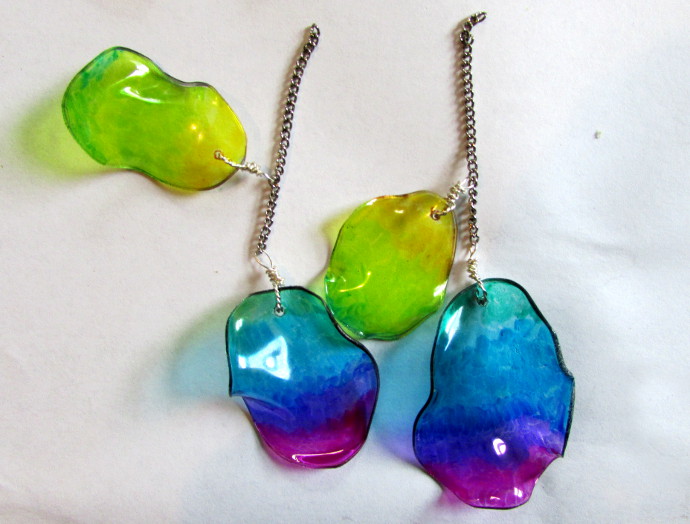
I used two pieces of chain, cut to about an inch each. I took a piece of wire, put it through the last chain link, and twisted it together.
Then I attached the oval to the wire.
I twisted the wire around itself, and clipped/hid the tip.
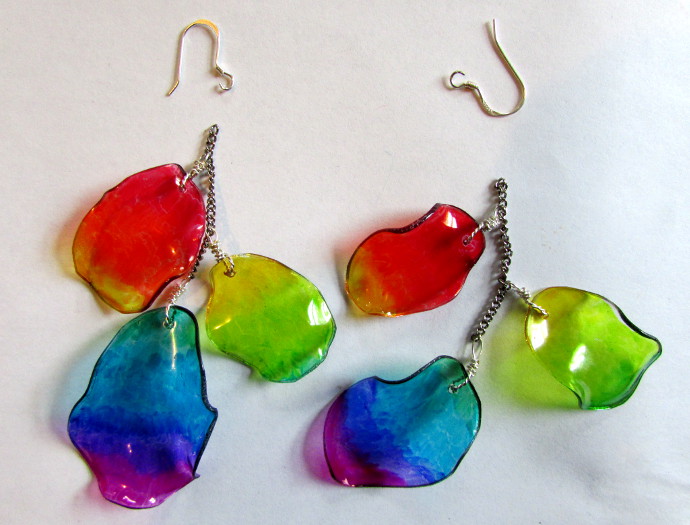
I did the same thing with the next (the medium) oval, but just a few chain links higher then the first ones.
Finally, I did that to the last oval.
All that was left for me to do was to attach the earring to the hook.
Circle Patterned Earrings:
For the circle patterned earrings I also had to make a hole using a hammer and a nail.
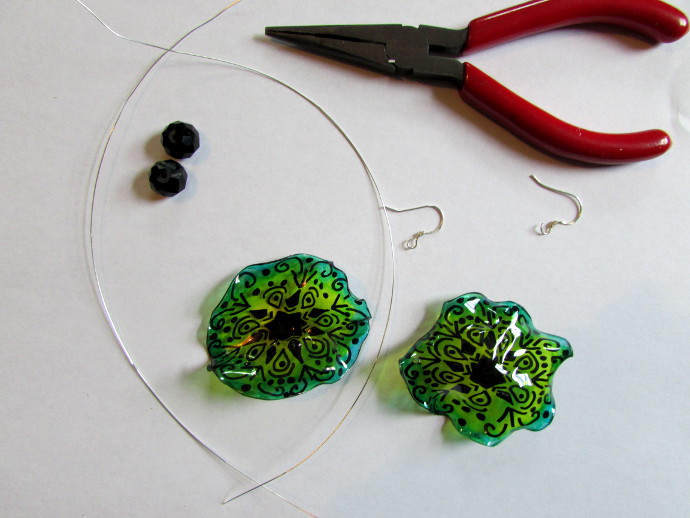
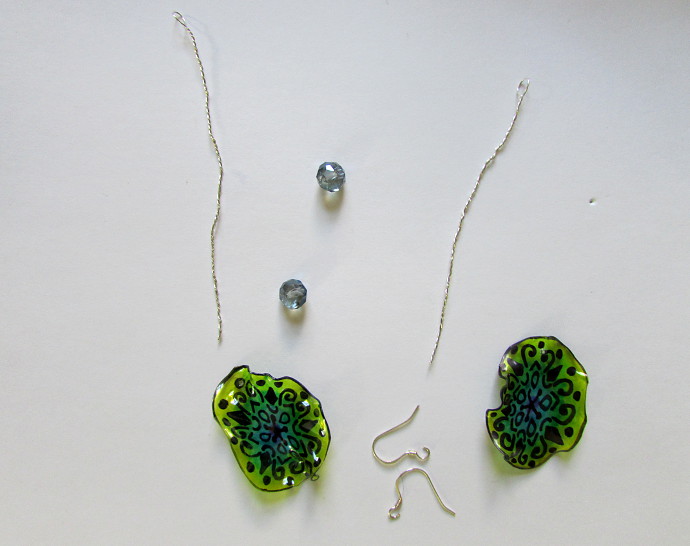
Next, I prepared two pieces of wire (about 8 to 10 inches long), two beads, hook earrings, and pliers.
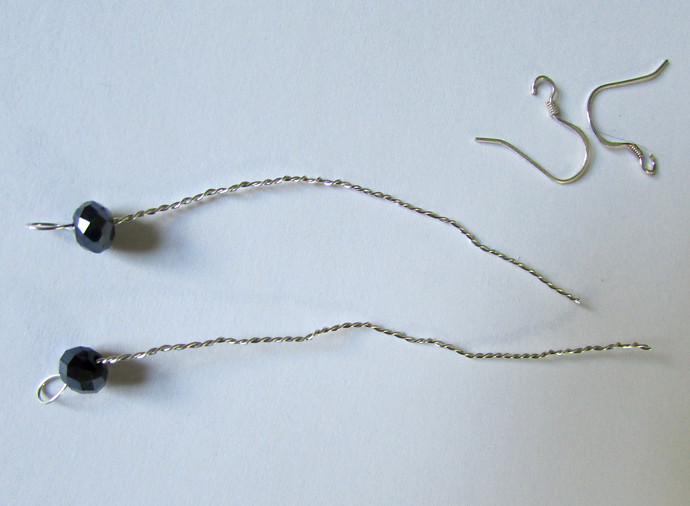
I folded the wire in two, made sure there is a loop on each end, and twisted the ends of the wire together.
I put a bead on each wire.
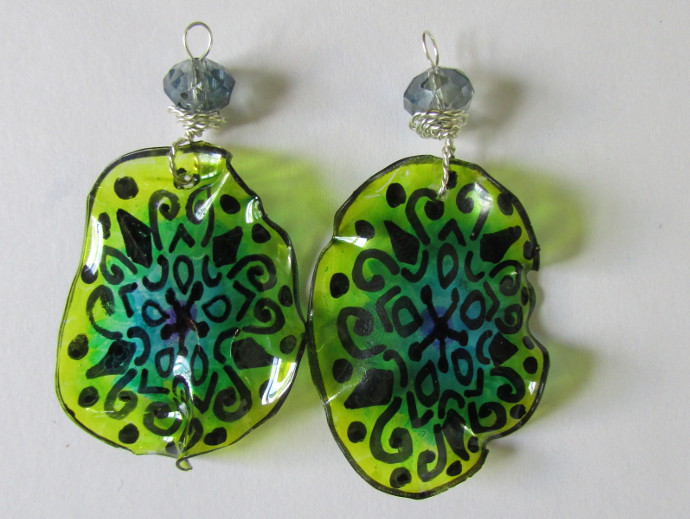
I put the end of the twisted wire through the hole in the plastic circle. Brought it back up and twisted the wire around itself and the bead.
Then I just attached it to the earring! All done
