I just passed yet another earring making craze (in my head) this past December, but this is one of my favorite ones, rainbow beaded earrings. I knew I had to do a quick tutorial, just so that I could repeat the process.
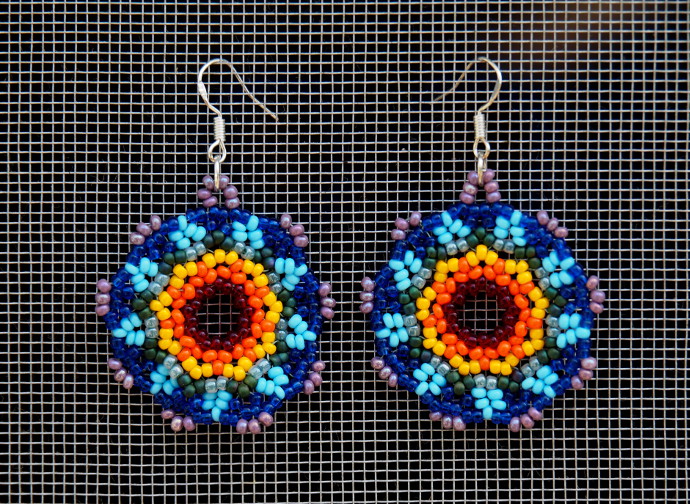
***This page contains affiliate links.***
These earrings use so few materials. The hooks, and the jump rings are self explanatory. The most important parts were the collapsible needles, and the proper thread, and of course, a good pair of pliers. One important thing to note is that the seed beads should match in size.
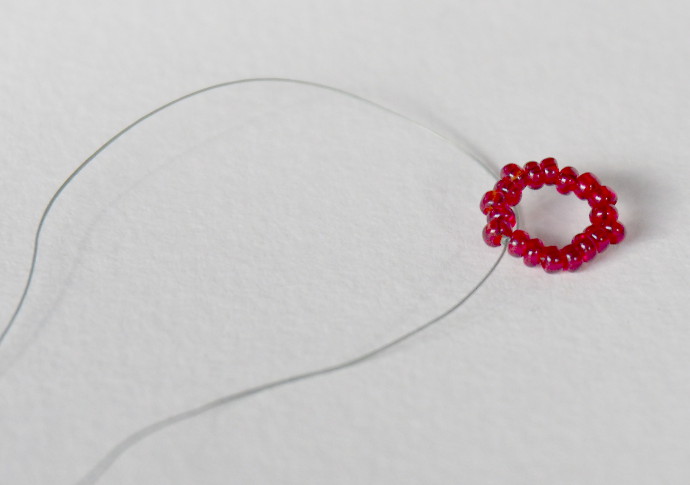
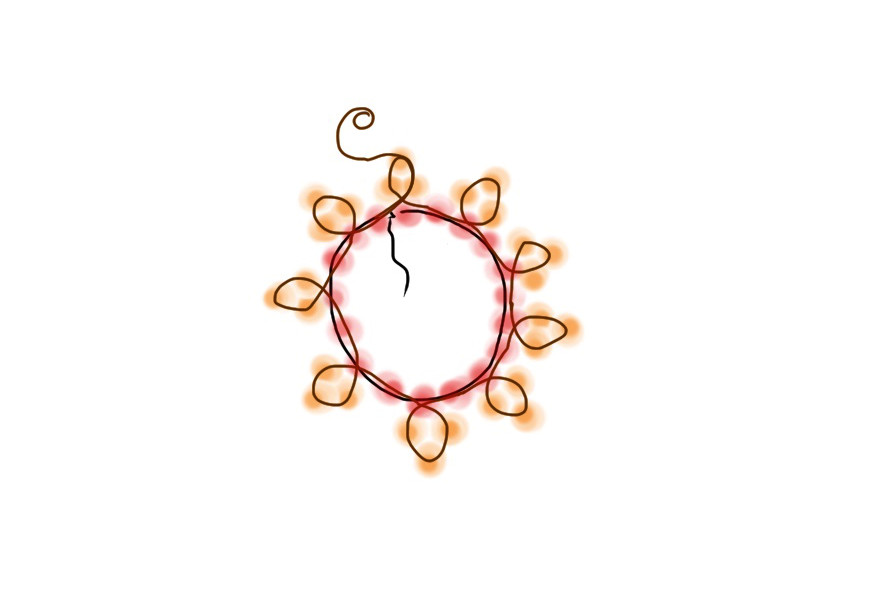
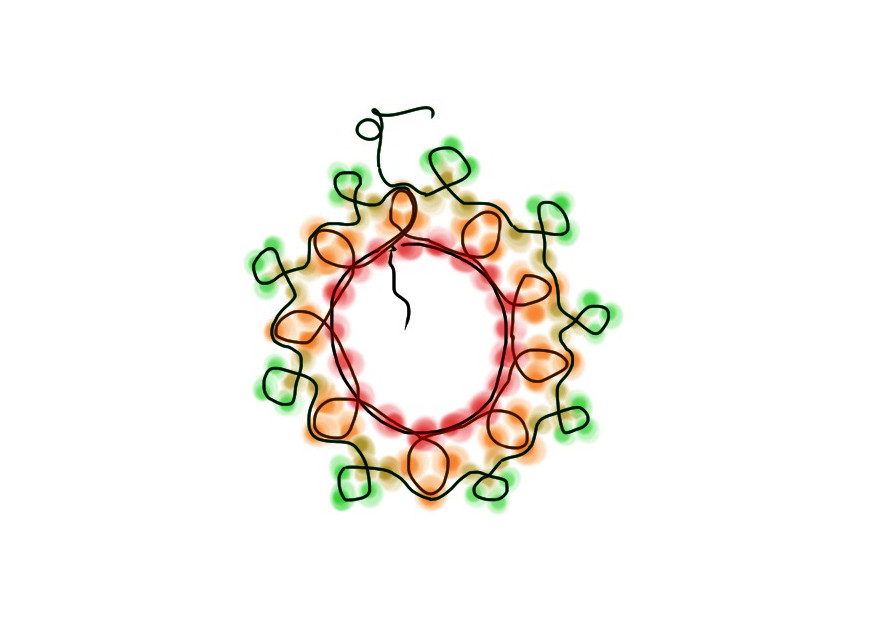
I started by making a little bead circle out of 18 beads. Below is a drawing of it. Instead of looping the ends through the same bead, I just made a little knot. One end of the thread is short, because it is getting hidden and snipped at the end. The other one is long, because it is the one we are going to work with.
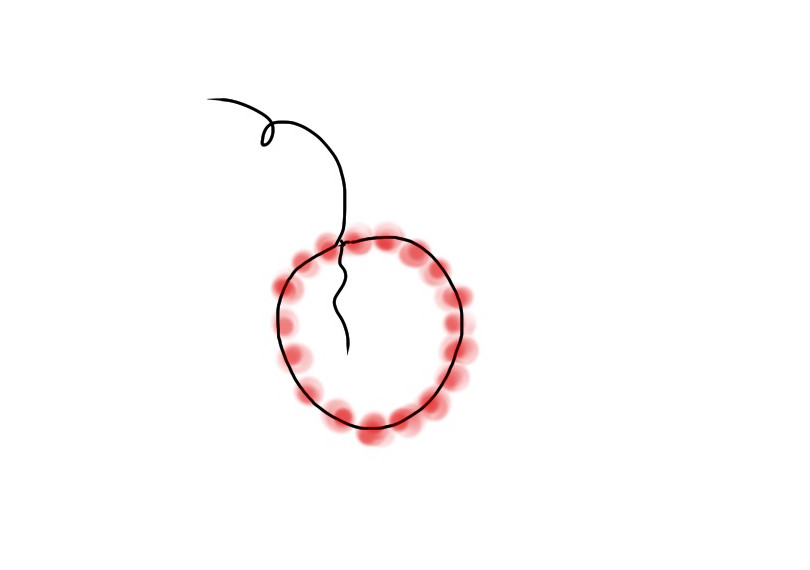
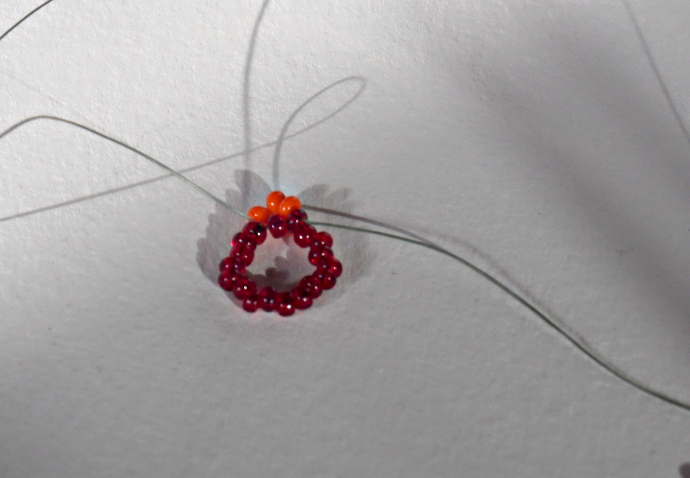
Using the long end of the thread, go through the next red bead, pick up 3 orange seed beads, loop around and come back through the same red bead. Then bead through the next red one, and repeat the process on the following red bead. Keep going around in a circle, making orange petals on the alternating red beads until you come full circle. A few images of what that looks like are below.
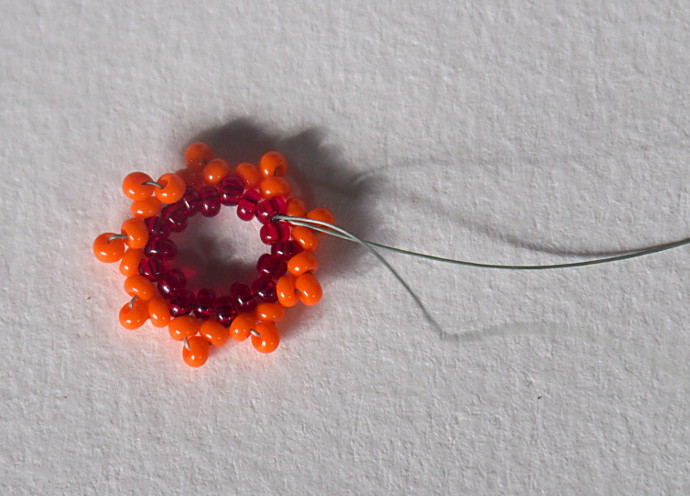
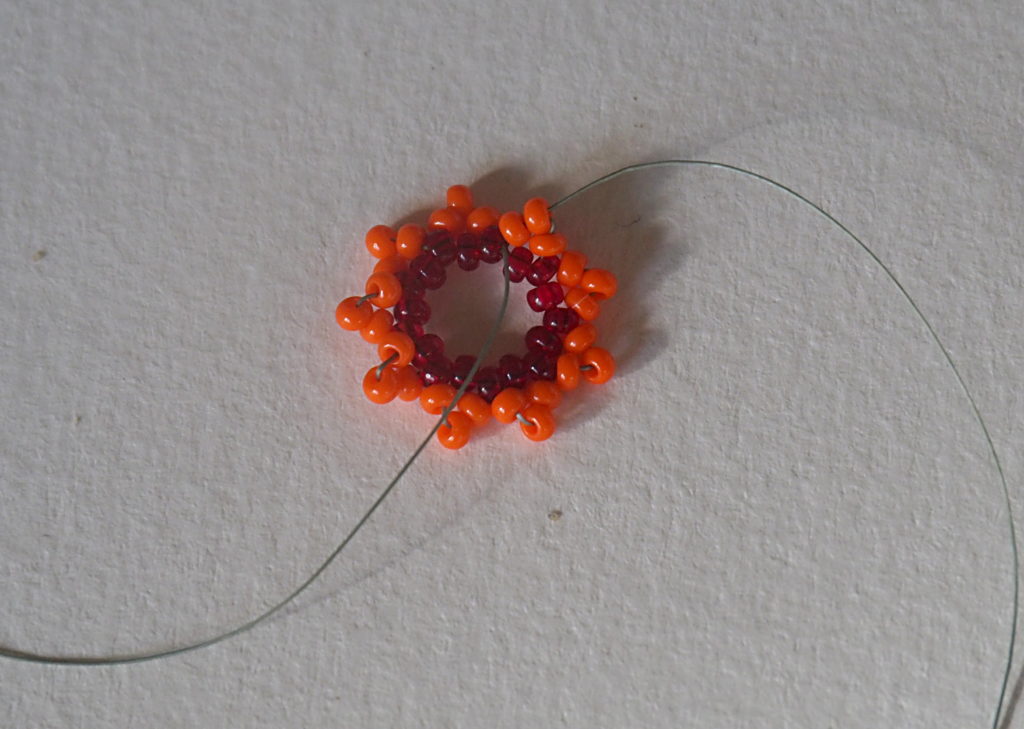
Bring the long thread out through one of the orange beads situated on top. As in the photo above.
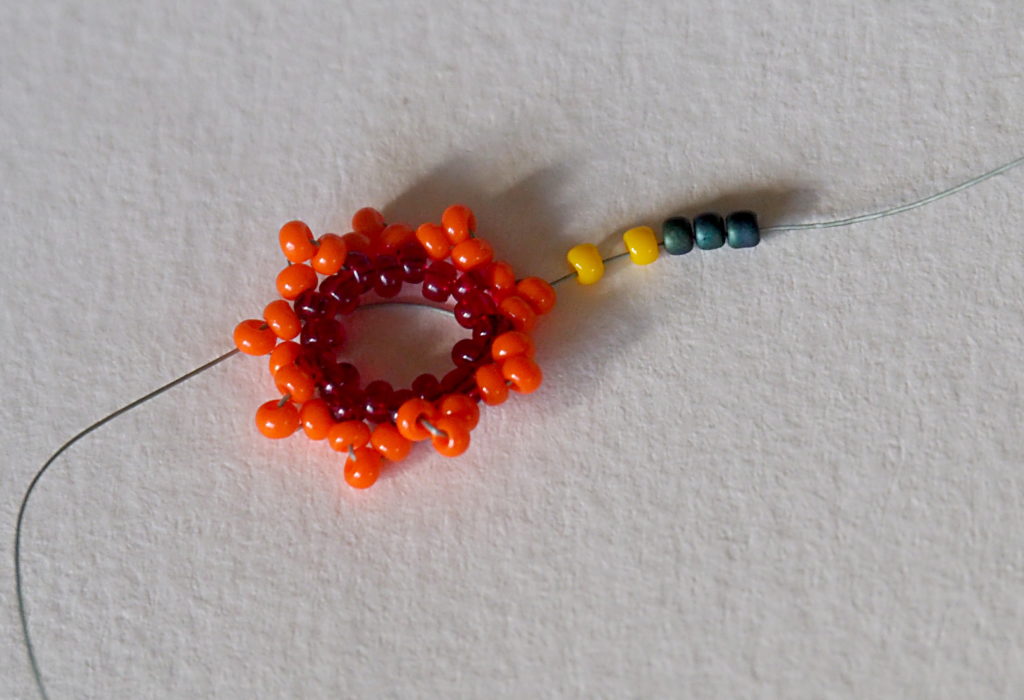
Next layer will be yellow and green. First, get two yellow, and three green beads onto your thread.
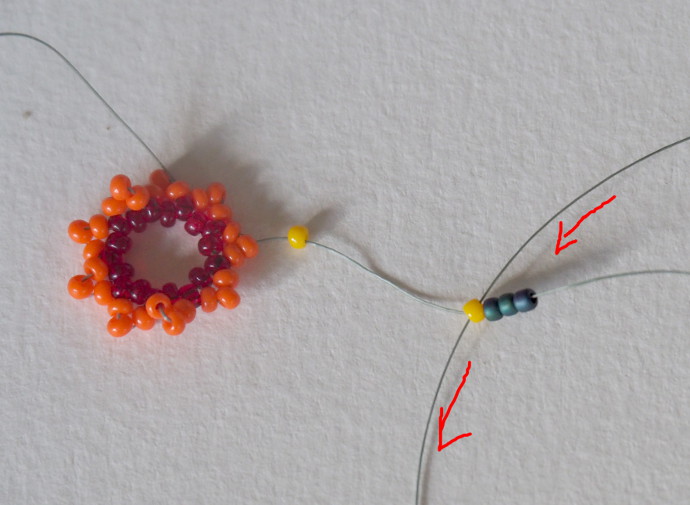
Put the thread through the second yellow bead as shown in the photo above. Going in the opposite direction of the first time the thread was put through.
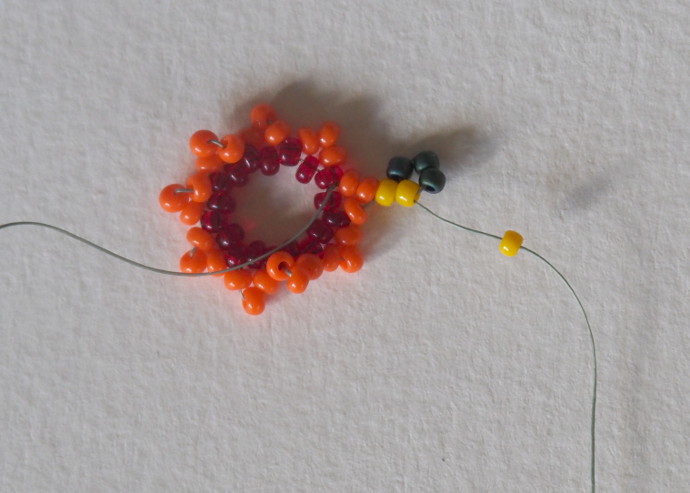
Add another yellow bead.
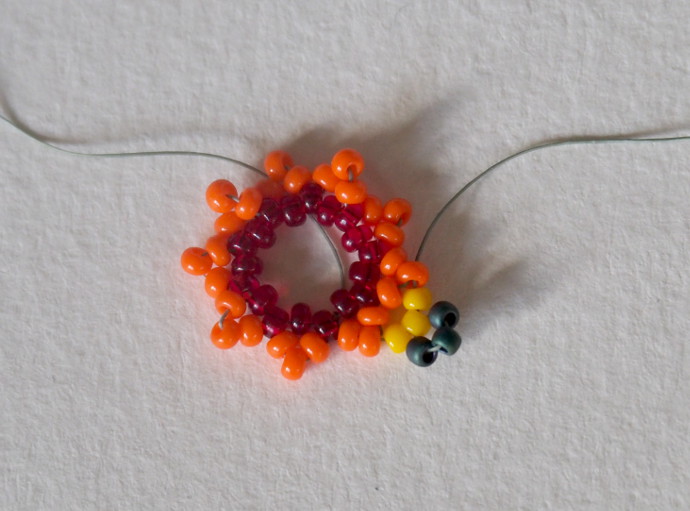
Put the thread through the next top orange bead. Repeat the process until you come full circle.
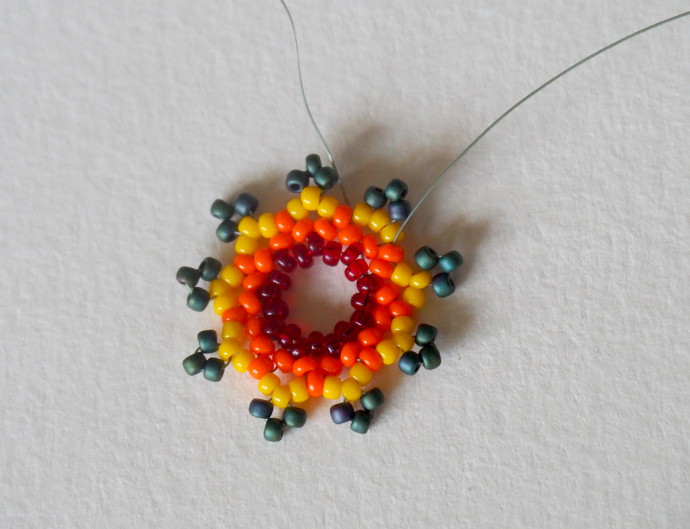
There is a drawn image below.
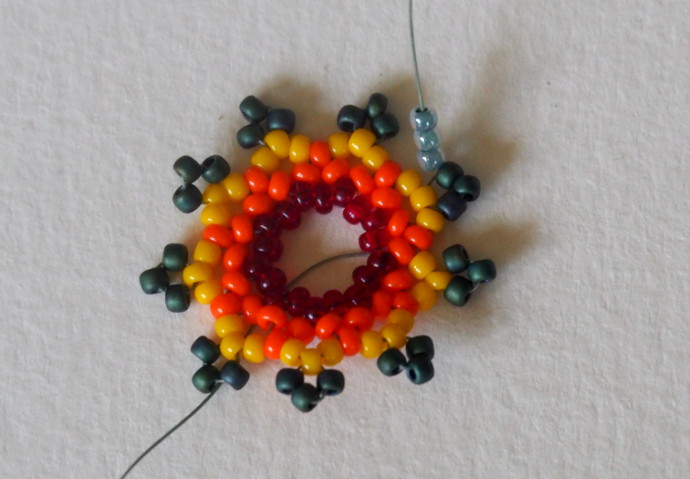
Next layer is the greenish blue. Pull out the thread from one of the bottom dark green beads. Get two greenish blue beads on, then put the thread into the next dark green bottom bead, pull all the way through the three dark green beads, and do it again. (I know in the above photo there are three greenish blue seeds. Turned out that three was too many, and stretch the circle out in a weird way, so I downsized to two.)
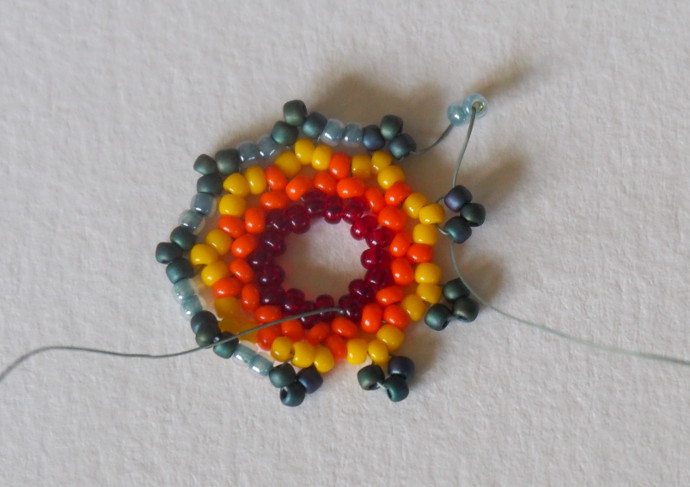
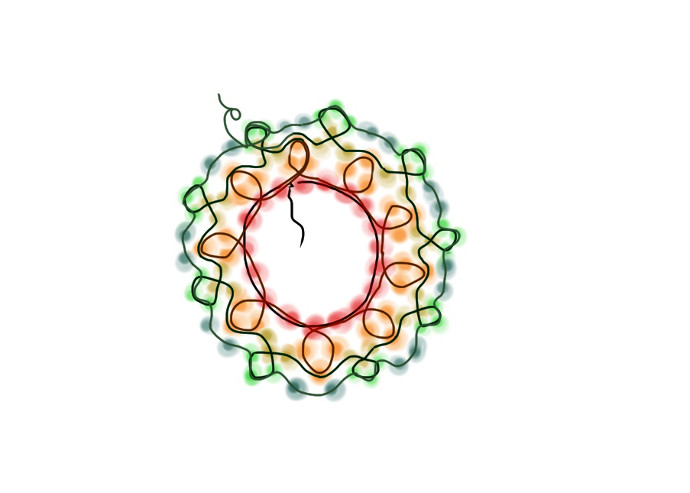
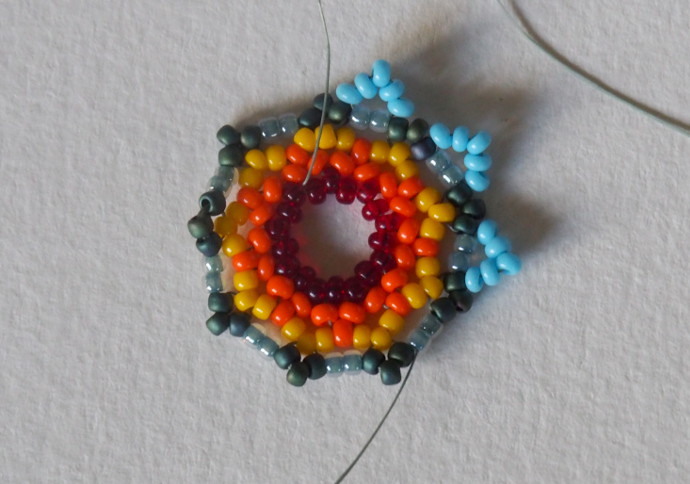
Up next is light blue. Your thread should be coming out of one of the dark green beads on top. Pick up five light blue beads, pull the thread through the top dark green again. Then repeat the process until you complete the circle.
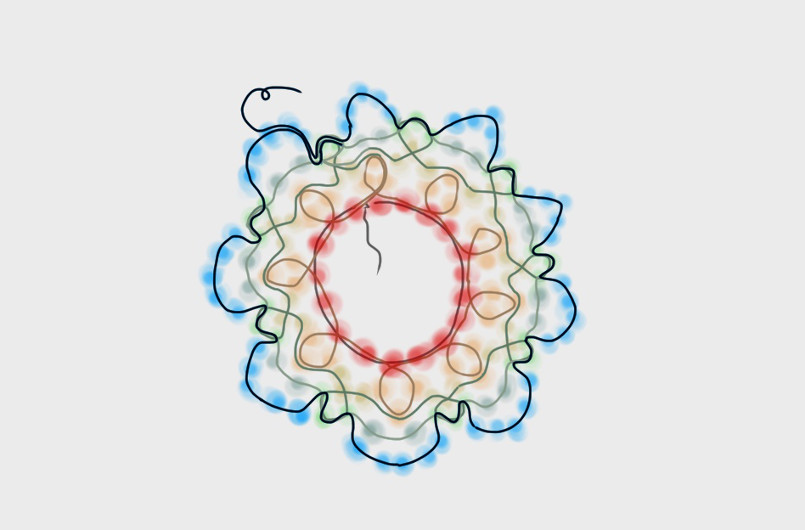
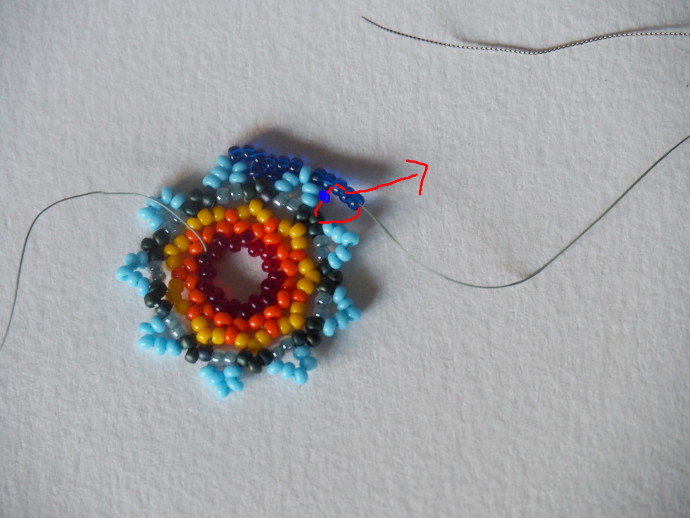
Dark blue layer is a bit tricky. Your thread should be coming out from the top light blue bead. First, pick up 5 dark blue beads.Then put the thread through the corresponding top dark green bead, pick up another dark blue bead. Put the thread through the third and forth dark blue beads, add two more dark blue beads to the thread, and go into the top light blue bead again. Repeat until the circle is complete.
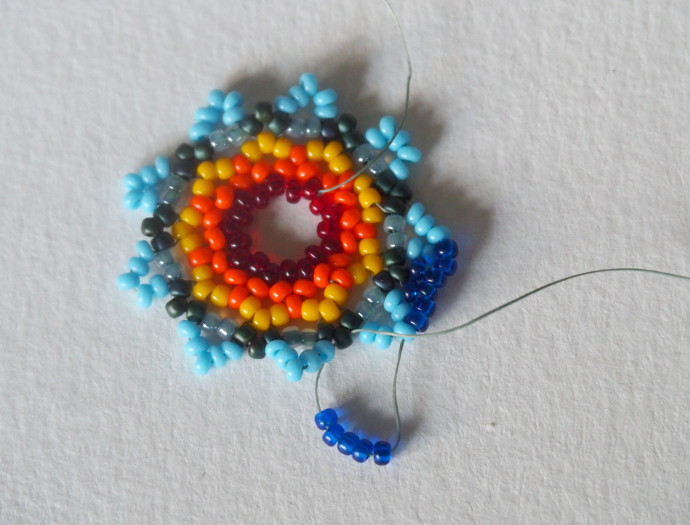
Here are the first five dark blue beads, and putting the thread through the top dark green bead.
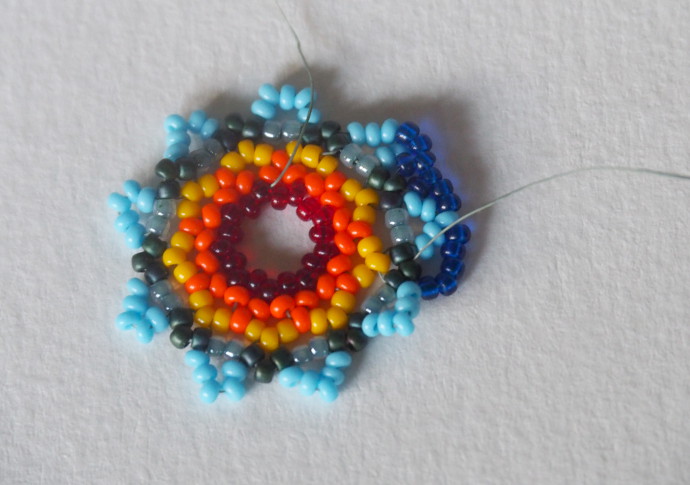
Now add one more dark blue bead.
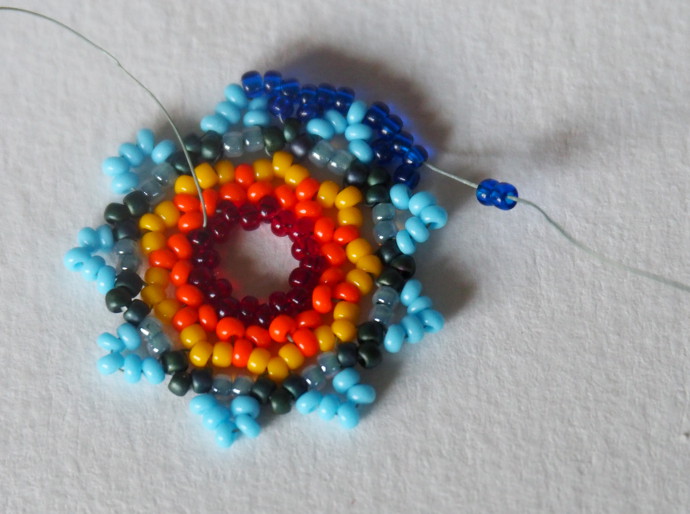
Put the thread through bead 3 and 4, and add two more beads. Put into the top light blue one, and keep going.
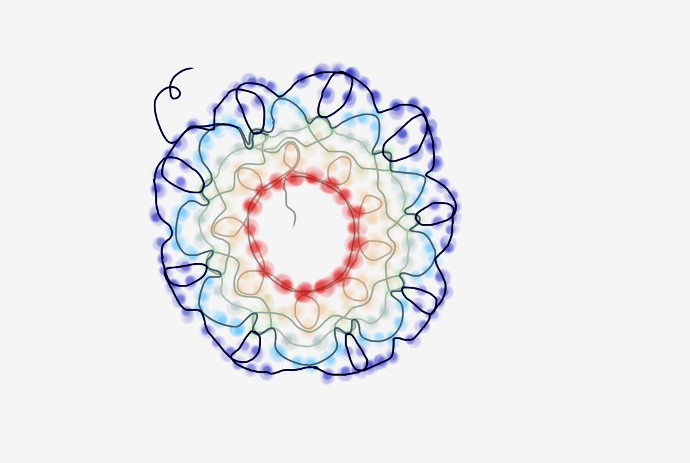
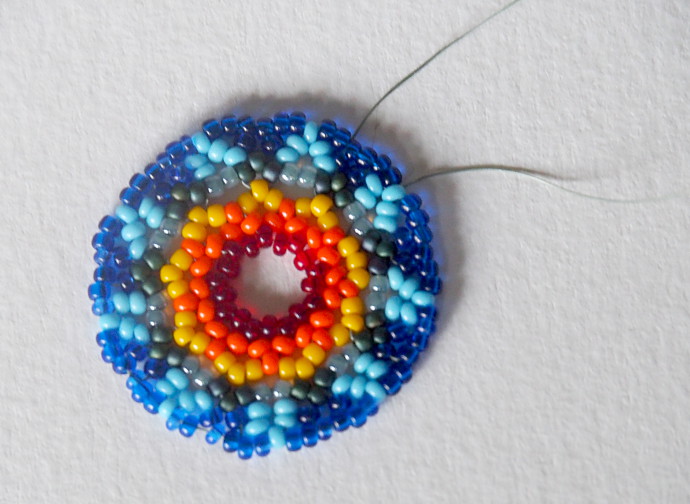
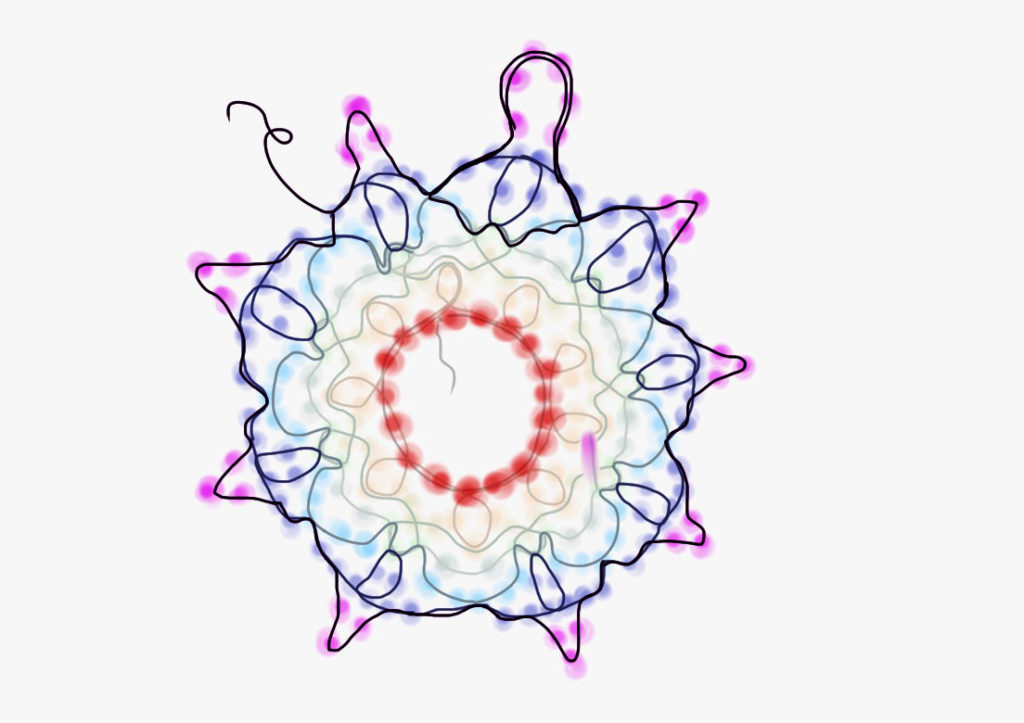
For the purple layer, I added three purple beads, skipping the top two dark blue beads, as in the picture above. I added six purple ones for the loop that will attach to the earring itself. I also reinforced the loop by looping the thread through it more than once.
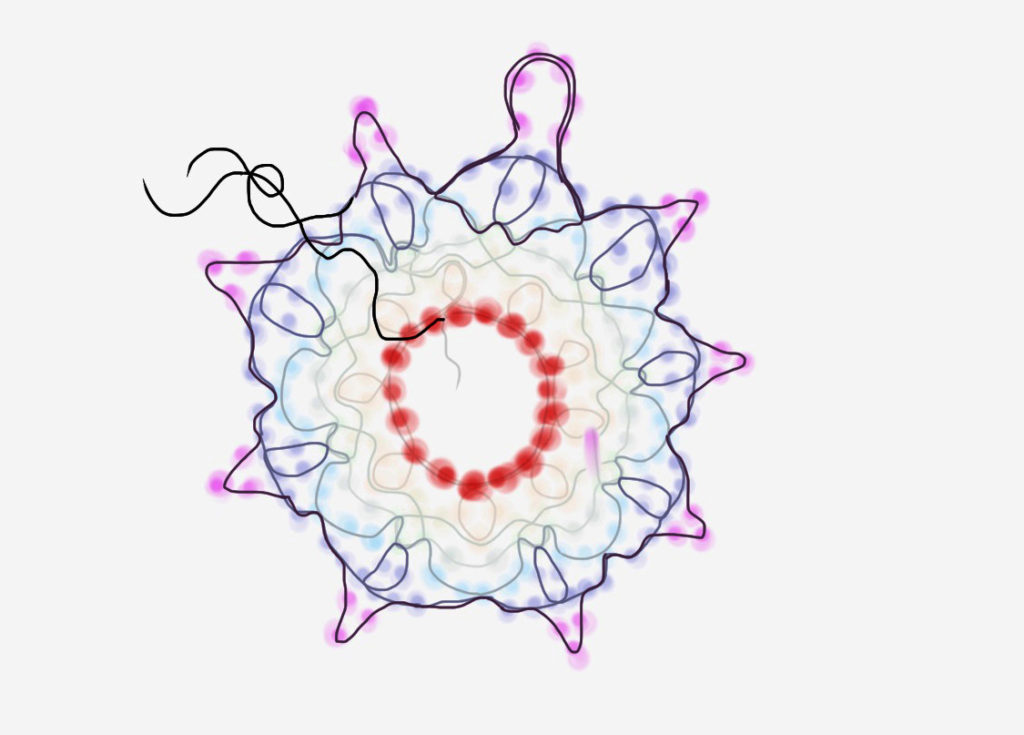
As a final step, I threaded the shorter end of the string through the beads to bring it to the top. Tied them together in a knot, and threaded them back throughout the earring to hide them before clipping off the ends.
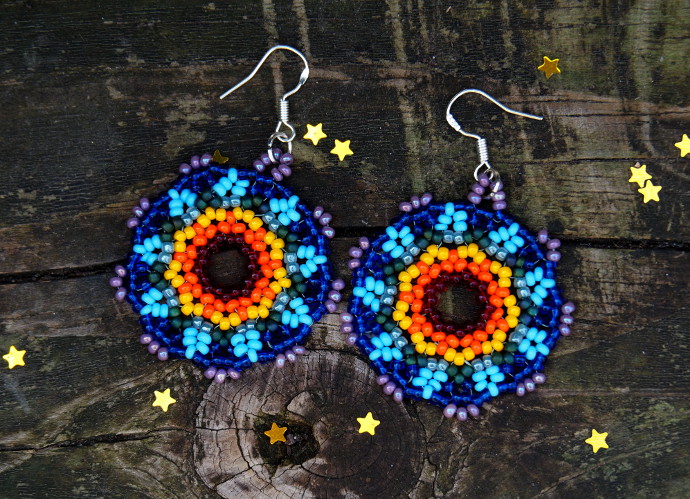
I was seriously considering keeping these for myself, but I did put them on Etsy for now, though I might still change my mind.
If you liked these, you might like to make these earrings too.