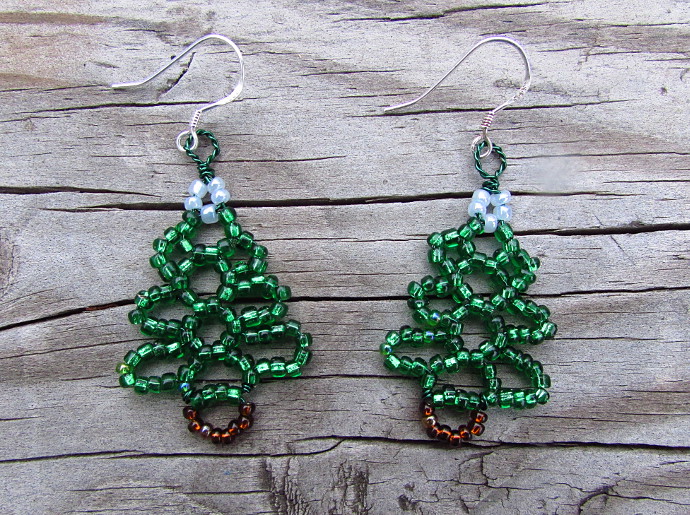
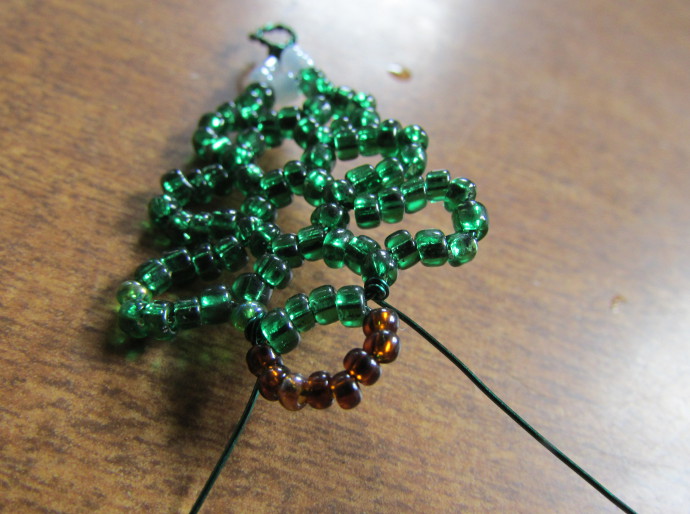
As the holidays near, I always make a few handmade presents for those friends that celebrate. The gifts are always well received. In the past years I have made fabric gift bags, aprons, pillowcases, knit hats and scarves, jewelry and more. This one is a good one for a friend that enjoys earrings, though I think I will mix up the colors a bit, and instead of the shiny green use a flat green. If you are looking for an easy and quick handmade gift for someone, these might be just the thing.
Let’s talk first about what you will need to make these easy beaded Christmas Tree earrings.
***This page contains affiliate links.***
For earrings, I always use Sterling Silver French Hooks, like THESE. I also can’t live without my pliers. I bought mine years ago at a craft store, and they are very similar to THESE. You will also need wire. I used a dark green wire I had at home. For these earrings, the thinner, the better. Remember, when buying wire, the higher the gauge, the thinner the wire. For example, here is a deep green 30 gauge wire that can be used for these earrings. You will also need green, brown and blue (or whatever color you want your tree to be) seed beads.
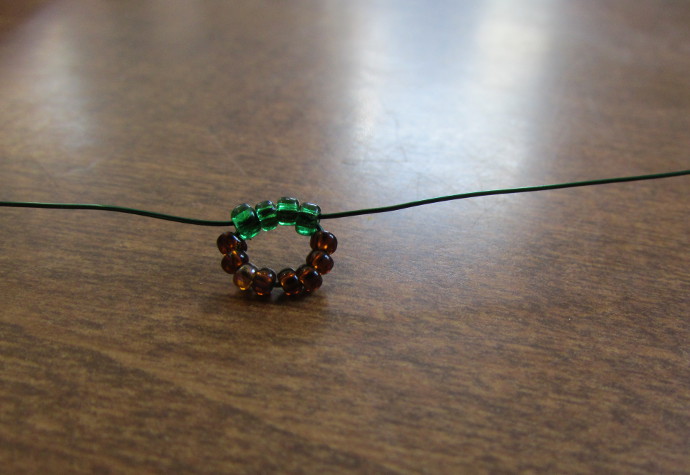
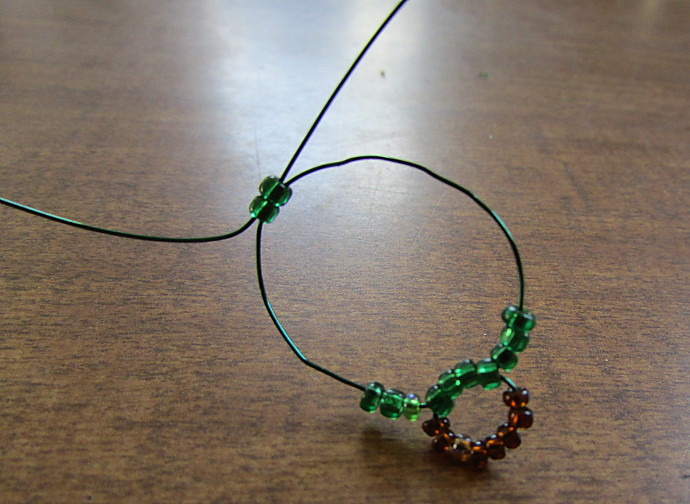
To start with, cut about a 18 inch piece of the wire. Put 8 brown seed beads on. Then 4 green ones. Put the ends of the wire, crossed, through the green seed beads, like in the photo below.
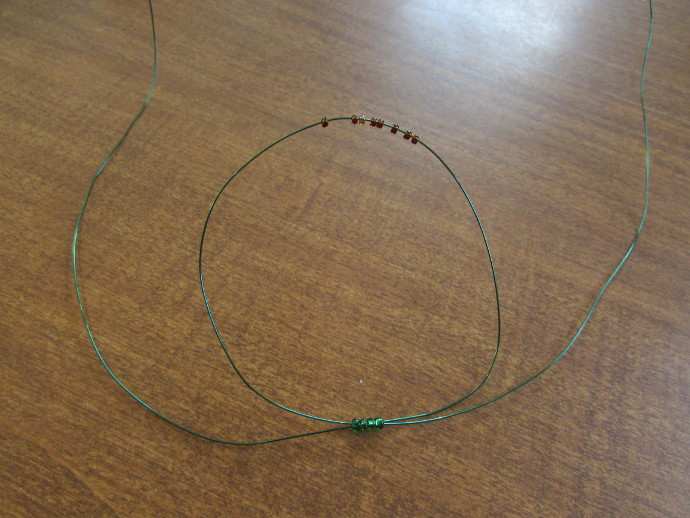
Tighten the wire to form a small loop. That will be the base of the tree.
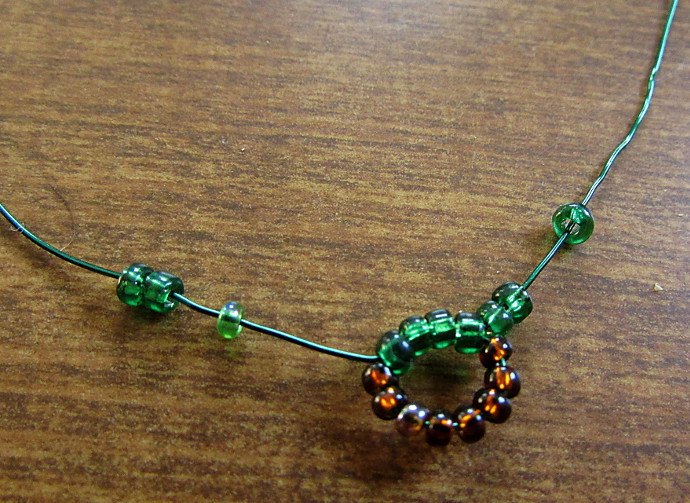
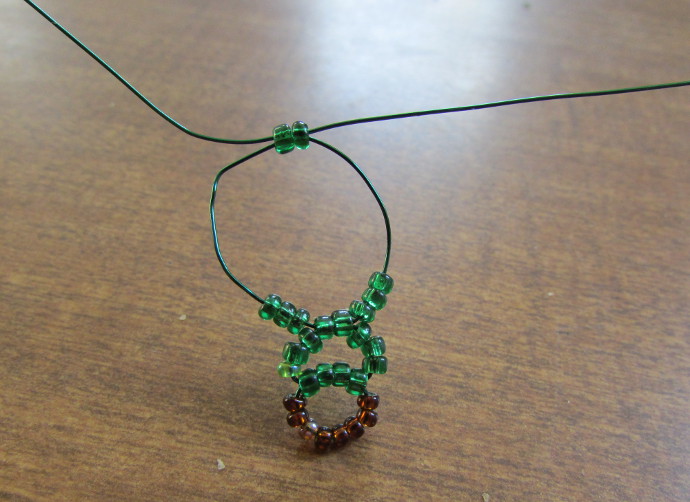
On each wire end, put on three more green seed beads.
Put the ends of the wire, crossed again, through two more green seed beads. Tighten to make another loop.
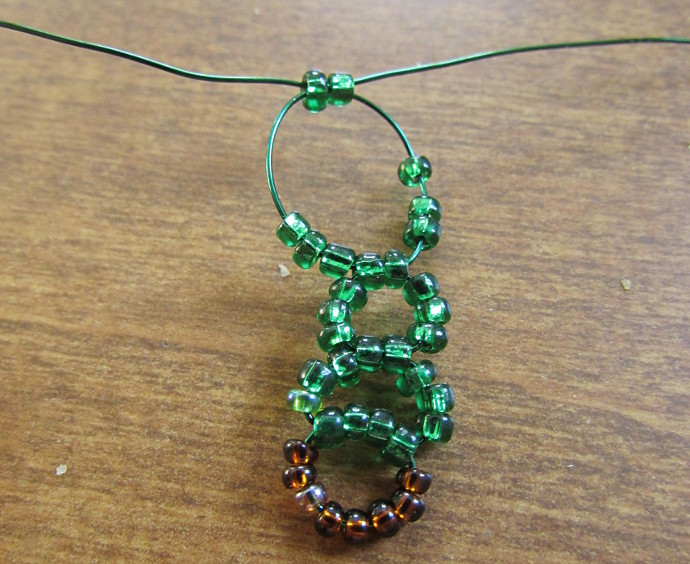
Repeat this step for another loop.
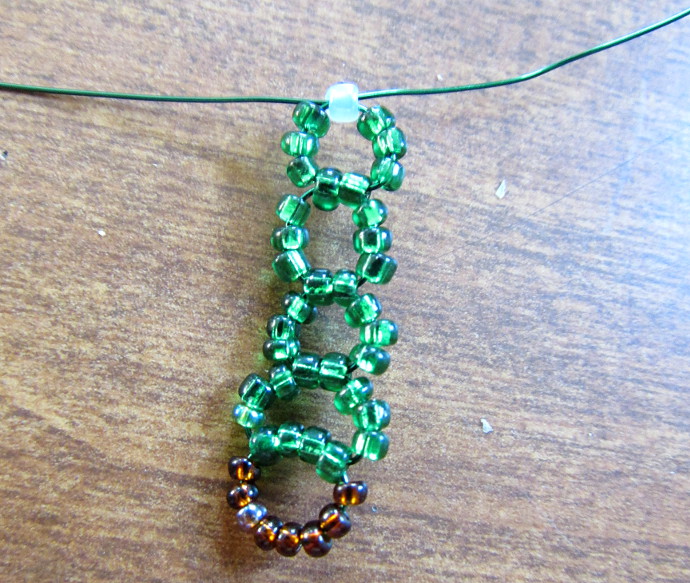
One more time, make another loop, just like the ones above.
For the last loop, #5, instead of the two green seed beads, put a larger blue (or whichever color you prefer) bead, and put both ends of the wire, crossed again, through it.
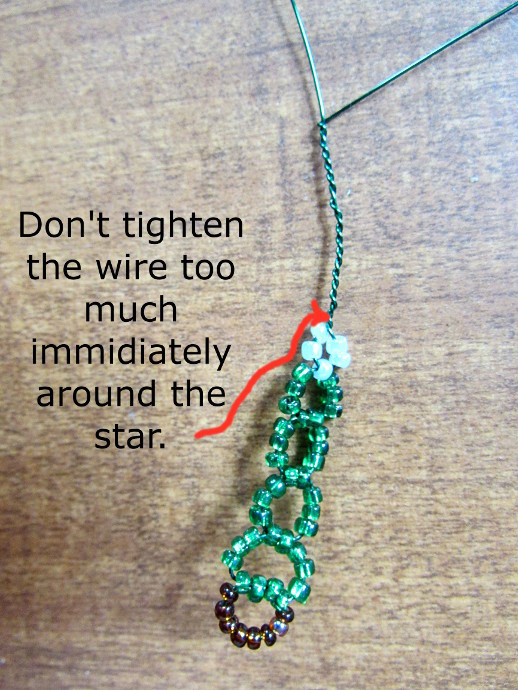
Put two more blue seed beads on each end of the wire, and twist the wire for about 3/4 of an inch. Don’t tighten the wire too much at the bottom, if you do, it will be difficult to put the wire ends back through the blue beads.
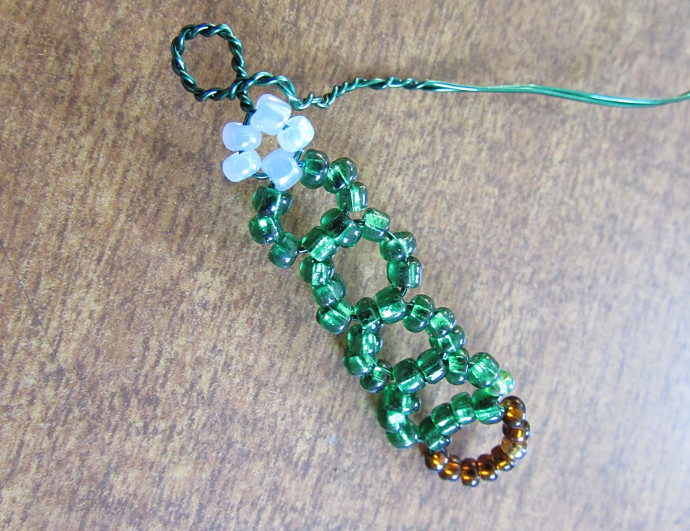
Make a loop with the wire, and wrap the twisted portion around itself.
Here is the part where it can be a bit of a difficulty. Be careful not to tag too hard in order to not break the thin wire.
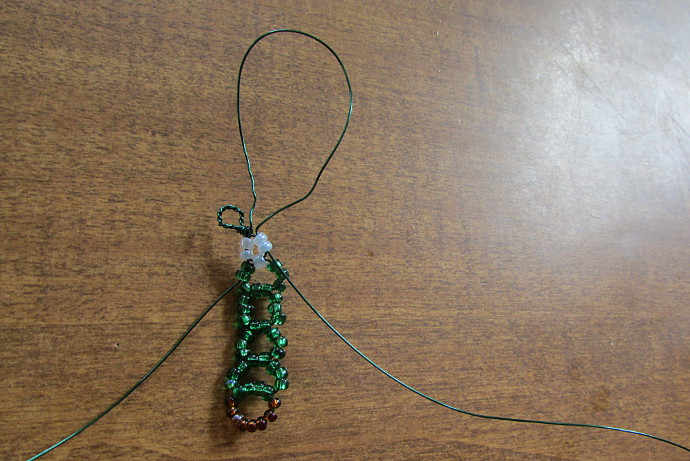
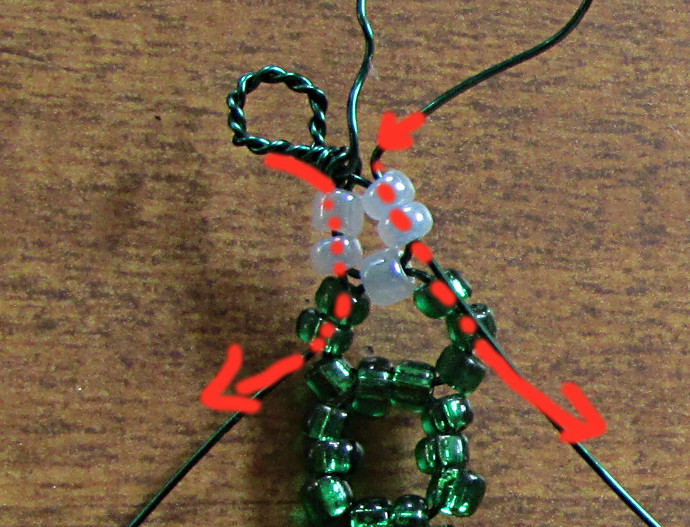
Push the wire back through the two blue beads on each side. One end of the wire goes on one side, and the other goes on the other side.
Here is an enlarged picture. After you push the wire through the blue beads, push it through the first two green beads on top.
This is what it should look like now.
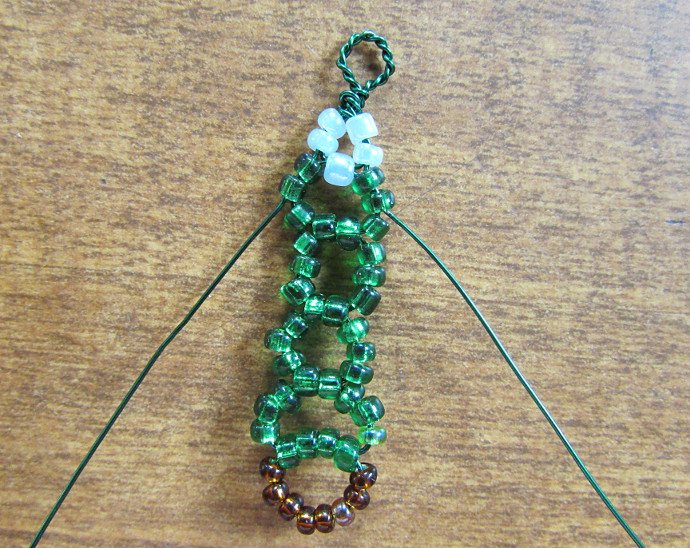
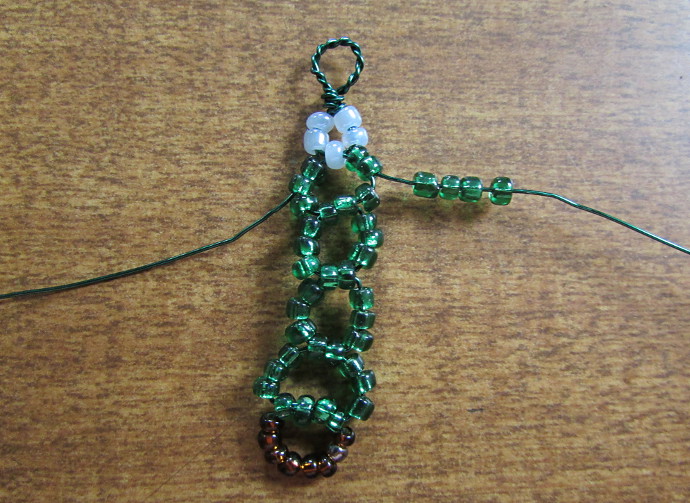
On each side of the wire put 4 green seed beads.
Now push each end through the middle seed bead on the second (from the top) loop. Like in the photo below.
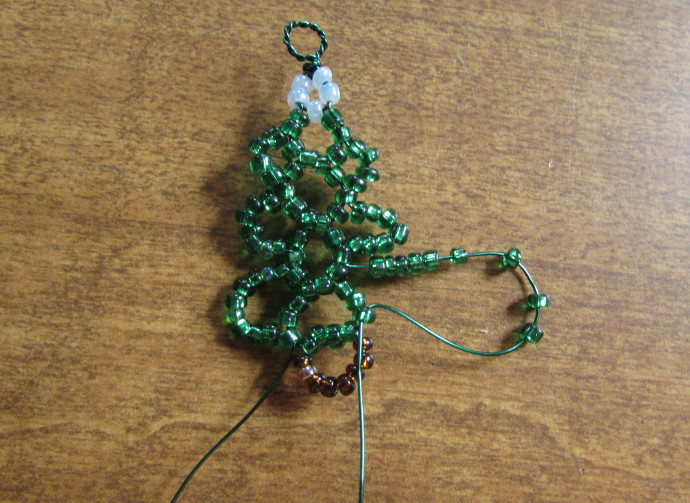
Next, put on 7 seed beads on each end, and repeat the same step.
Put the wire through the middle bead of the next loop.
It should look like this:
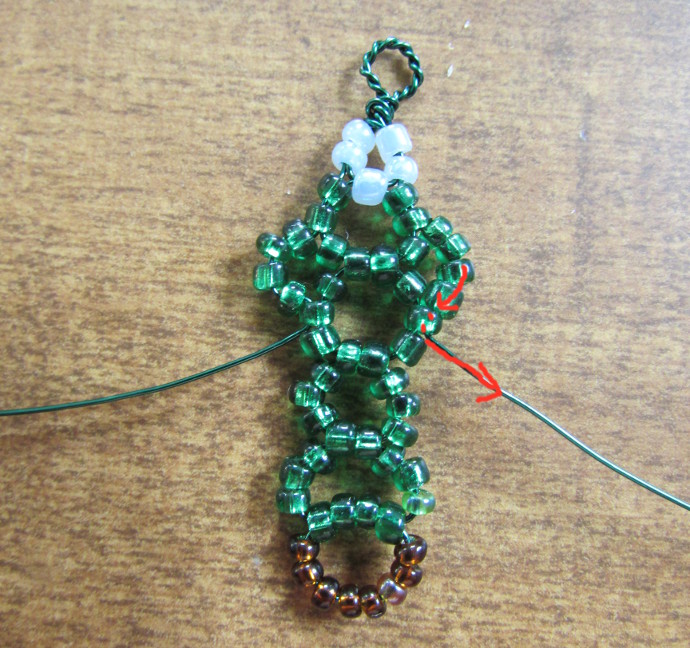
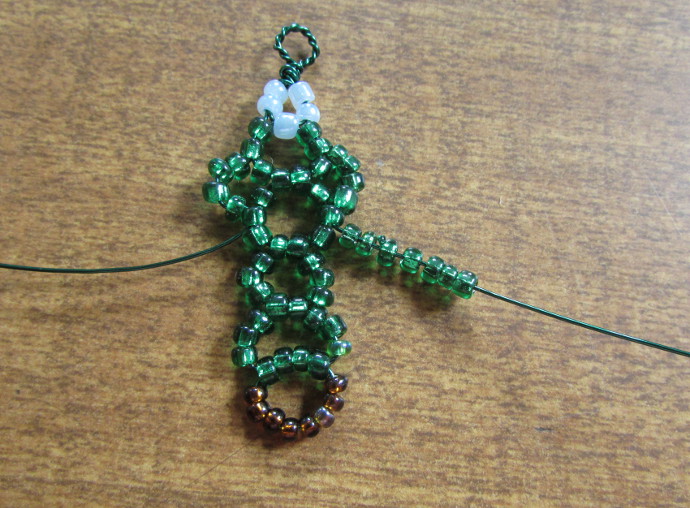
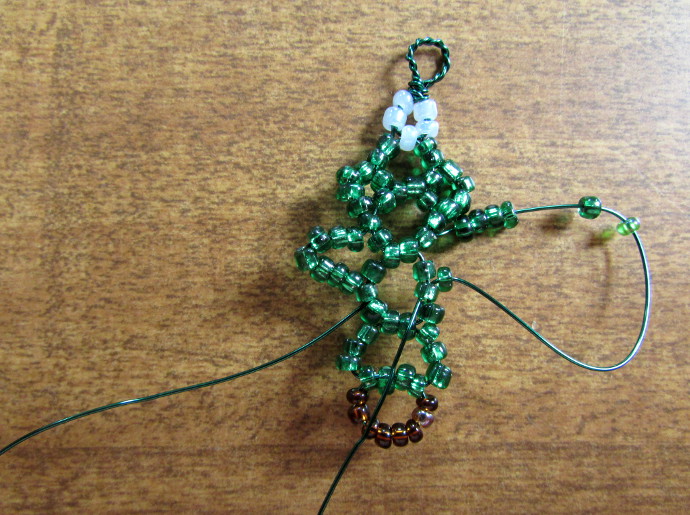
Next, put on 9 green seed beads on each wire, and put the wire through the LAST bead on the next loop.
Just like this:
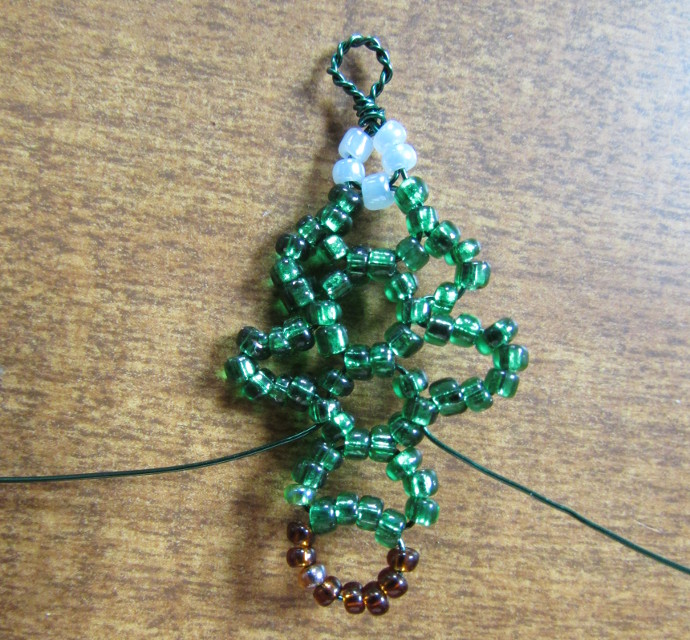
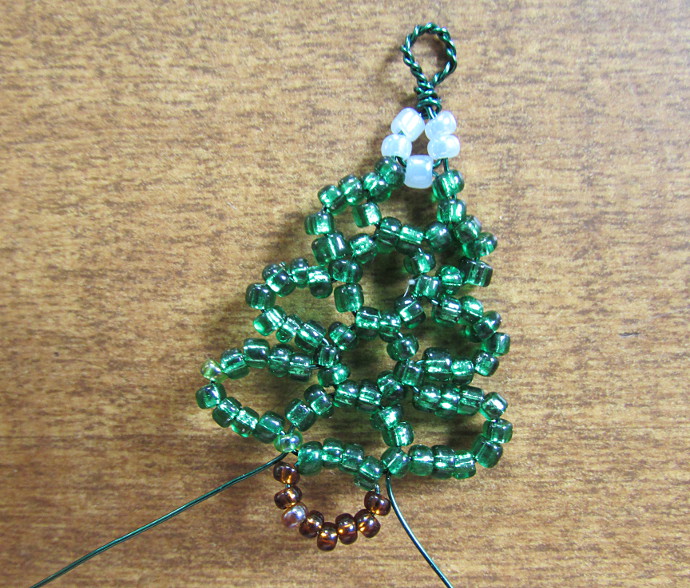
Carefully wrap the wire ends around itself, and trim the ends. Use pliers to make sure sharp ends do not stick out.
All done!
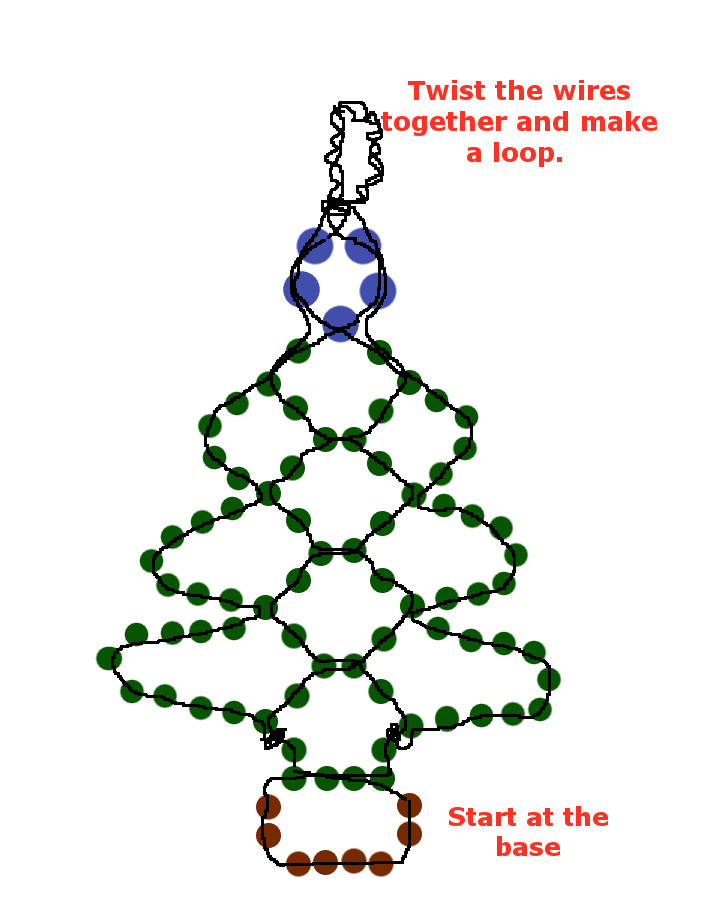
To make it easier, I made a pattern. I am sure that there area other, better ways, to make a pattern other then draw it free hand in Gimp. This is the best I can do right now though, so I hope you find it helpful. Except I made a mistake: in the actual process, at the end, I put the wires through the last bead on the bottom loop, and then secured and cut them off. In the pattern I drew the wire going into the bead before last, which I am sure would work as well.
