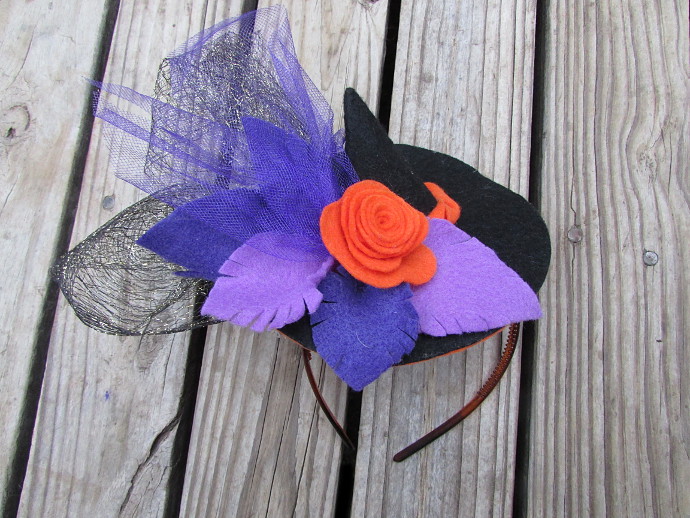
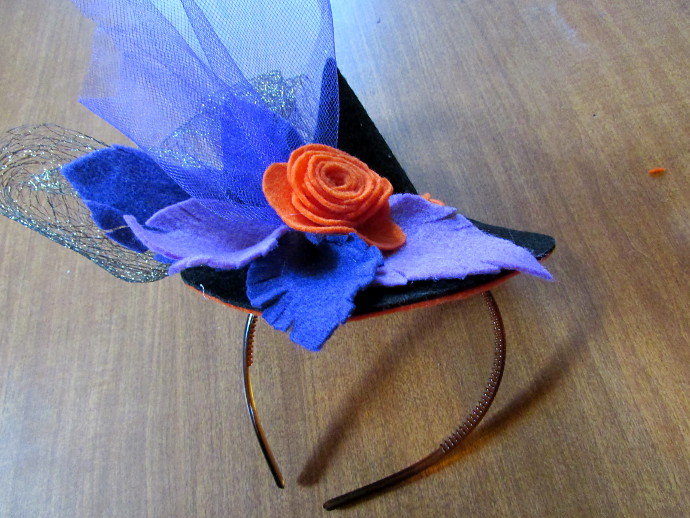
I made this hat because it’s chilly outside (not that it will protect you from the cold, I just get extra crafty with the colder weather) and because it’s almost Halloween time, and I NEED to make Halloween themed sparkly things. Besides, who doesn’t need a tiny witch hat covered in felt flowers?
***This page contains affiliate links.***
Alright, here it is. The tiny witch hat. I wanted to make it wearable, so I attached it to a hair band. Making a tiny witch hat.
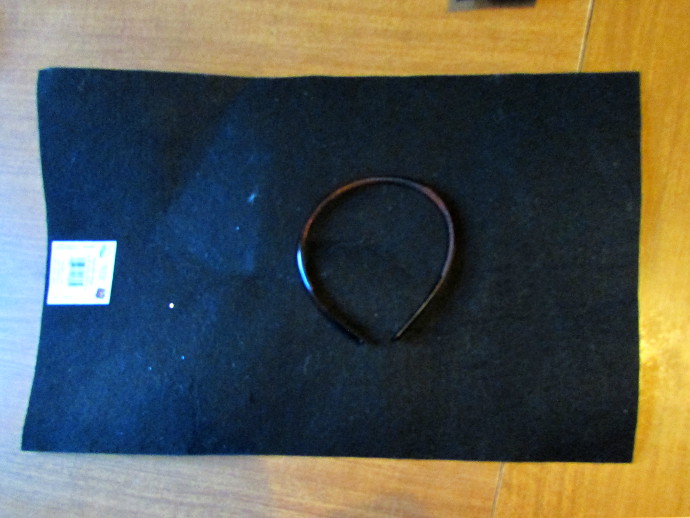
You will need several things for this project. First is a sheet of stiffened black felt. I bought mine in AcMoore, but you can find it online as well, like right HERE. You will need a few pieces of felt that is soft. I used two different purples and an orange. Again you could buy a giant multicolored pack online, like THIS ONE, or you can just get the exact colors you need at the craft store for under a dollar. You will also need a simple headband. I used THESE, but any one would work. A small bit of taffeta would be great as well. Mine came from AcMoore or Michaels, and it was a roll that costs a few dollars. I find that for little things like that it is just so much less expensive to buy it from the store, however, it can be found online, like HERE, for example. I just happened to have it at home from gift wrapping things. Of course you’ll need a small piece of chalk, scissors and a simple glue gun.
Time to get started:
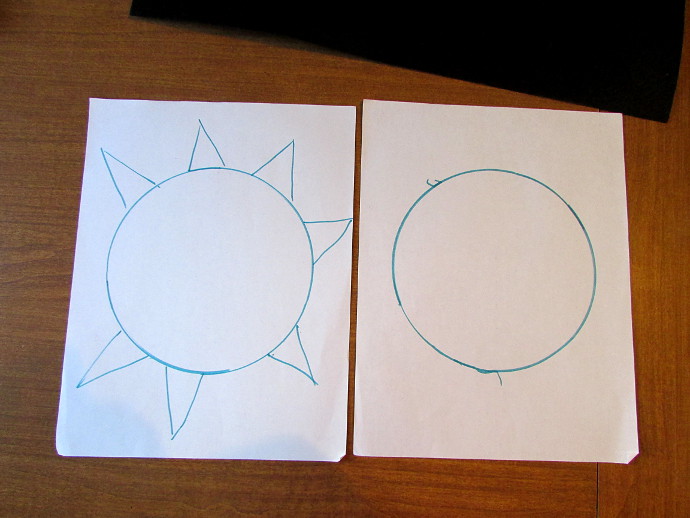
I began by tracing a DVD sized circle on two different pieces of paper. One is just a plain circle (that will be the rim), and one has little triangular tabs around it (that will be the cone).
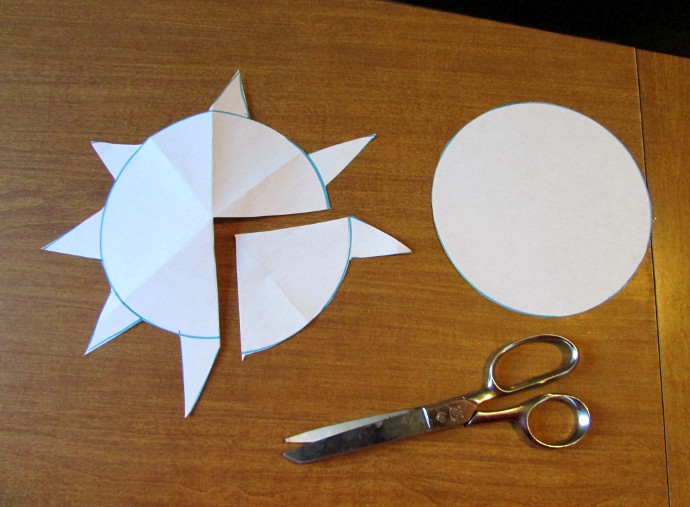
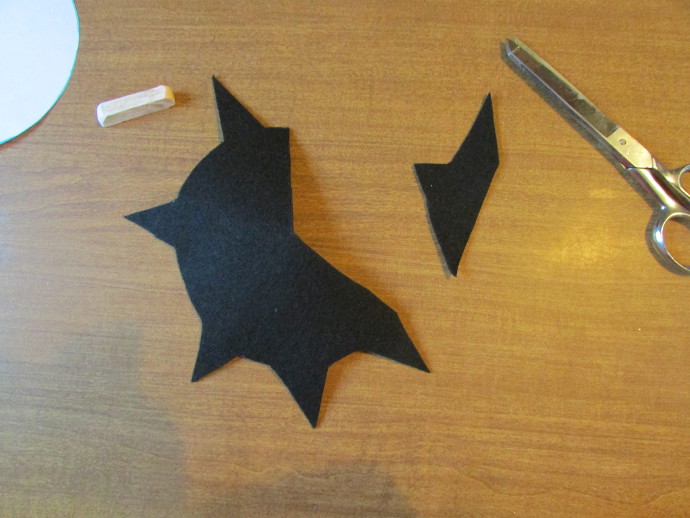
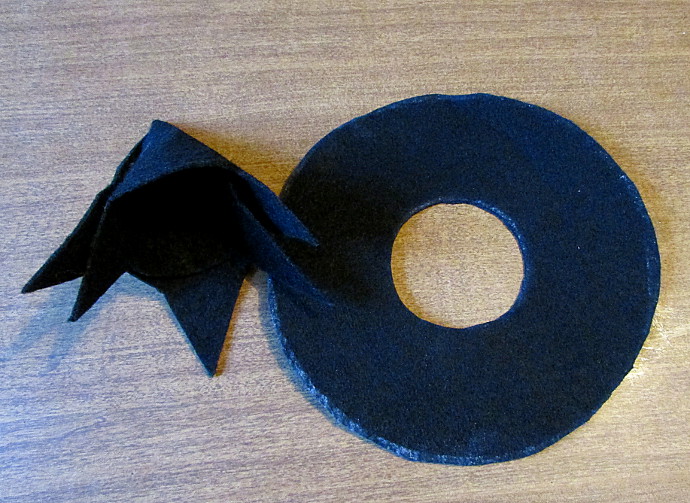
Cut them out, and cut 1/4 of the cone circle away, like in a photo below. Here is something you should know. The 1/4 is too little to cut away. I actually would up having to cut another 1/8th off as well.
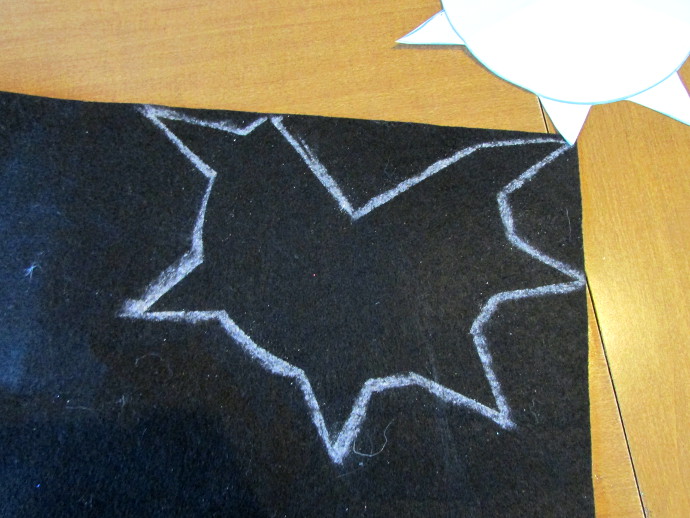
Trace the cone circle with chalk on the black stiff felt, then cut it out.
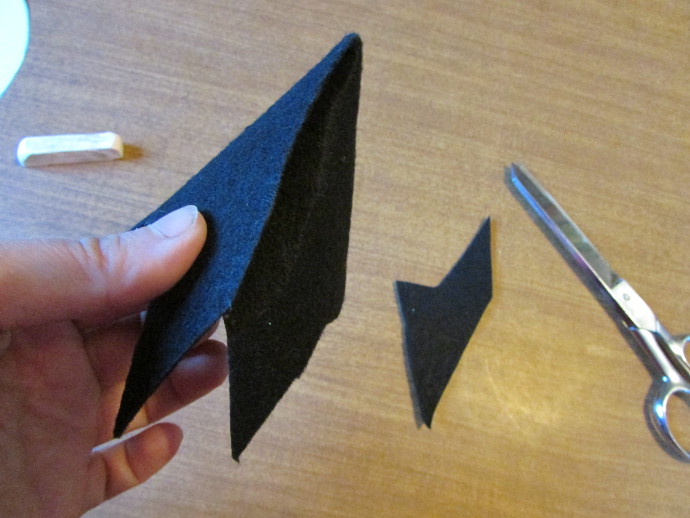
Here is where I had to cut away the extra 1/8th of the circle. It simply was too much felt to roll into a good sized cone otherwise.
Roll it into a cone, and hot glue the edge on together.
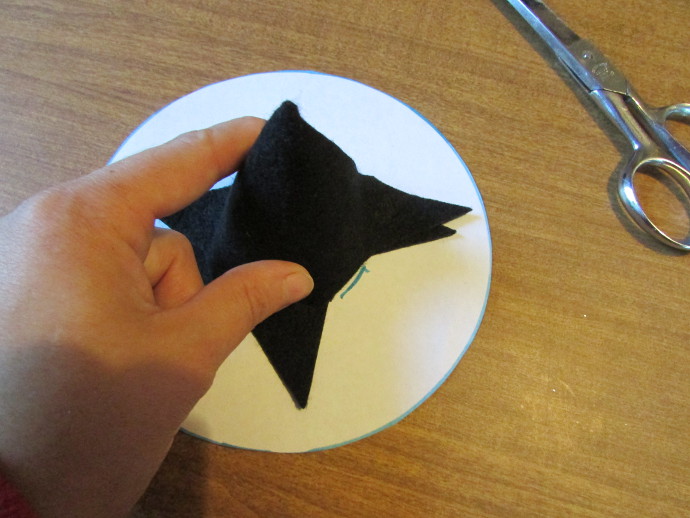
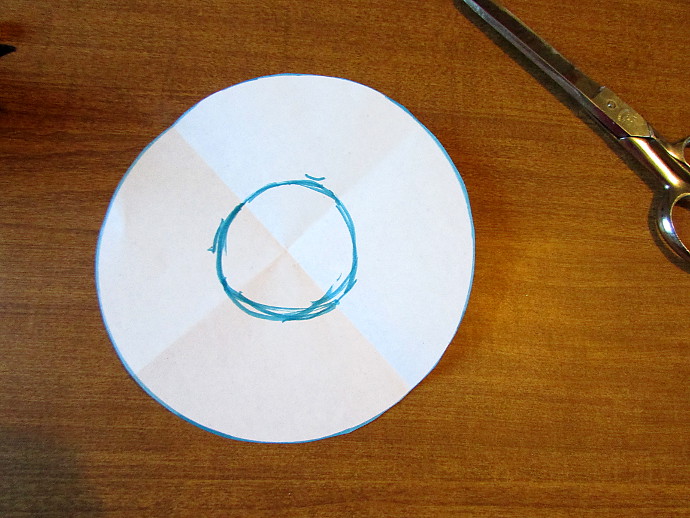
Now place your cone on the paper circle for the rim of the hat. Trace the small circle in the middle. It doesn’t have to be perfect, just an approximate size.
Go over your markings to make a complete small circle in the middle, like this:
Trace it and cut it out of black felt.
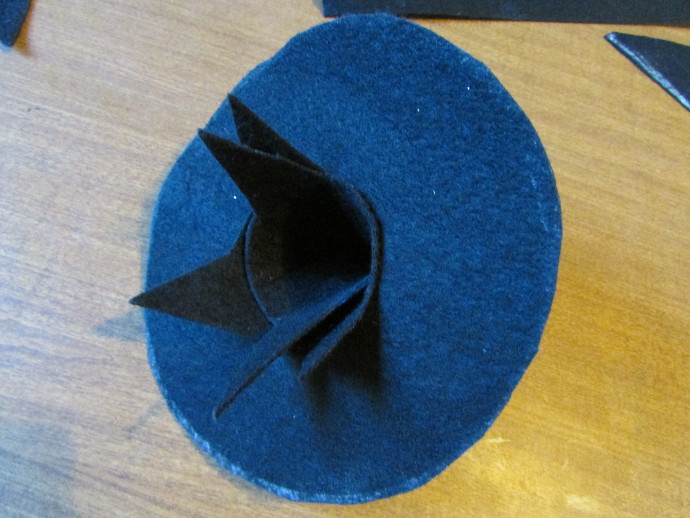
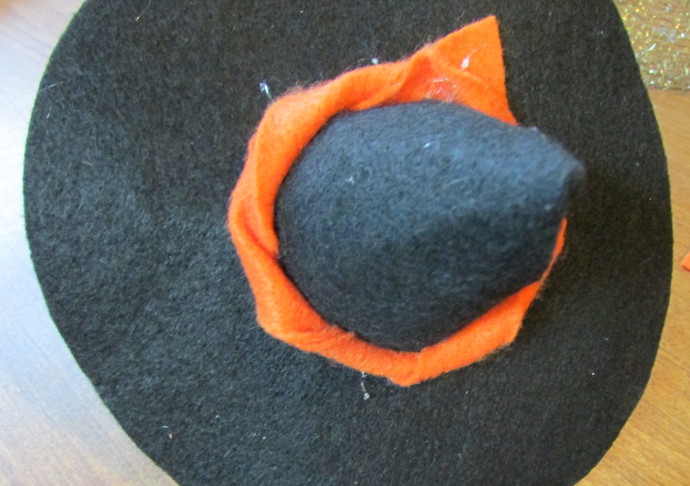
Now fit the cone through the circle, so that the taps stay below. Bend the taps parallel to the rim, and hot glue them on.
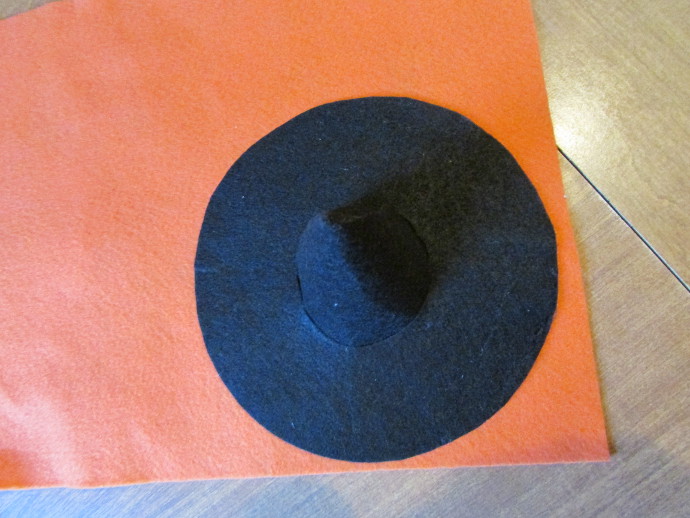
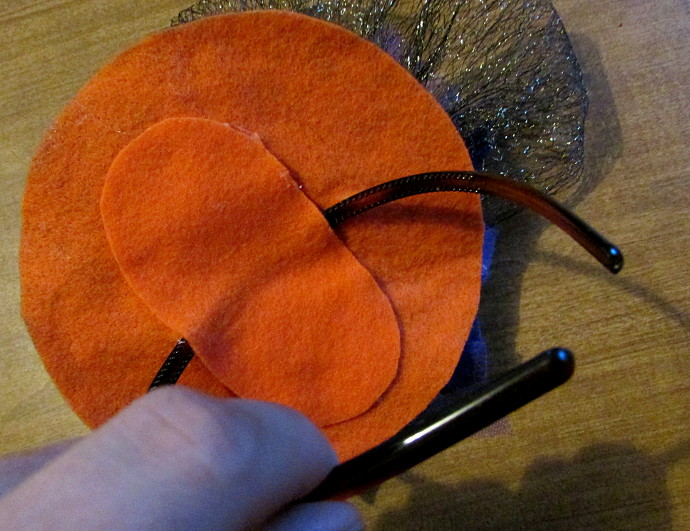
Trace the rim on the orange felt, and hot glue the orange circle to the bottom.
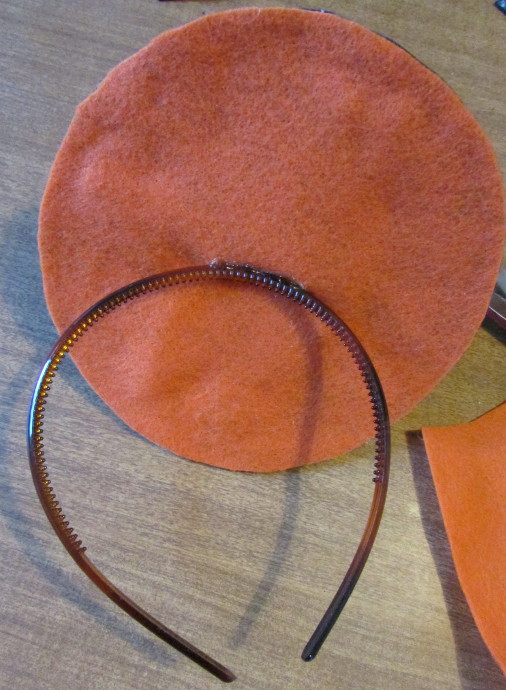
Once that is done, just use a bit of hot glue to attach it to the headband.
Use a small oval shape of felt, hot glue it over the headband to make the hat more secure.
Now comes the fun part: decorating! First, I twisted a small piece of felt and glued it all around the cone.
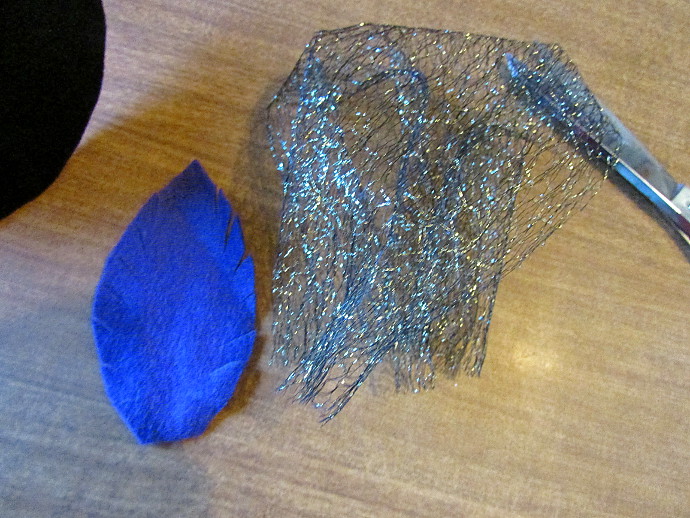
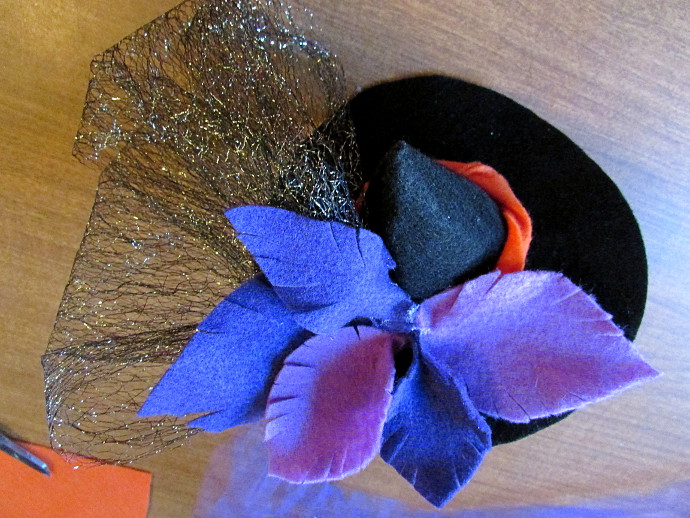
I cut out a bunch of purple felt leaves, in different sizes and different shades of purple. Also, a few pieces of tulle.
Hot glue them on, making sure that they all come out of the same spot, and burst outwards.
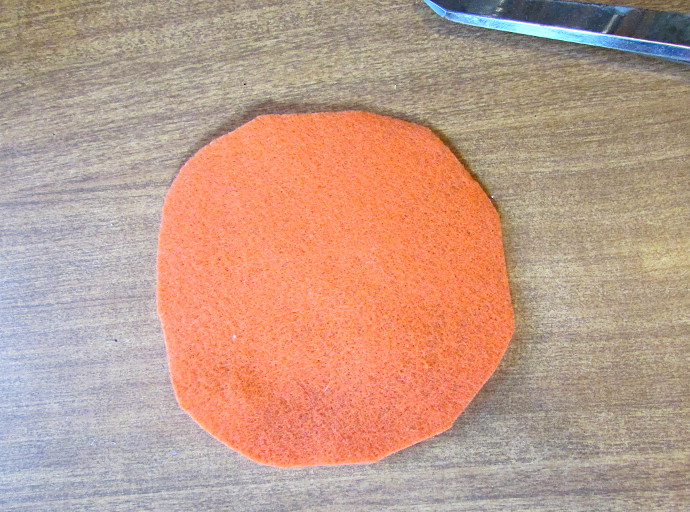
To make a felt rose, first cut a circular shape from the orange felt.
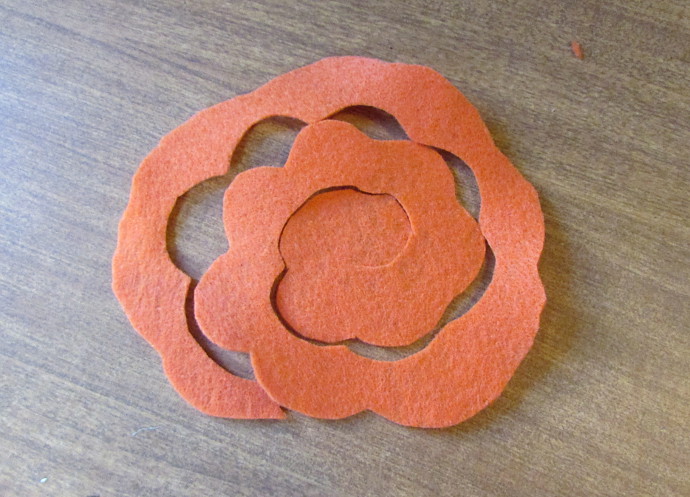
Then start on the outside of the circle, and cut in a spiral, making small flower petal shapes as you go.
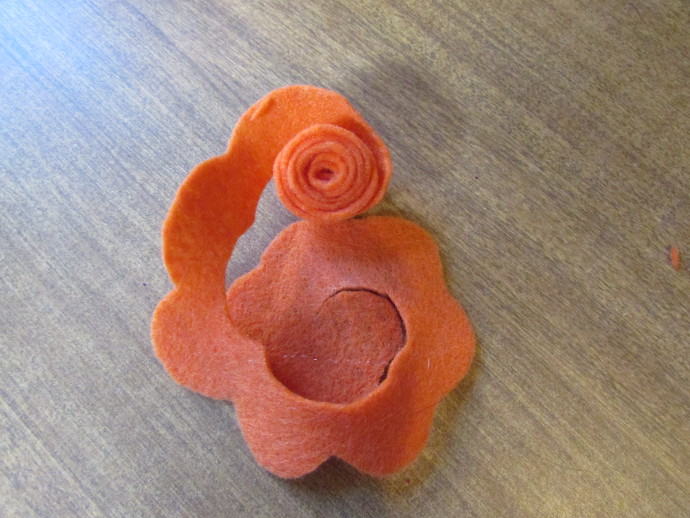
Roll from the outside in, adding drops of hot glue as you go.
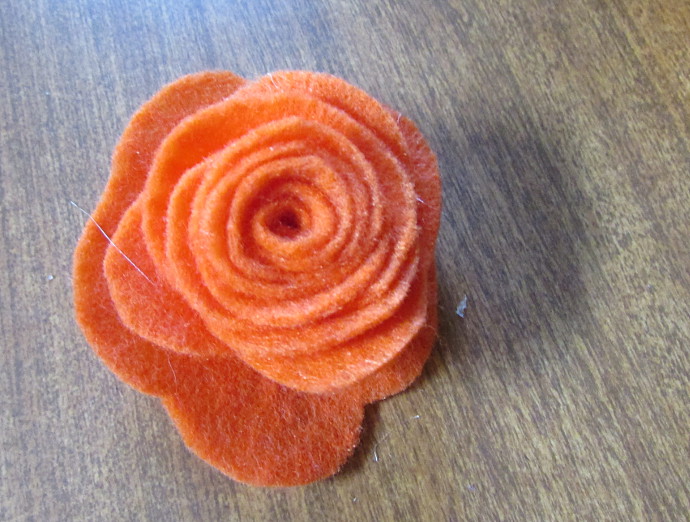
Finish making the rose.
Glue it on right in the center.
You are all done!
