This December I raided my friend’s yarn left overs. Why? So that I can make pompoms of course. Lots and lots of pompoms. It was fun! I started in December, made about four pompom garlands and now I am on my last garland for a long time to come. Sure, you could buy them, but making them is just so much more fun!
Let’s talk about making the pompoms first. There are many ways to do it. I have three.

***This page contains affiliate links.***
How to Make a Pompom.
You can, in fact always use a pompom maker, like this one right here (affiliate link). I did get something similar like this and tried it. It does make it easier to make much more uniform pompoms.
Using a Cardboard Circle
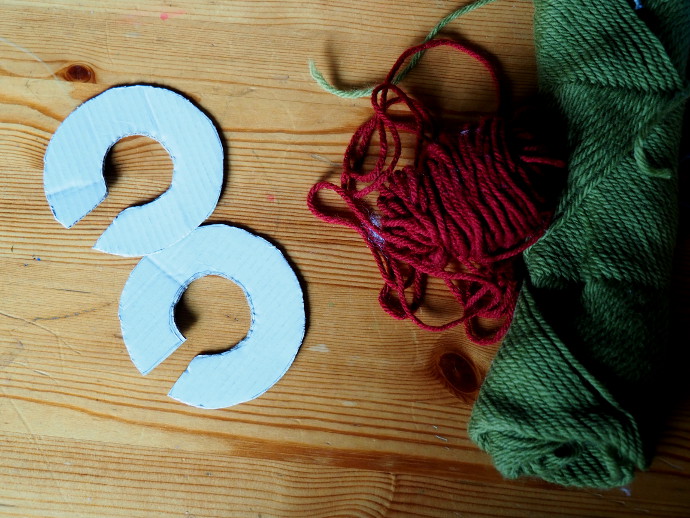
You will need to make two cardboard donuts with a slit in the middle, like in the photo above. The larger the circumference, the bigger the pompom.
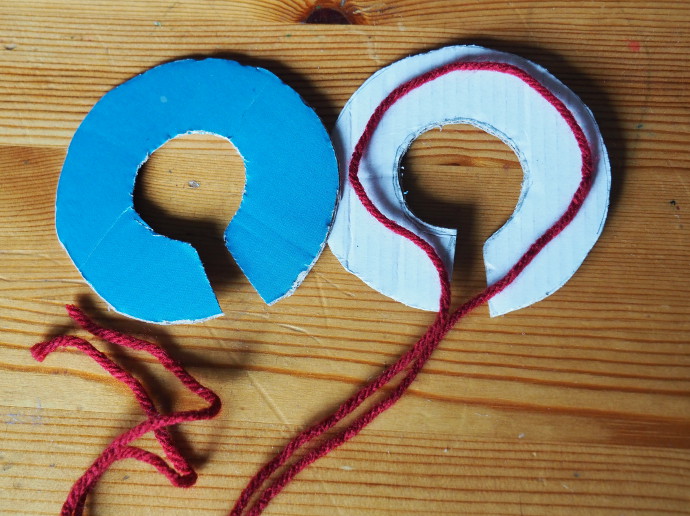
Put a string as shown in between the two cardboard donuts. This is the string that is used to tie the pompom together.
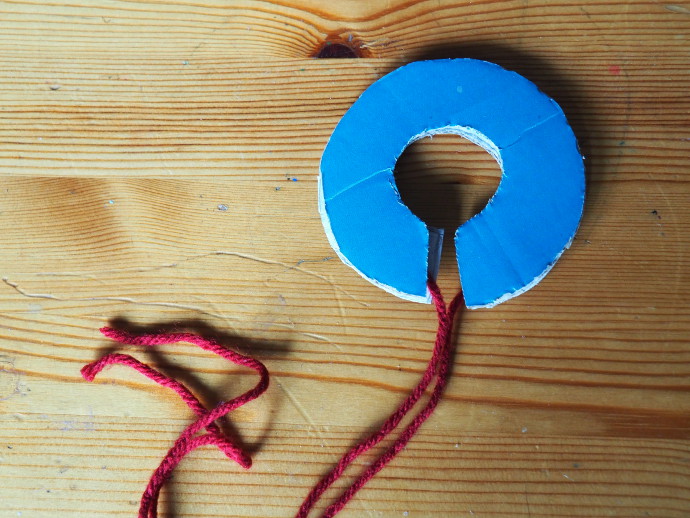
Put the two donuts together, so that the string is between them.
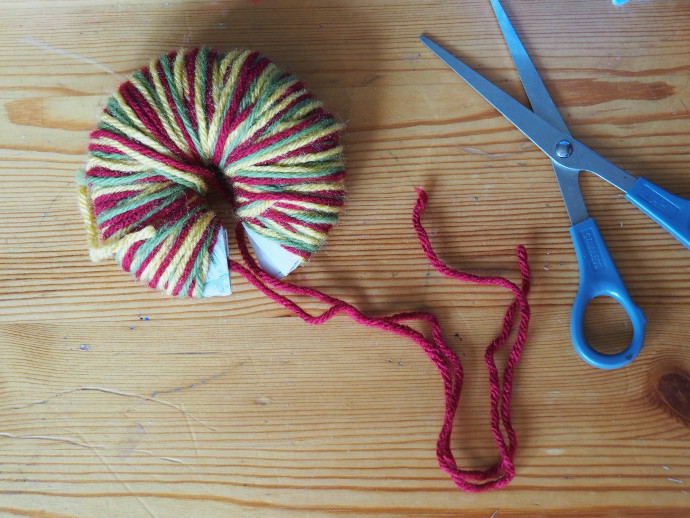
Next, just wrap the yarn around. The more you wrap, the thicker the pompom.
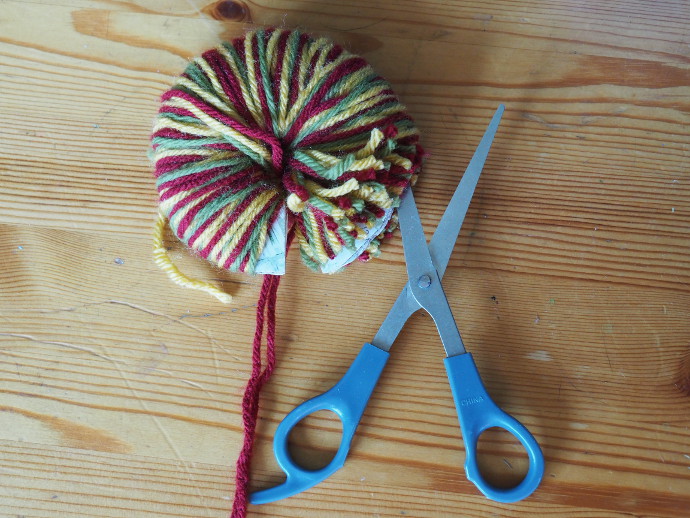
Once you wrap enough, slide a pair of scissors in between the two cardboard donuts, and cut the yarn all around.
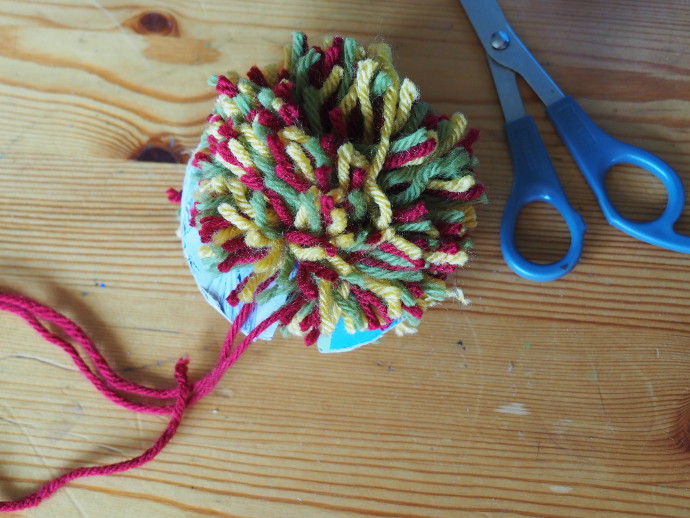
Cut all the way around, then use the long piece of yarn to tie the pompom together. Double knot it.
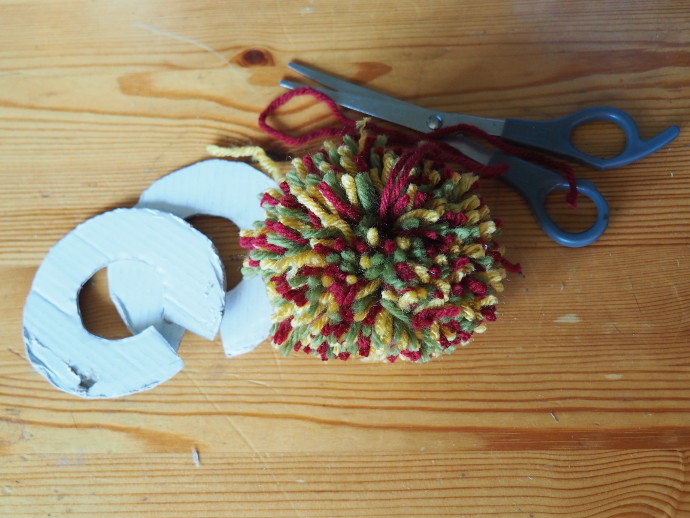
Remove the cardboard circles.
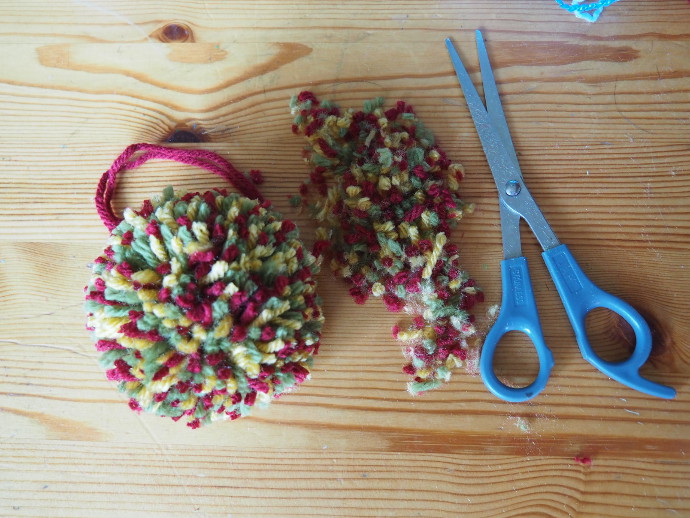
Give your pompom a haircut.
Making Lots of PomPoms Using a large Cardboard
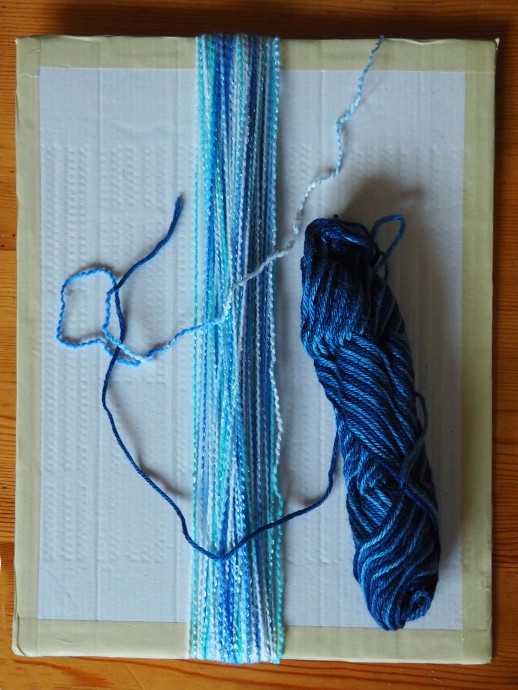
Using a rectangular cardboard (mine was about 11 by 14 inches), wrap yarn all around it.
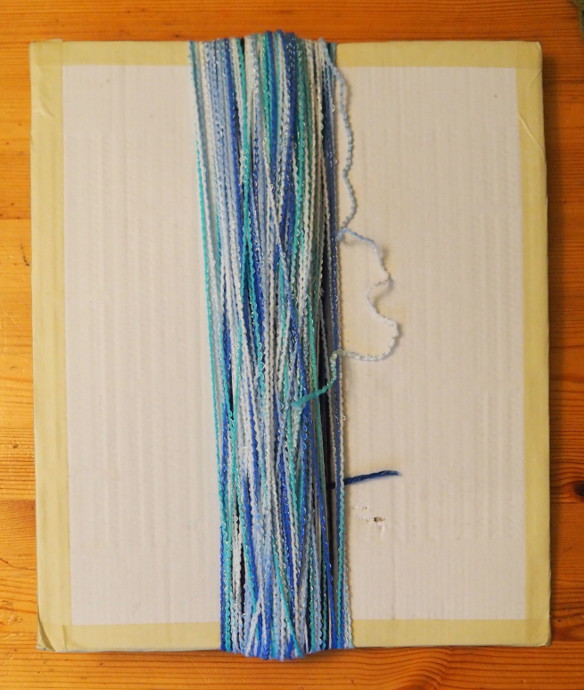
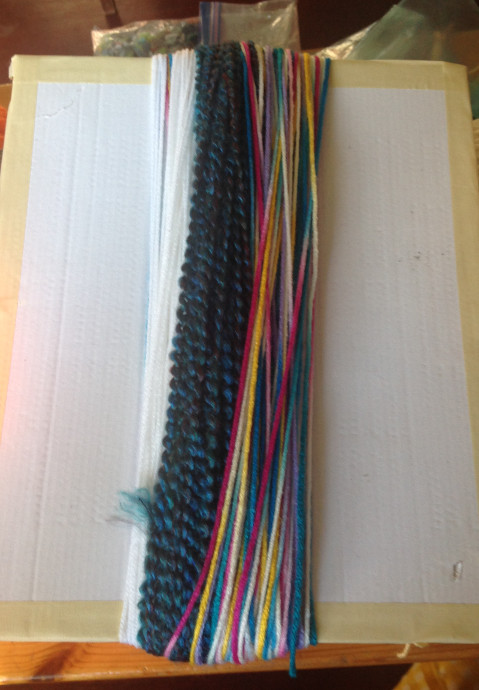
The image on the left could use more yarn. Really! You are better off using a smaller cardboard, but making sure you get enough yarn on there. The image on the right has more, but I would wind even more for a better pompom.
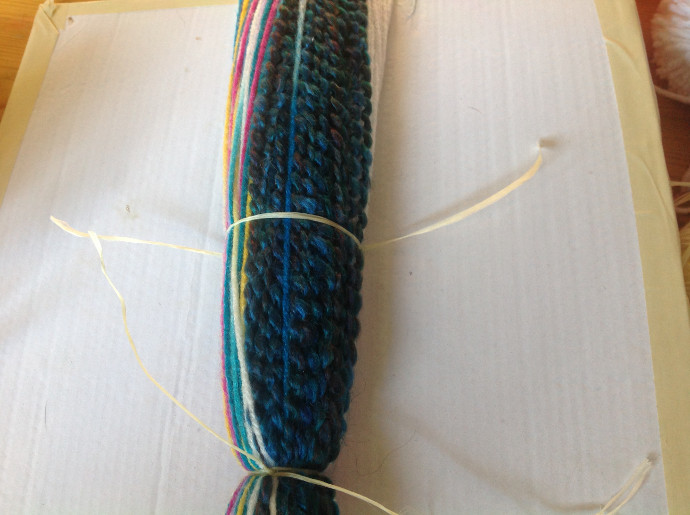
Next step is to tie off sections of the wrapped yarn. About the size of each pompom. I liked using wax cord to tie it initially. First, wrap the string around once, then tie it nice and tight. You can buy wax cord, but I found that it reminded me greatly of inexpensive dental floss. I wonder if I could make that work.
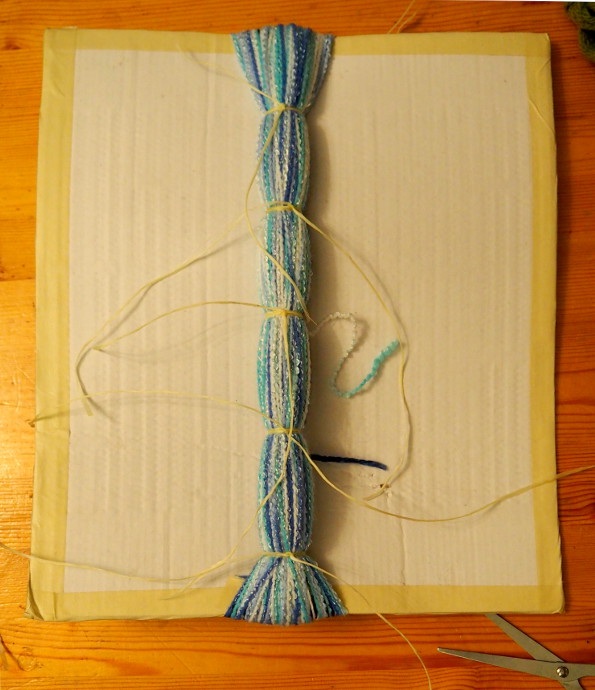
You can tie the yarn all around the cardboard, front and back.
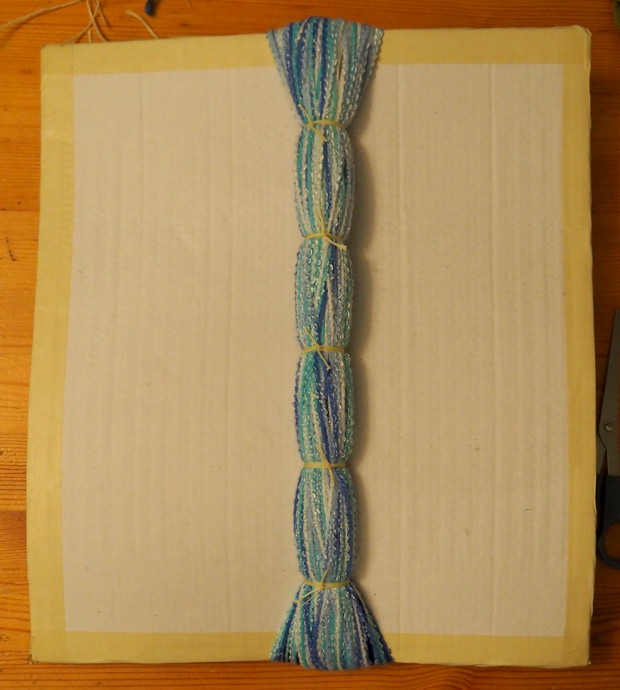
I cut the wax cord nice and short.
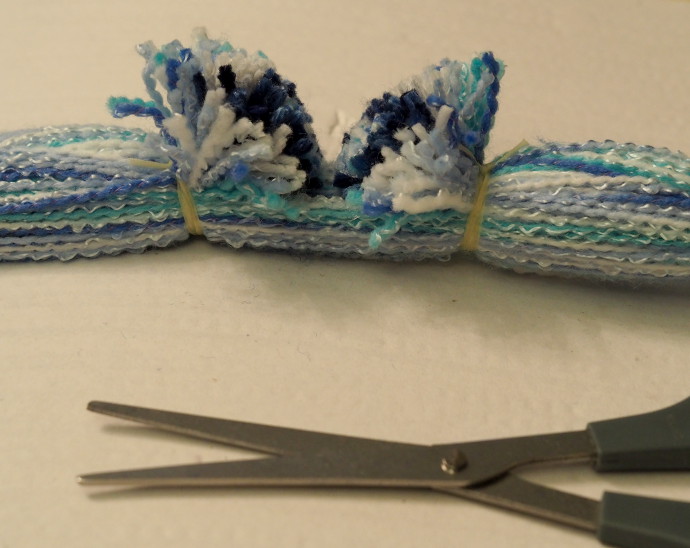
Start cutting the yarn equally between the wax cords.
When you are done, you will have a little pompom thing, like the one in the photo above.
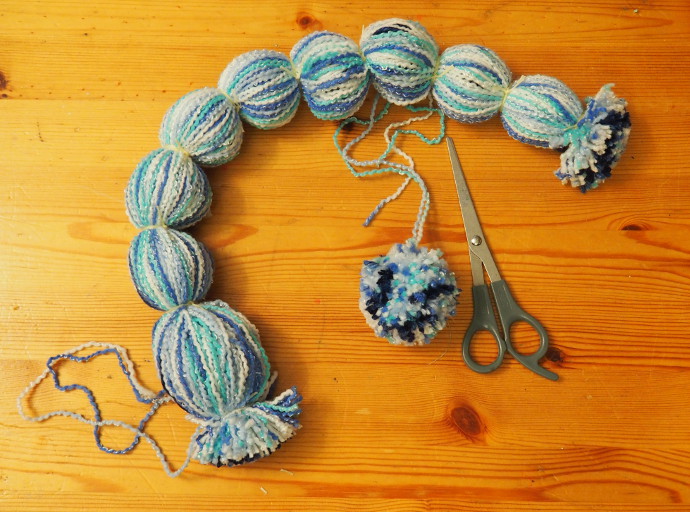
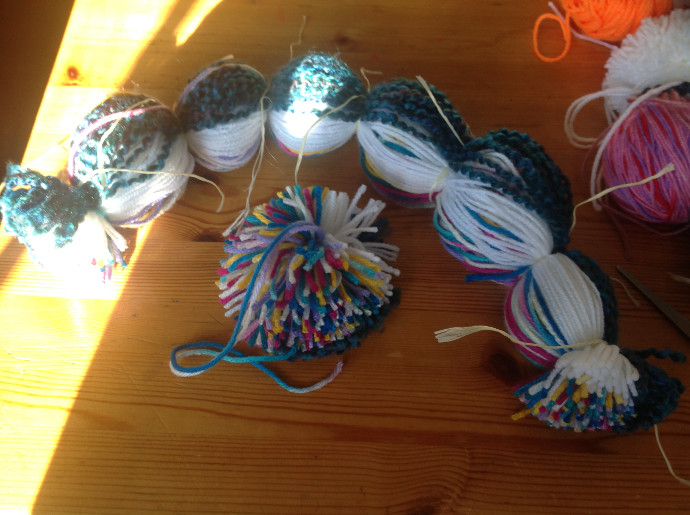
Every time you cut between the wax ties, you will get a cute little pompom. Before cutting them off, I tied a long piece of yarn to the center of each pompom so that I can braid them all into a garland later.
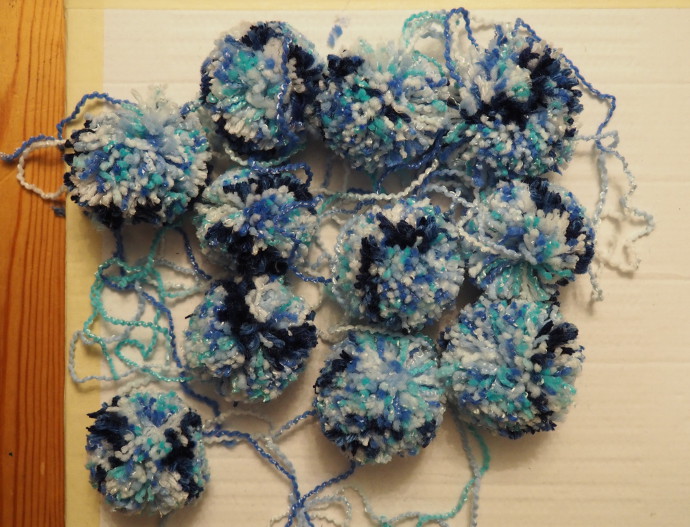
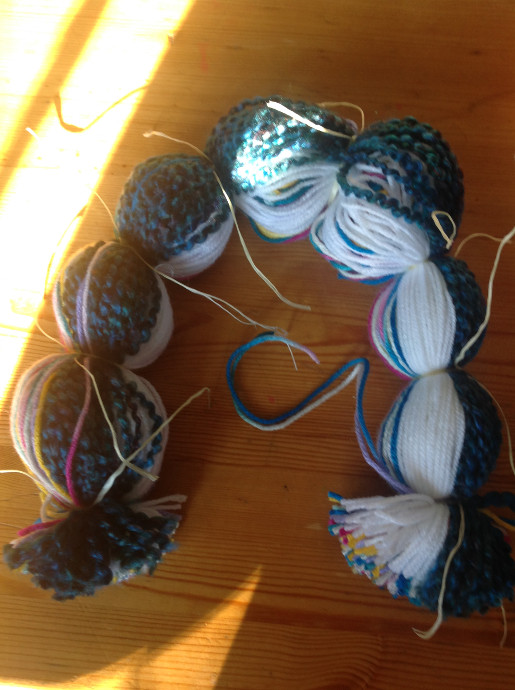
Eventually, you will get lots of cute little pompoms.
Here is what happens if you don’t have enough yarn:
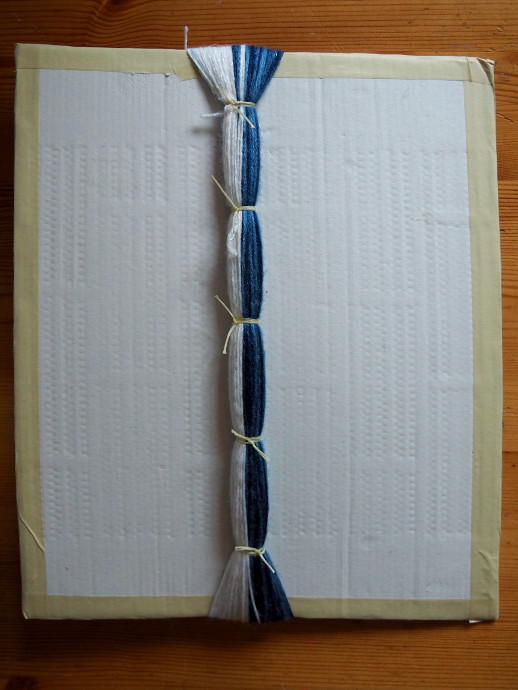
Not enough yarn in the photo above.

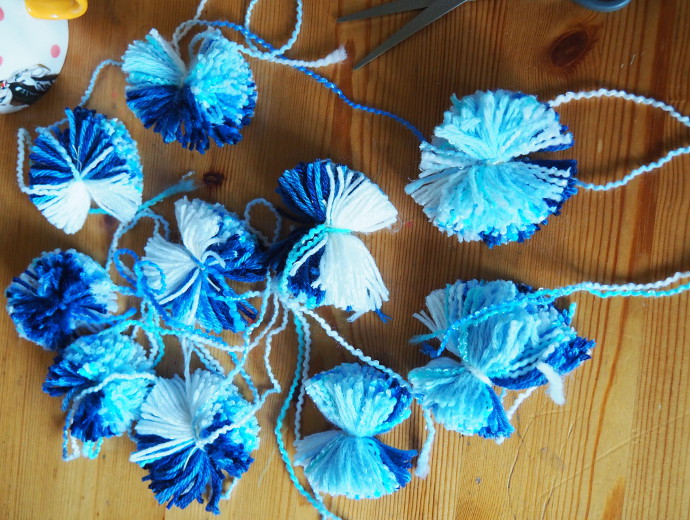
Not enough yarn makes for floppy pompoms.
How to put all the pompoms together into a garland.
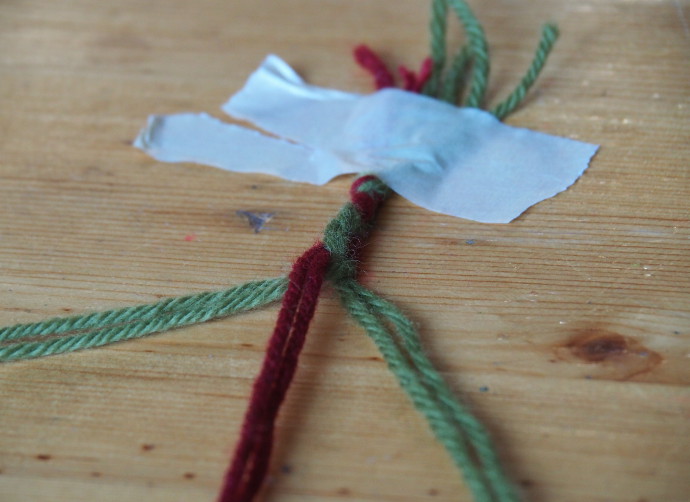
Start by taking six long strands of yarn, and tying the ends together. Then just tape it to a surface someplace with a bit of masking tape. Start making a braid.
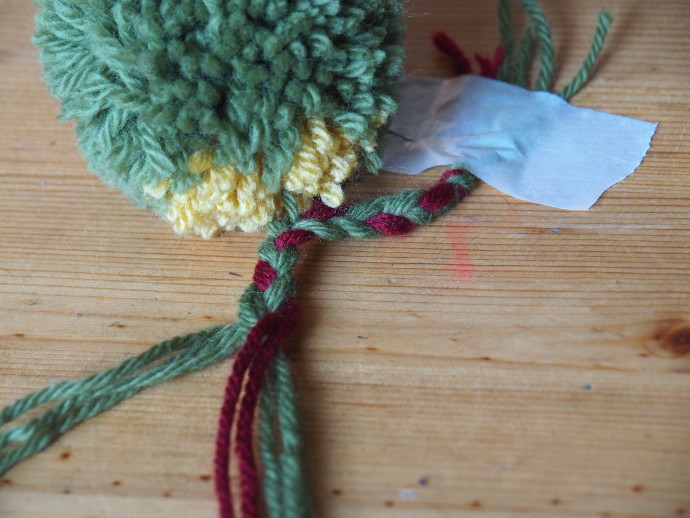
When you have a few inches length for the braid put the pompom over it, and use the two long yarn ends that you used to tie the pompom to braid it right into the original braid.
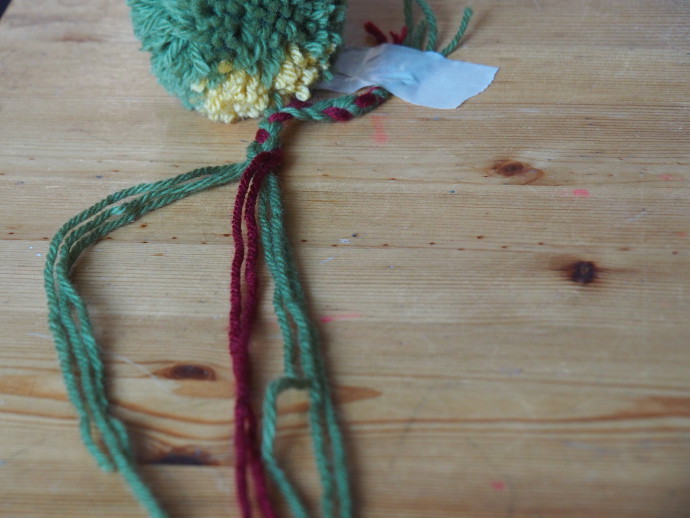
Here it is, getting braided in. Now there are 8 strings.
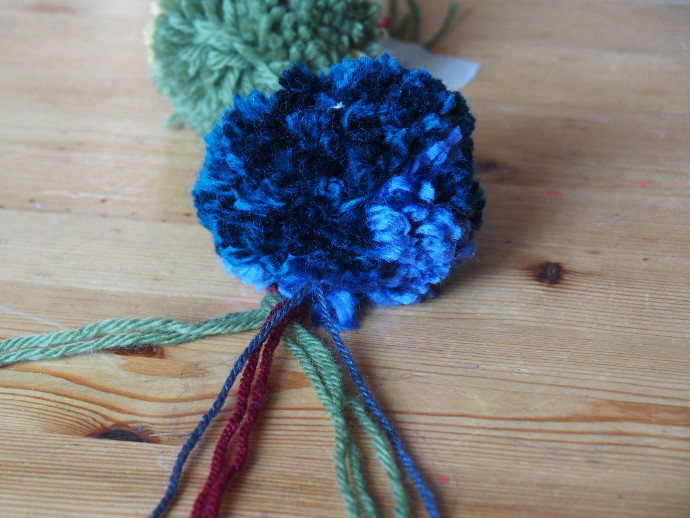
Keep doing it until you go through all the pompoms. Just lay the two long pieces of yarn over the braid, and braid them into the garland.

All done!
