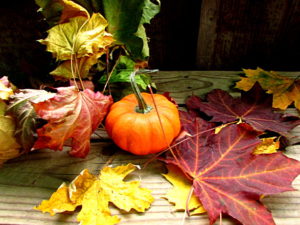
 I love fall, and this year we finally have a decent fall. No more storms knocking all the leaves off overnight. We finally got to enjoy the beauty of all the colors that come in the fall. Every year I enjoy collecting leaves with my kids off the ground. There are so many beautiful ones to choose from.
There are so many amazing projects using fall leaves circulating online. One of these days I am going to have to dry one of them, but this time we just did a few simple crayon resist pictures using our leaves.
Did you know that when you draw with crayons, pressing rather hard on the paper, and then paint it (usually with watercolor paint), the crayons will come through?
I was surprised how many kids and adults didn’t know that.
It is so much fun to do, especially using a white crayon, because you can’t see the drawing initially. I did a lesson recently where the kids didn’t know what would happen once you paint the picture. They drew a winter scene in lots of white, and then when they added blue and purple watercolor to it they were amazed and surprised. It was great to see their faces light up like that.
Here is a fun crayon resist fall leaves art lesson.
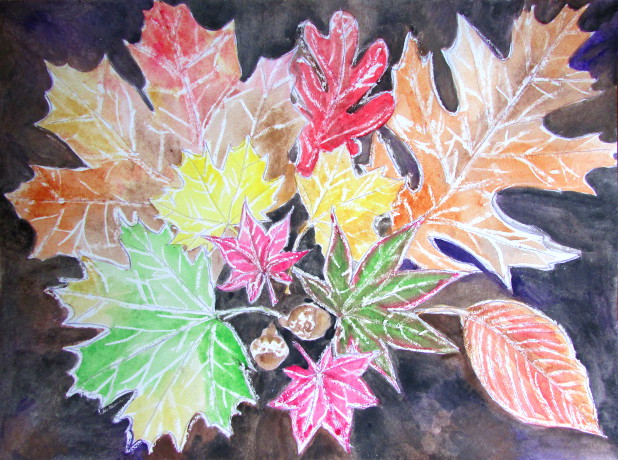
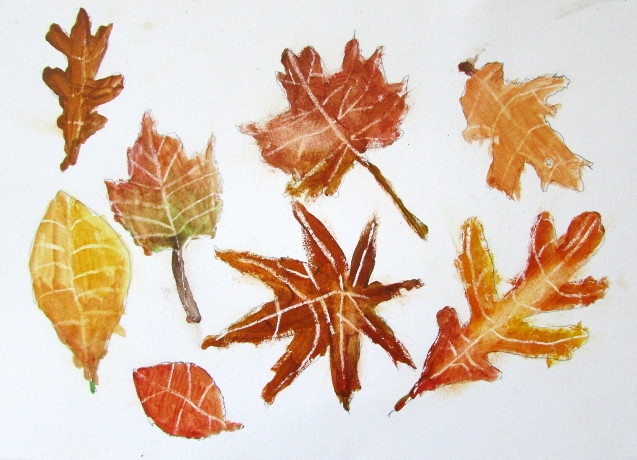
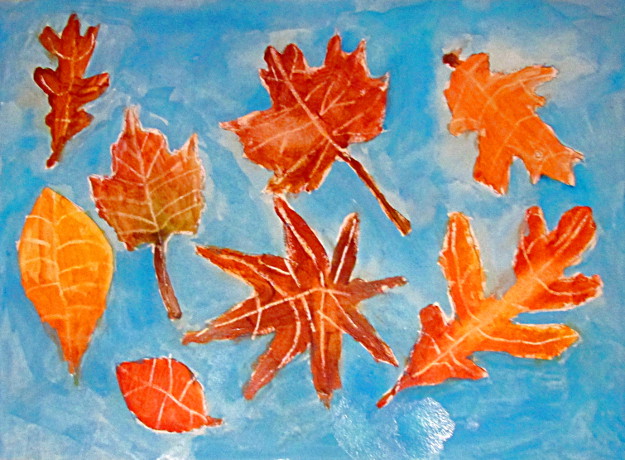
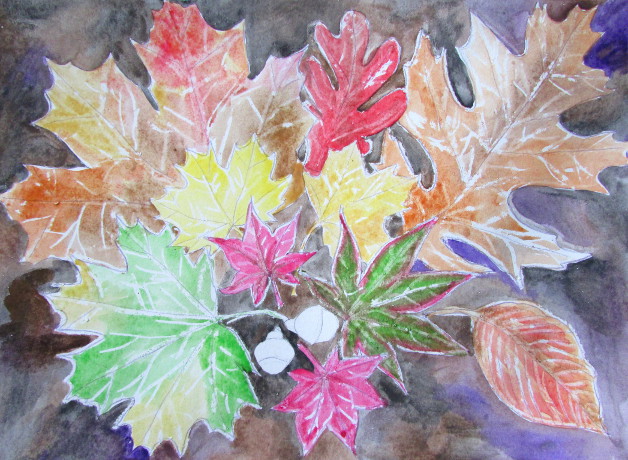
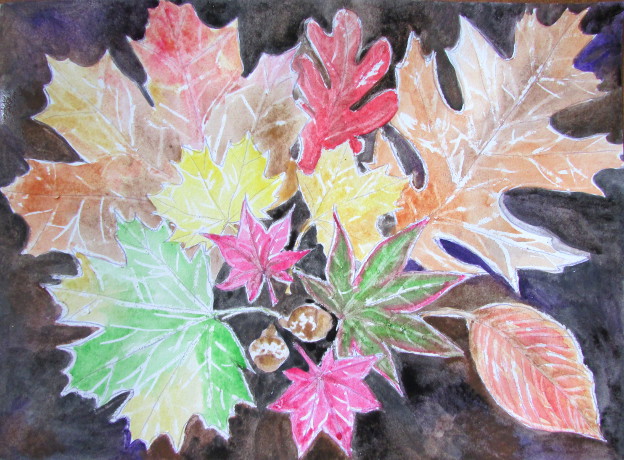
This lesson is fun to do with kids. Here is my son’s picture. It was especially exciting when his dad and grandpa thought that he glued actual leaves on to the paper when they looked at it from a distance.
 The pictures we made were so much fun and came out so great, that I decided to share them here.
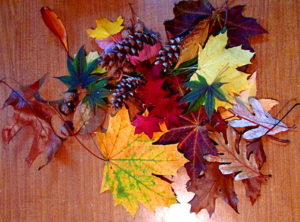
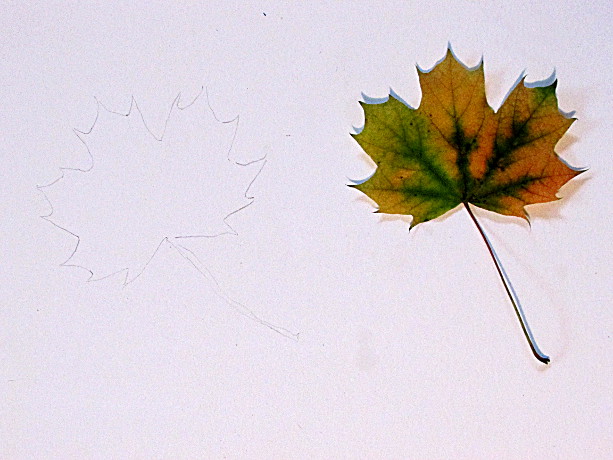
We took a lovely long walk on a beautiful sunny fall day, and collected handfuls of treasures. Then we looked through all of the leaves and nature things that we picked up and chose the few that we will use for the picture.
Before placing the leaves on a paper make sure that they are clean and dry!
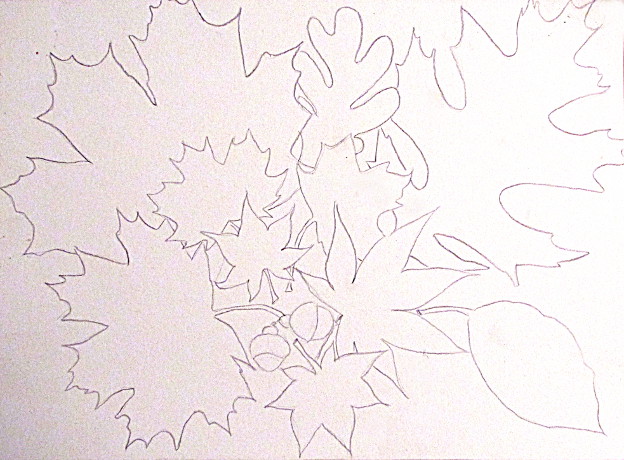
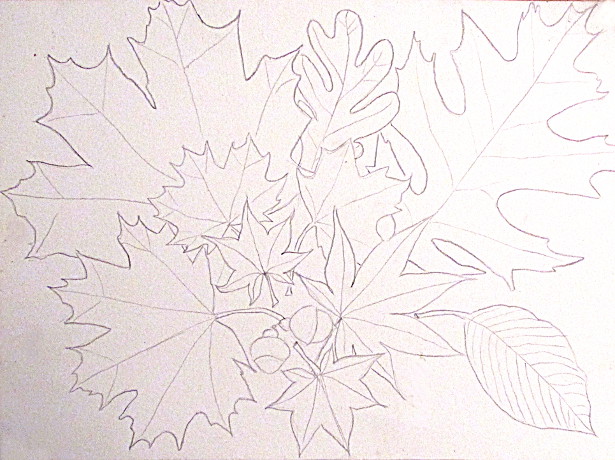
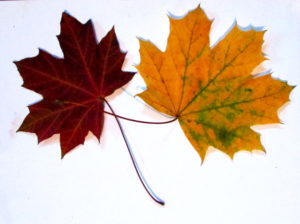 First play around with the leaves. Place them on the paper to see how you would like to arrange them. I wanted to start with little ones in the center and make the bigger ones go all around them. Once you have an idea, start tracing the outlines of the leaves one leaf at a time.
I used a dark purple pencil to trace the outline so that I could take a photo, but if I didn’t need the photograph, I would have just done it with a light line of a #2 pencil.
Look at the veins on the leaves, and in which direction they go. Every leaf is different. Gently draw the bigger veins.
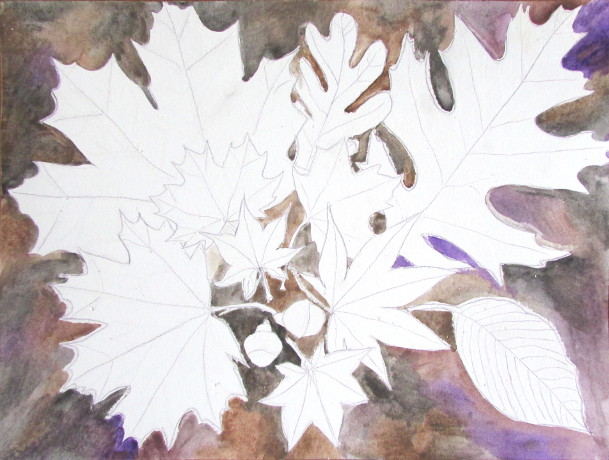
Now it’s time for the white crayon!!! Use the white crayon to outline each leaf, then to draw the veins both big and small. The harder you press, the better it will resist watercolor paint.
I decided to paint the background first, but it really doesn’t matter. Start with what you are more comfortable with!
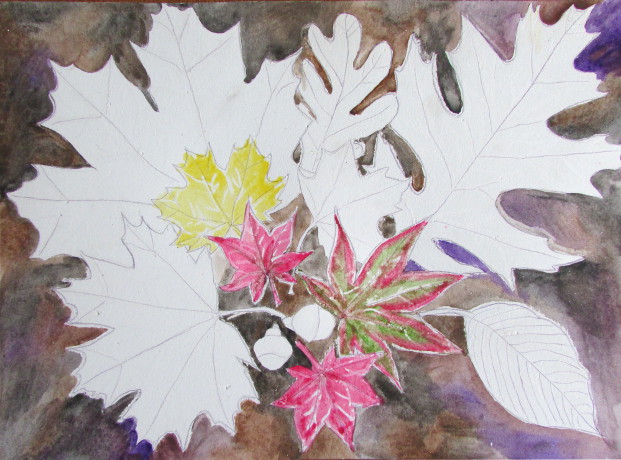
Look at the colors on your actual leaves, and then try to paint the same colors on the painting one leaf at a time.
I started at the center and painted out toward the edges.
I finished the leaves, and decided to make the background darker by giving it another layer of paint.
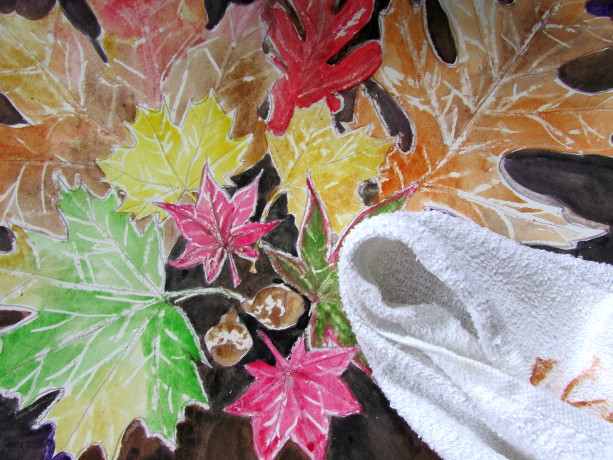
After it all dries, I used a small towel to rub the watercolor off the leaves where there was white crayon to make it show through more.
4 replies on “Crayon Resist Fall Leaves Art Lesson”
[…] theme. You could use your crayon to draw snowflakes to create a winter scene, leaves to create an autumn scene, fish to make an ocean, stars to create a night sky…the possibilities are endless! Simply […]
[…] 22. Wax Resist Leaf Painting […]
[…] rubbing activity using wax crayons; Older children might want to have a go at this more unusual Autumn leaf art activity which develops observation and watercolour mixing […]
[…] rubbing activity using wax crayons; Older children might want to have a go at this more unusual Autumn leaf art activity which develops observation and watercolour mixing […]