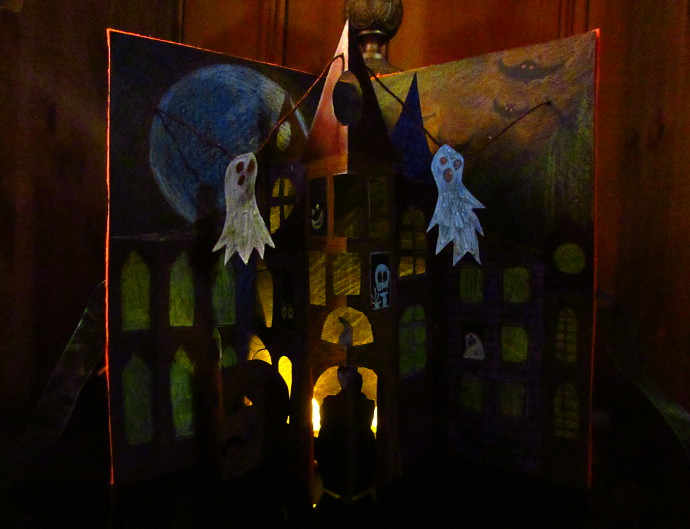
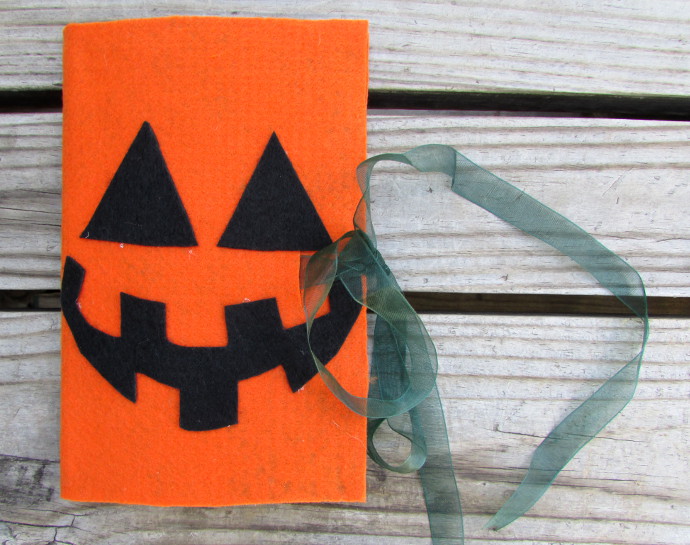
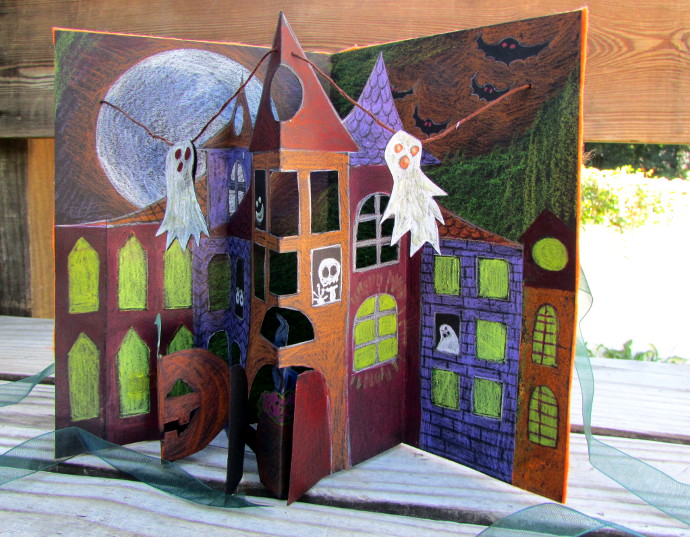
I have always loved pop up books, and pop up cards. When I was a kid they seemed downright magical to me. That’s why I decided to make this spooky Halloween pop up card with my youngest. While this is a Halloween card, the same principle would apply to any other pop up card, whether it’s a magical castle, a Valentine’s day card or a Mother’s Day card. Here is how we made it.
***This page contains affiliate links.***
You will need several very simple things to make this. Here they are:
- 8 1/2 by 11 Black Cardstock.
- Colored Pencils: I used Prismacolor, they really show up well on black paper.
- Pair of scissors.
- A large needle and a piece of yarn or string.
- Piece of orange and black felt.
- A ribbon
- Simple Hot Glue Gun and regular school glue.
How To Make A Spooky Halloween Pop Up Card
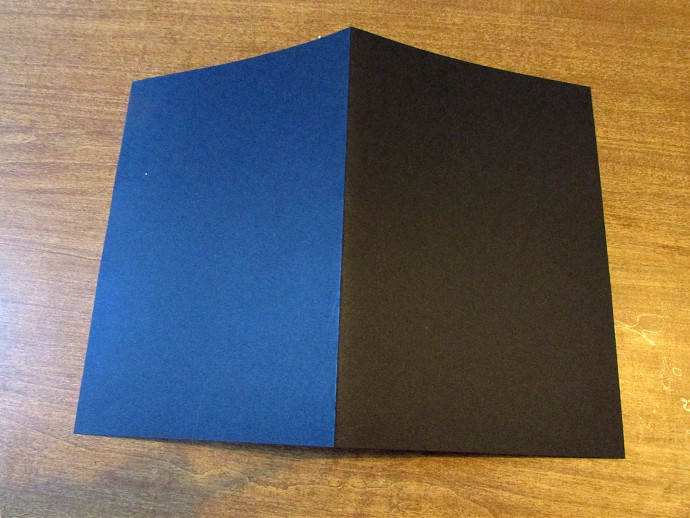
Like so many wonderful things it starts simple. Just with an 8 1/2 by 11 piece of black card-stock, folded in half.
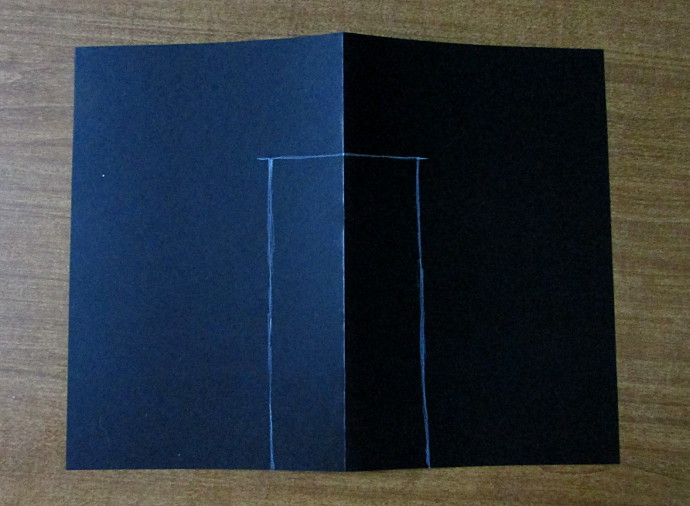
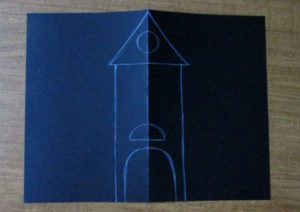
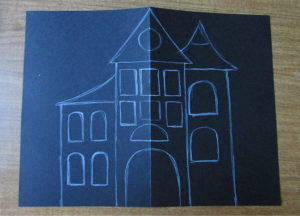
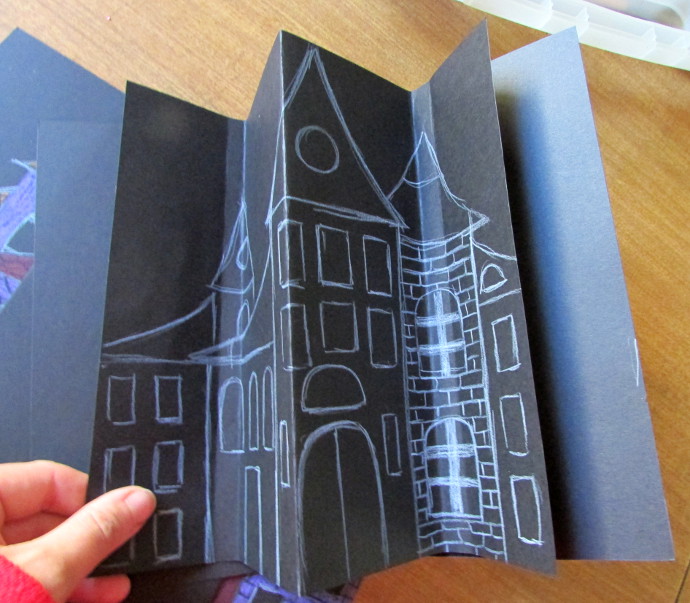
You start by drawing the haunted house using a white colored pencil. It starts simply, with a rectangle:
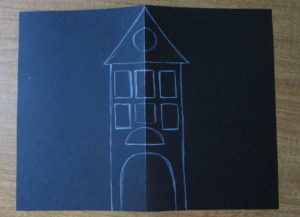
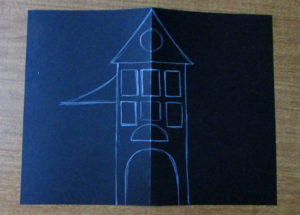
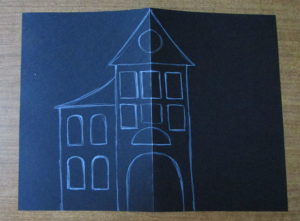
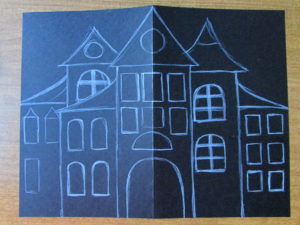
The next set of steps for drawing the card are pretty simple. It’s just a series of shapes stacked up together into houses. If you hover over each image in the picture below, you will see a small note. Just work on your haunted house until you are happy with it. I wanted to make sure that mine were taller in the center, and as you moved away from the center they would get a bit shorter, like a triangle.
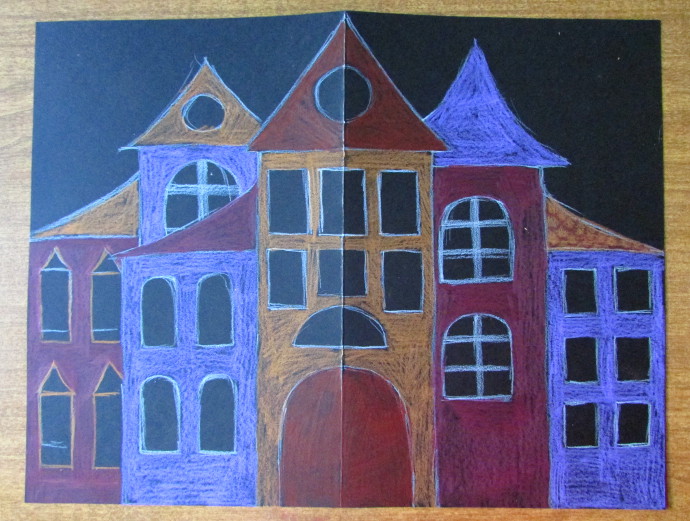
After you are happy with your drawing, it is time to color it in. Make sure to color with light colors that will really pop on black paper. Don’t worry about coloring the windows just yet, as some of them will be cut out. I used reds, oranges, purples and browns.
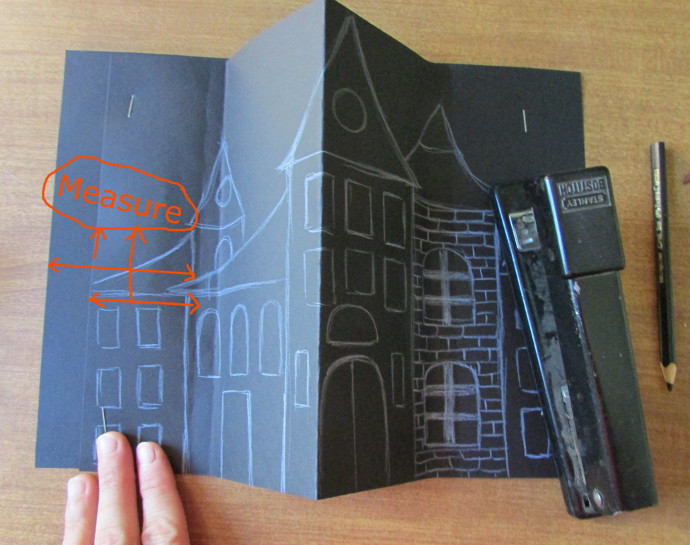
Now comes a bit of tricky part. You need to measure a bit and play around until you get the card folded just right. I used two scrap papers to do that, and I recommend you do the same. I had to do several fold before getting it right.
First, take a different 8 1/2 by 11 piece of paper. It doesn’t have to be cardstock, but can be any scrap paper of the same size. Fold it in half.
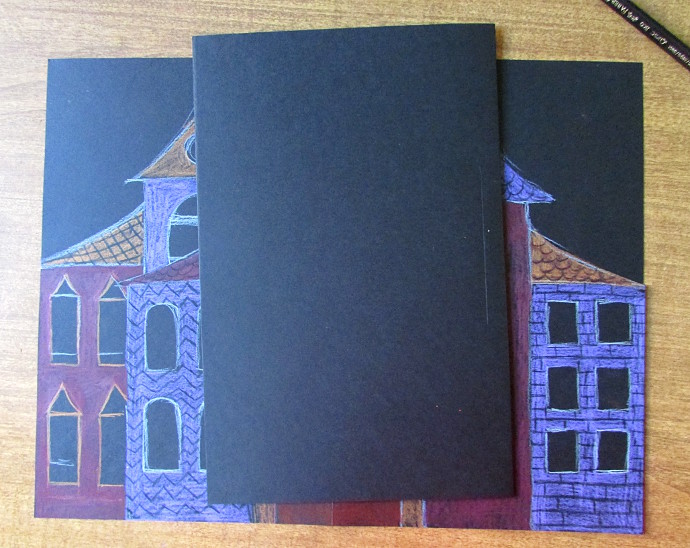
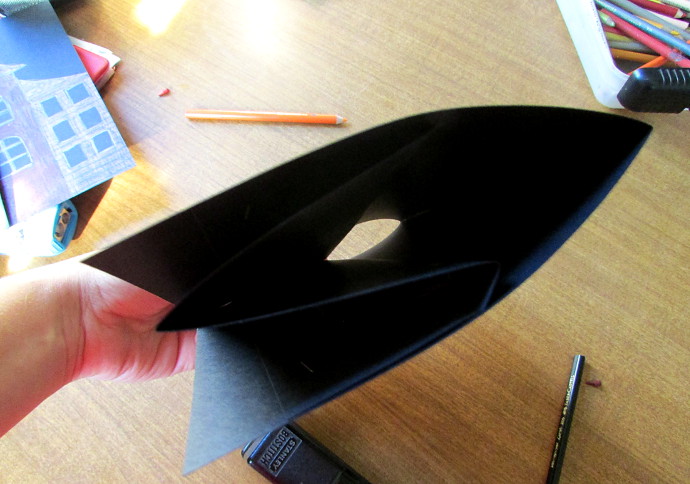
Using a second piece of paper, fold it in half, like your drawing of the house. Then fold a few inches from the edge, like in the photo below.
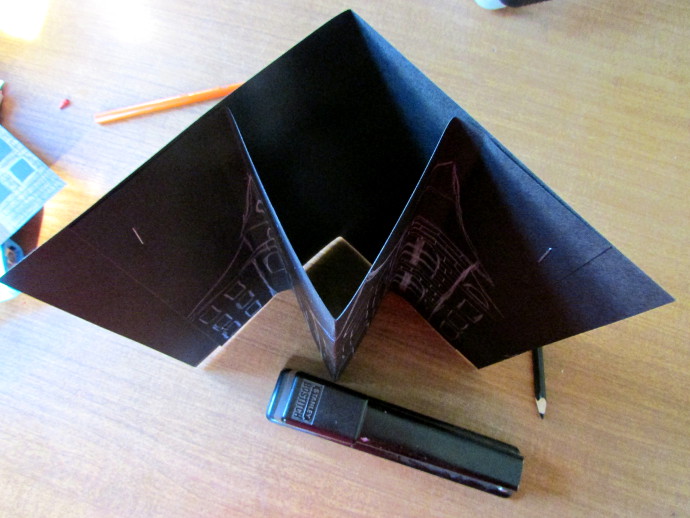
The idea is to fit the house inside the folded paper in a way that when it is glued, it won’t stick out when the card is closed. Just look at what I mean in the photo below.
Once you figure out the position of the paper, just staple it in there.
Now back to your actual card. To make it easier, I just measured how much to fold, and how far to glue it inside the folded paper. As you can see, I need to fold about 2 1/2 – 3 inches in, and glue it inside the paper about 1 inch away from the edge.
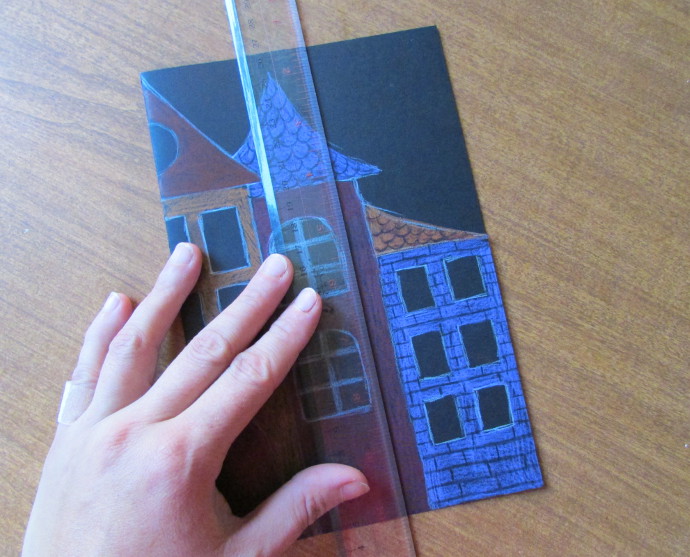
Using a ruler, I folded the card nice and even.
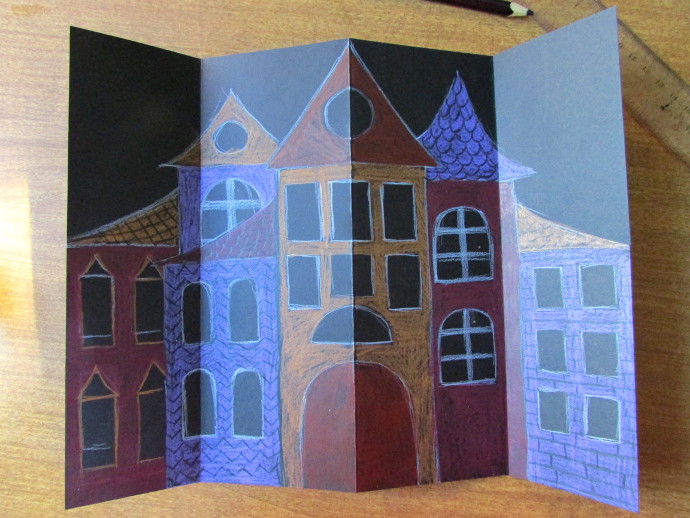
There it is, all folded. The center fold is facing out, while the edge folds are facing in.
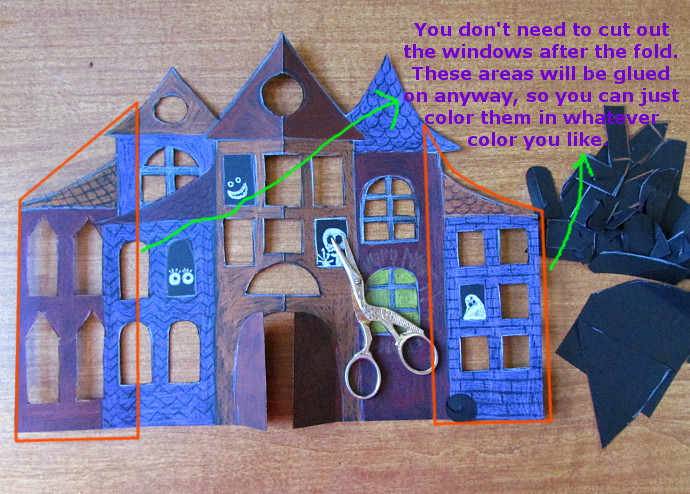
Time to cut out the windows. The easiest way to do so is with tiny scissors, like these. As you can see, I made a small mistake below. The windows on the edges, after the folds, don’t really need to be cut out. They can just be colored in after you glue them. The two windows on the left that are right on the fold I would still cut out. For the door, I just cut down the center, and then a bit on top to make them open.
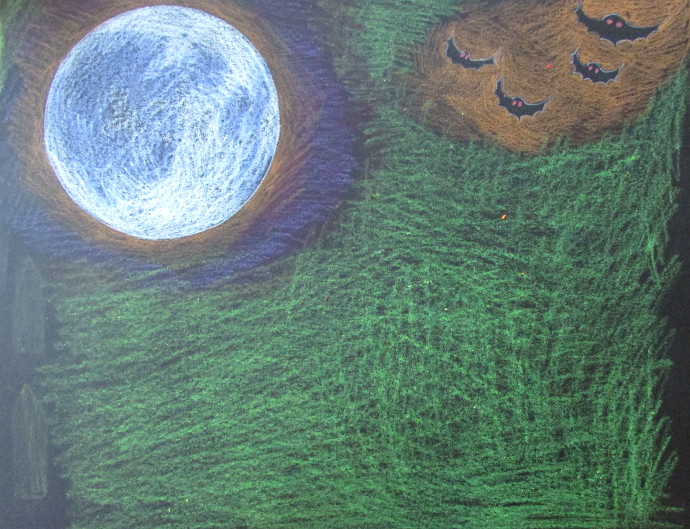
Now, take the second 8 1/2 by 11 piece of black cardstock and draw your background on it. I chose to draw the moon, some ghostly creatures, and a poisonous looking green background. See them all below:
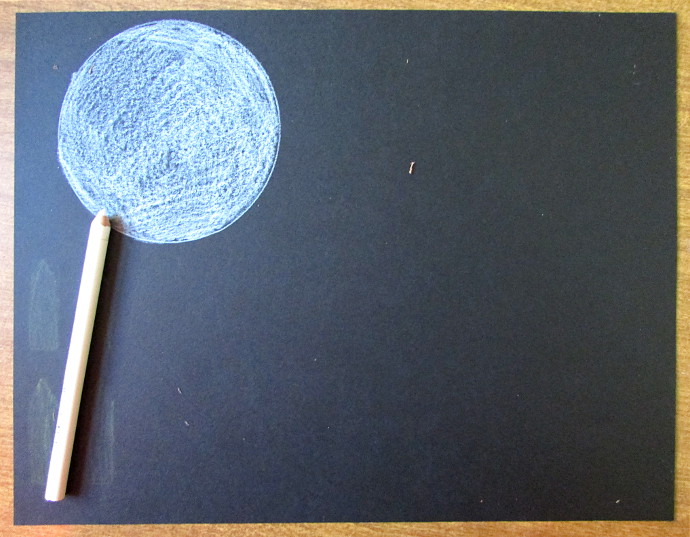
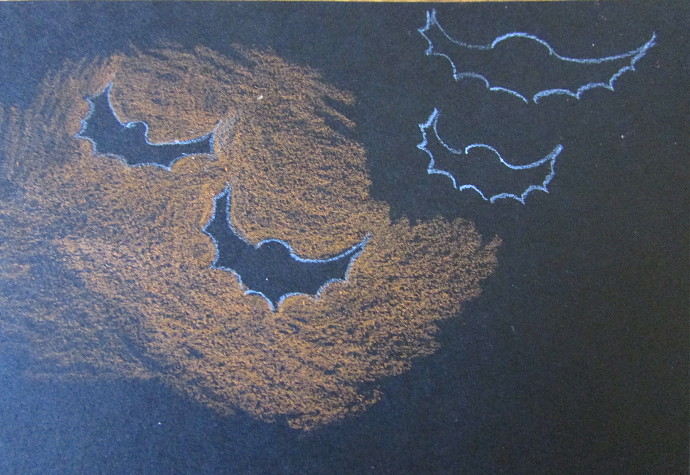
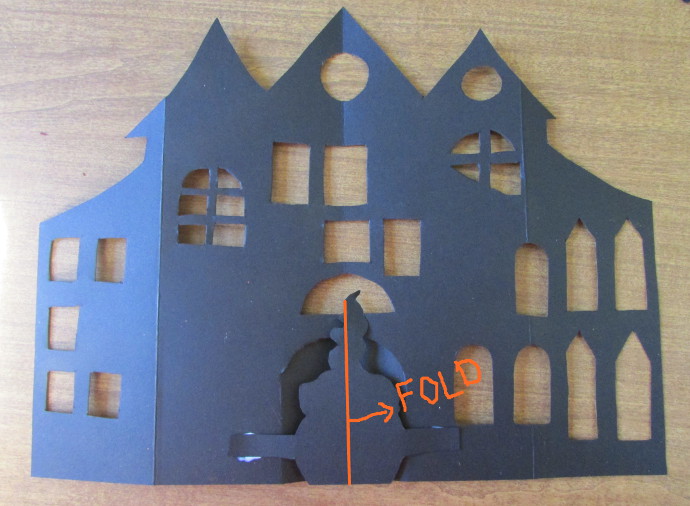
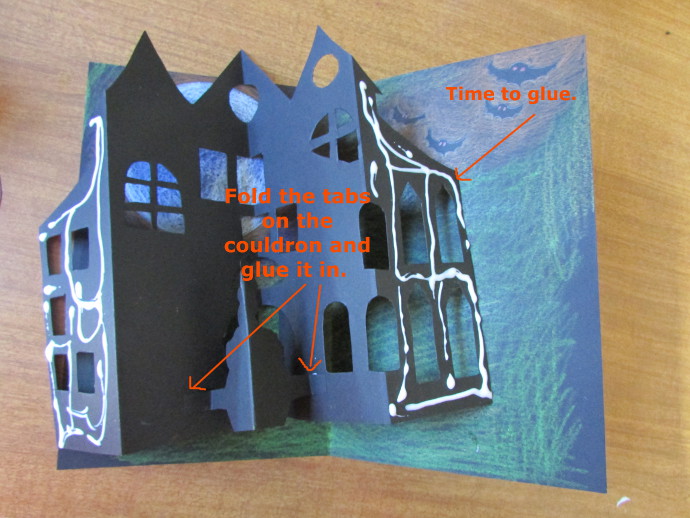
Next up is a cauldron to go behind the front door. I drew a simple cauldron, with tabs attached.
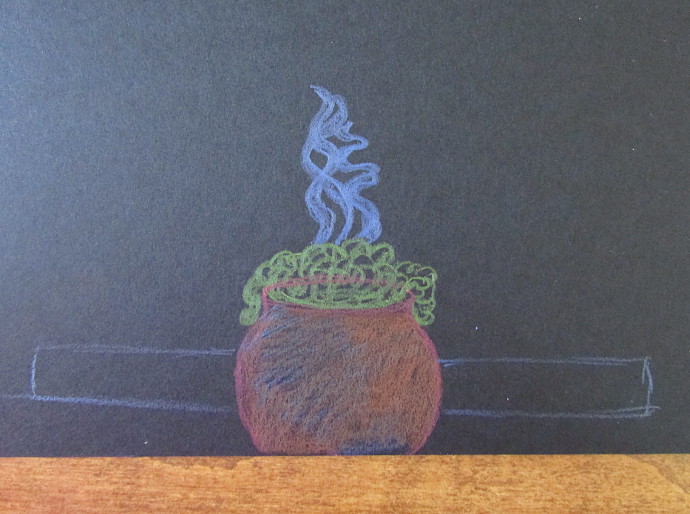
Cut it out, fold it in half and glue behind the front door.
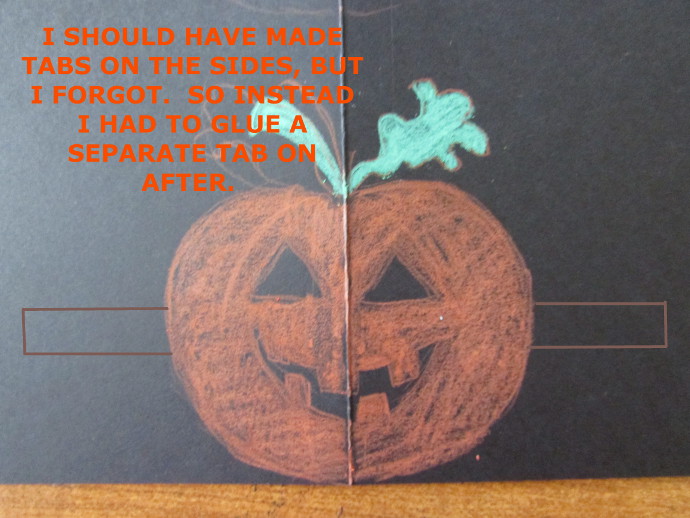
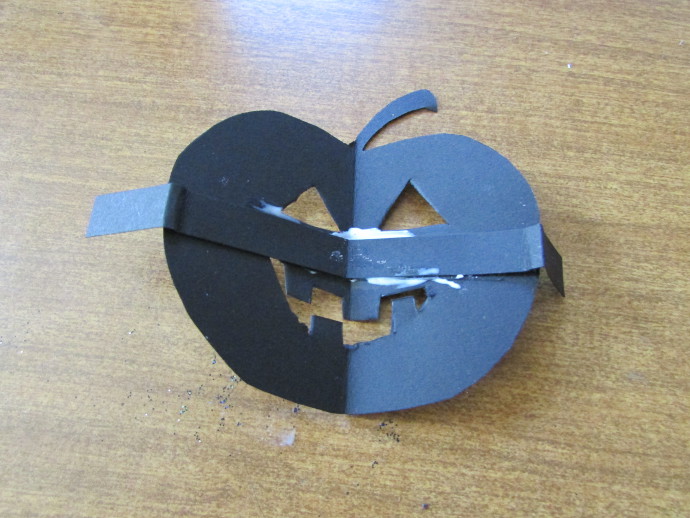
Next is the Jack-o-Lantern to go in one of the corners. As you can see, I forgot the taps when I drew and cut it out.
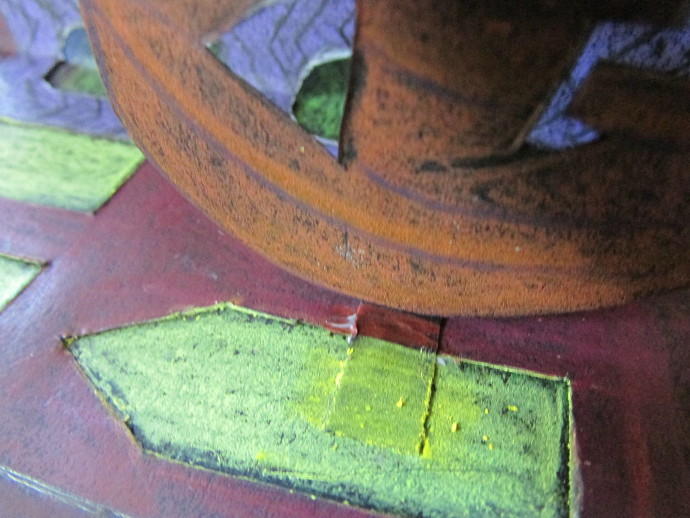
Instead, I cut a thin line and glued it on the back like in the photo below.
Before you glue the house on, make sure the tabs on the couldron are folded. Time to glue the house on.
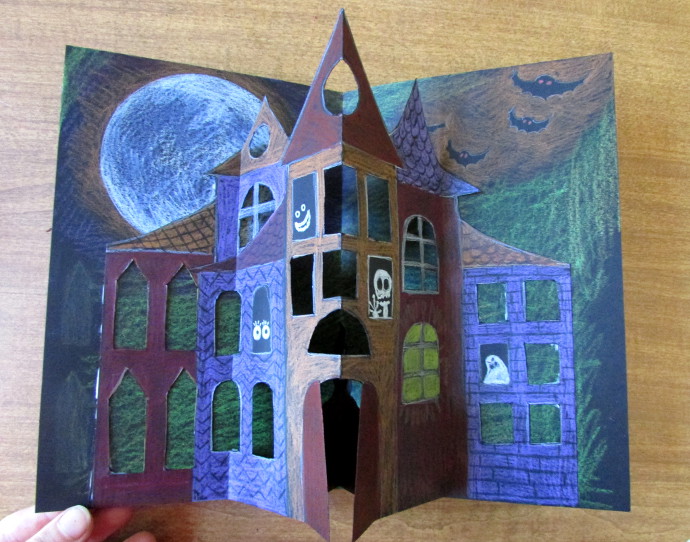
Ta-Daaa, it’s glued on.
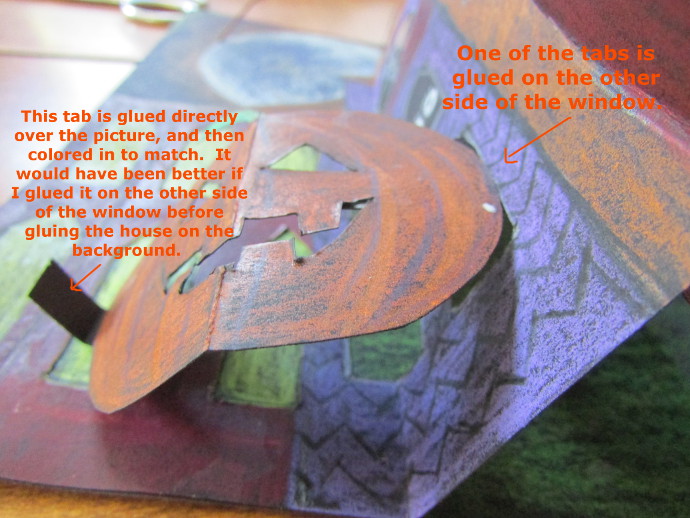
I glued the pumpkin on. First tap went behind the window, and the other right on top of the house.
I colored that tab in the same colors as on the house to hide it.
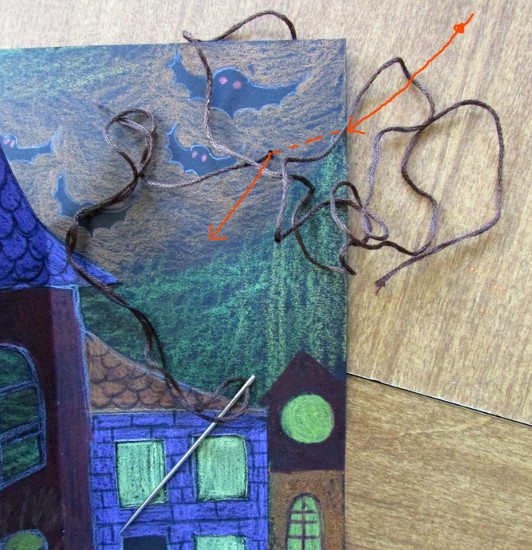
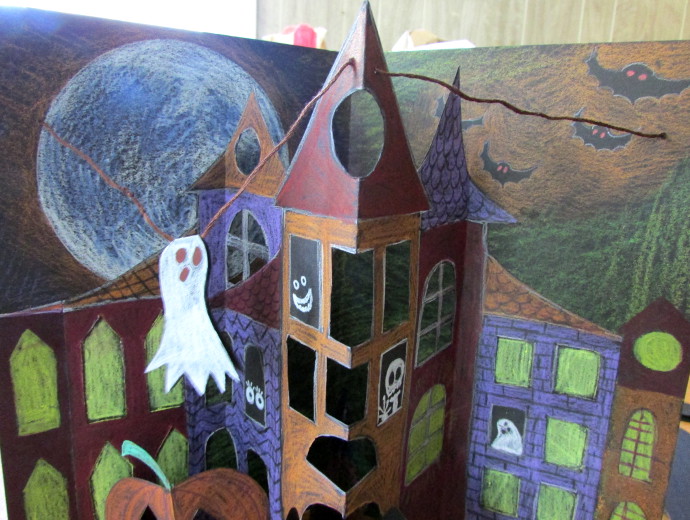
Get the needle and the thread. Now thread the needle through the edge of the house. Make sure the thread is tied on one end.
I put it through the cover, then the house top, and then the other end of the cover. Just see the photo below.
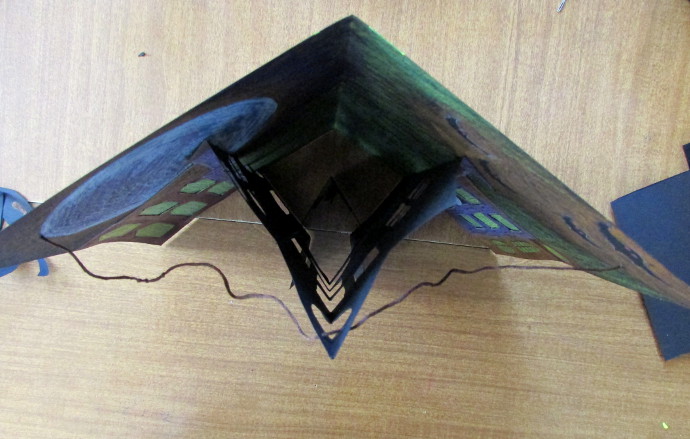
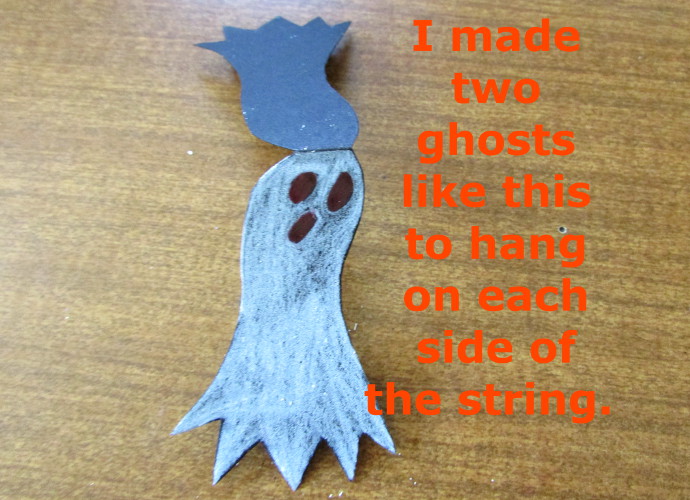
I made two adorable ghosts. Just draw them right on the fold. This way you can hang the ghost on the string and glue it in place.
Here is ghost #1 glued on the string. Ghost #2 will go on the other side.
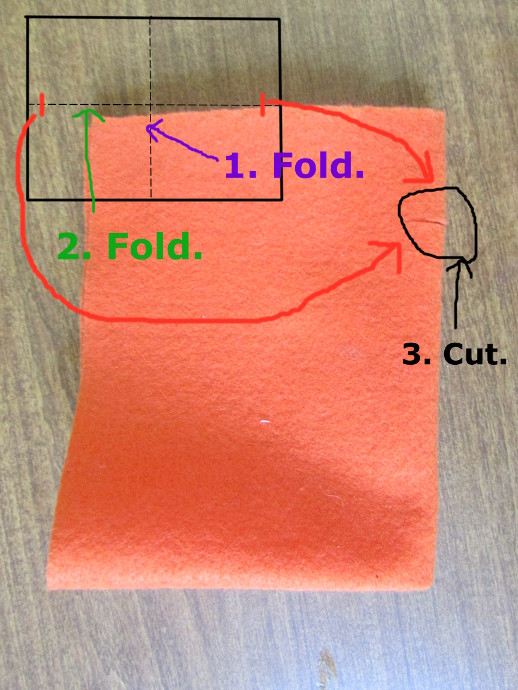
Once the inside of your card is complete, it’s time to do the outside. First, take the 9 x 12 inch orange felt and fold it into quarters. Then make a small cut on the side, like in the photo below, that will result in two even holes on each side of the cover.
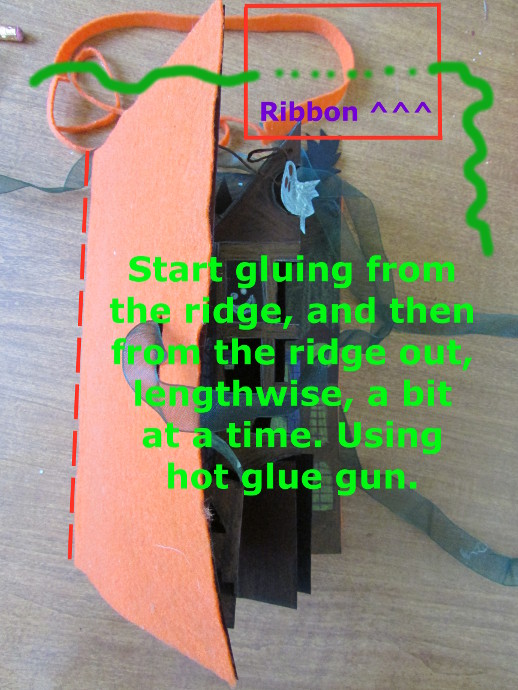
Put a ribbon through the two holes you made. Now use the hot glue gun to glue the cover in place. I started gluing from the ridge of the card out, using a little bit of glue at a time. I also made sure that the card was in a closed position, glued one side on, then flipped it over, and glued the other side on. Once it’s glued on, trim the edges.
Cut out some eyes and mouth out of the black felt and glue that one as well on the front. Use hot glue for these, as school glue won’t work well on felt.
A small side note: I usually love Beacon’s Fabric Glue, and have found that it works fantastic on fabric and leather, I bought Beacon’s Felt Glue and have found that it didn’t work for me while working with felt. It was too much like school glue, and felt just absorbed it all. Perhaps I was doing something wrong with it, but I wound up having to use the glue gun.
Once everything is glued on, your card should be ready and fantastic! My youngest made sure to put some plastic tea lights into it to make sure it glows. I imagine it would look lovely with a strand of orange Halloween lights.
