This should really be called Painting With Liquitex Pouring Medium Along With A Large Group Of Great Kids. Or maybe Making A Giant Mess With Liquitex Pouring Medium That Results In Something Pretty. Unfortunately, those names are far too long.
Recently, I discovered the existence of Liquitex Pouring Medium. It is the most amazing thing on the planet! How did I not know about this before?!
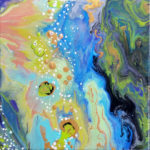
The first thought that has occurred to me is why not let the kids do art with it? How awesome would that be as the last art project of the year. Well, let me tell you! IT WAS FANTASTIC! We made a glorious mess, about 20 beautiful paintings, and I would do it again in a heart beat!
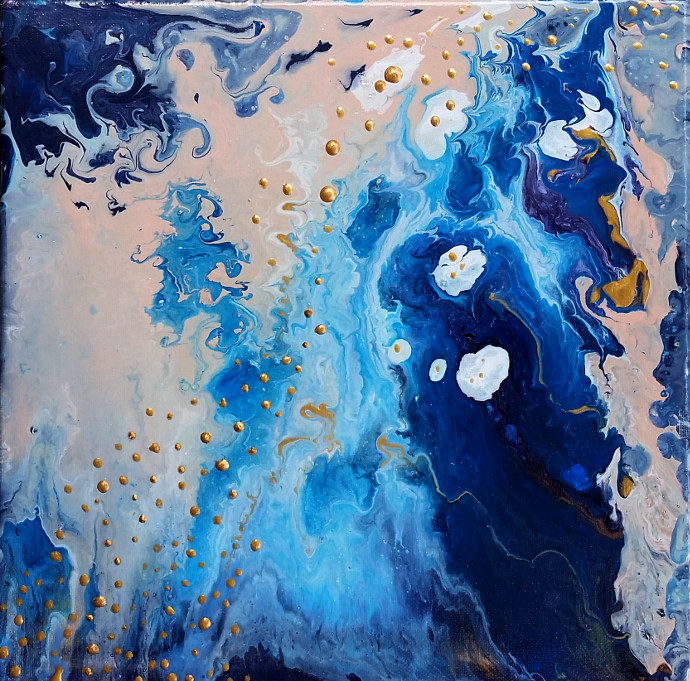
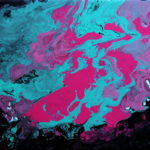
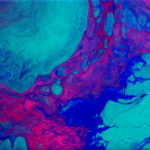
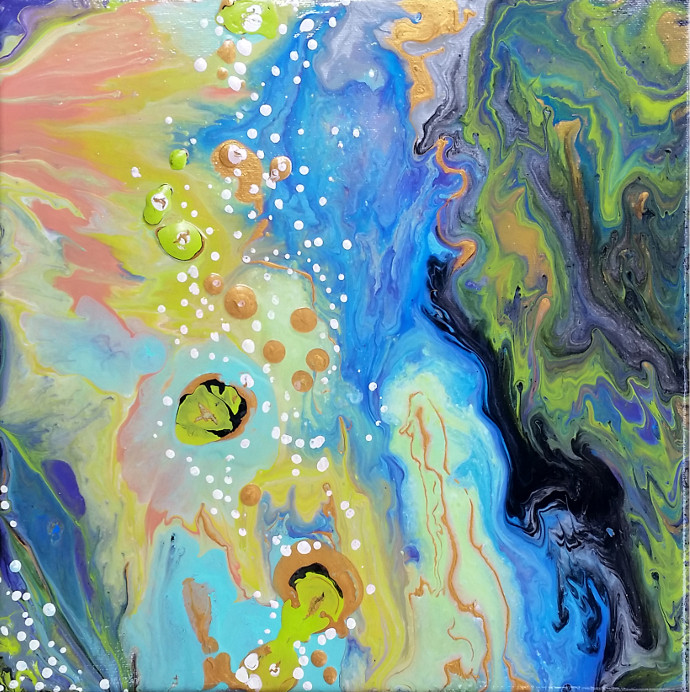
First, let me show you some of the awesome paintings, then I will talk about the process. Just click on each one to see them closer:
Kids’ Paintings
Now, let’s talk about what you would need if you were to make this beautiful mess and the process.
***This post contains affiliate links.***
What you need
- Liquitex Pouring Medium. I bought mine at Blick Art Supplies, the largest size for my class, and we ran out at the end. There is a cheaper alternative, which I have actually tried and compared: Floetrol.
- Canvases. I like the wrapped canvases the best. When I was experimenting I used a 12 by 12 canvas, and with the kids it was 8 by 10 canvas.
- Acrylic paint. I use what ever craft paint is on sale in a local store.
- Rubber gloves. Don’t skip this! This stuff is like glue. You will be pouring it, it will be everywhere! Your hair, your hands, your clothes! And it doesn’t come off easily.
- One time use compostable cups. Unfortunately, there will be no reusing those cups. I tried. I tried getting ones that I can wash and use again, it didn’t work. Eventually I settled for compostable cups.
- Something to cover the table. I used recycled paper bags from the store. Butcher paper would work great too.
- Something to mix with: spoons, wooden dowels, skewers, Popsicle sticks. You won’t be recovering anything from this project, so be prepared to throw it out.
- Don’t wear your grandmother’s wedding gown!
Some folks like to use a heat gun and silicone. I won’t use silicone, and will consider heat gun (or at least a hair drier) with the kids next time.
The Process
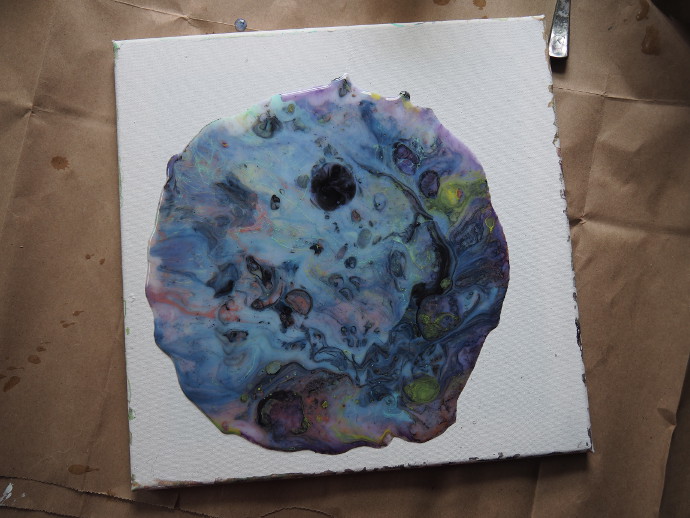
I experimented at home a lot before bringing it to the kids. Four ruined canvases later (scroll to the bottom to see my mistakes), two dresses covered in the stuff and lots of Youtube videos, this is the awesome result. Go ahead, look up a video or two! There are lots of them, and they are fascinating.
Results Of My Experimentation
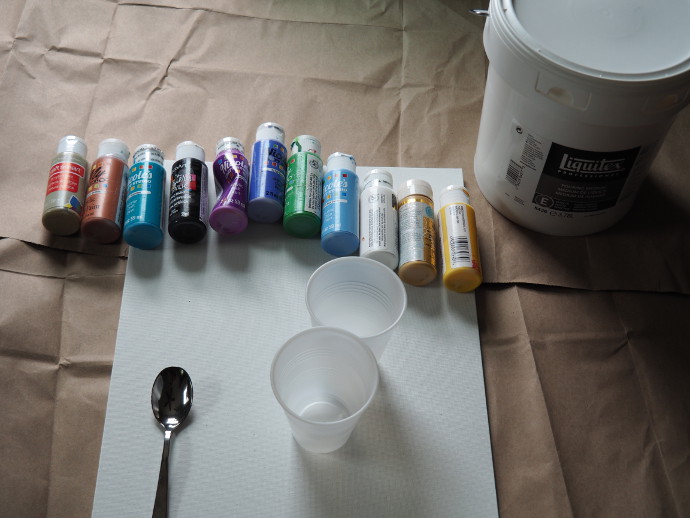
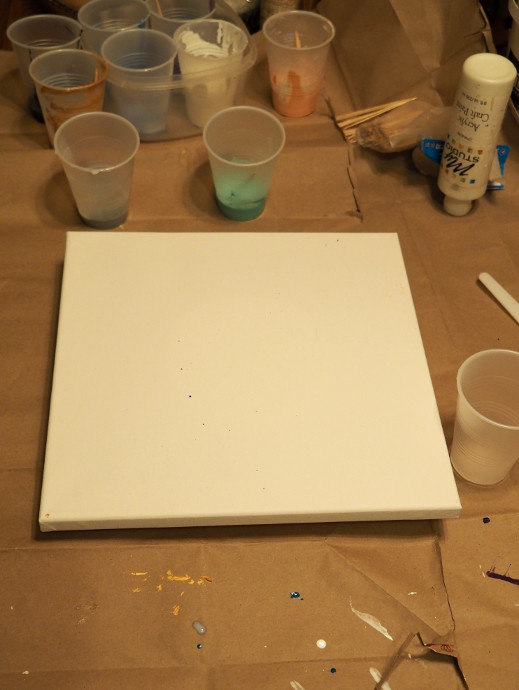
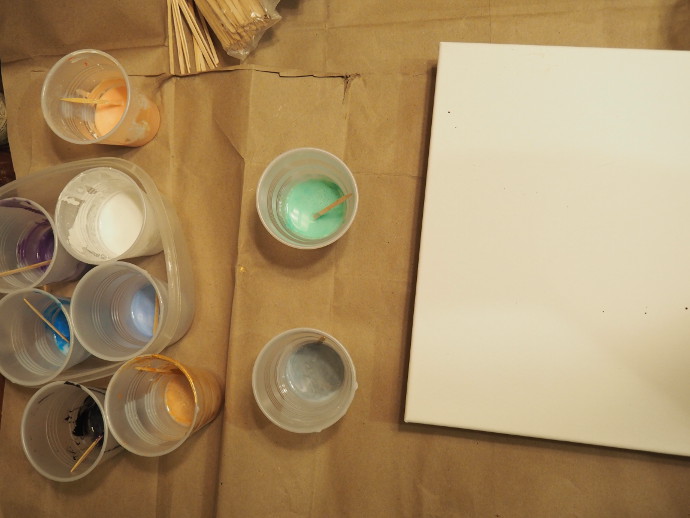
I started with a canvas, some paint colors, cups, a spoon and the pouring medium.
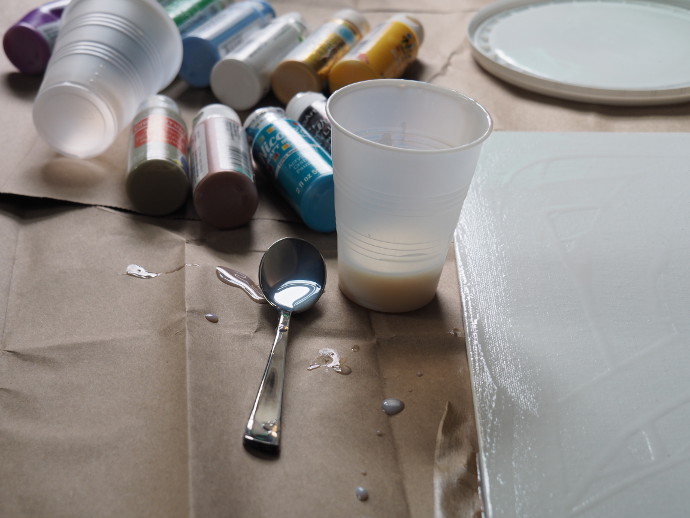
For the base color, this is how much pouring medium I put into the cup.
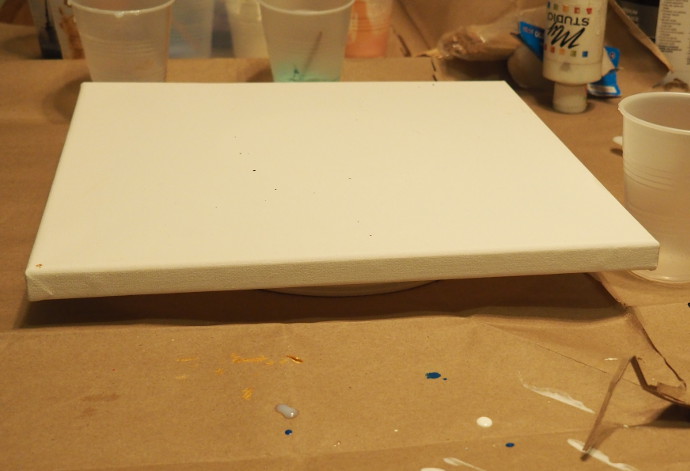
It helped to prop the canvas up on something so that the paint could flow freely down. Here it is propped up on an old take out container.
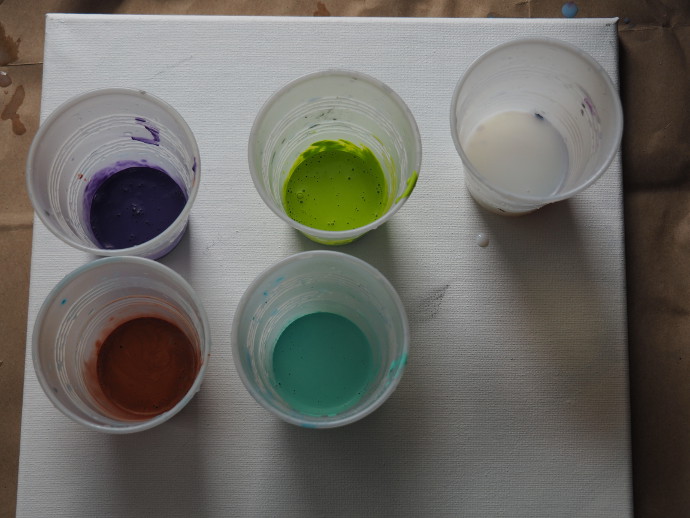
I mixed the colors in the pouring medium. About 3-4 parts medium, 1 part paint, and a few drops of rubbing alcohol.
Here are a few photos of my paint consistency. It should have a solid color, but still be pour-able.
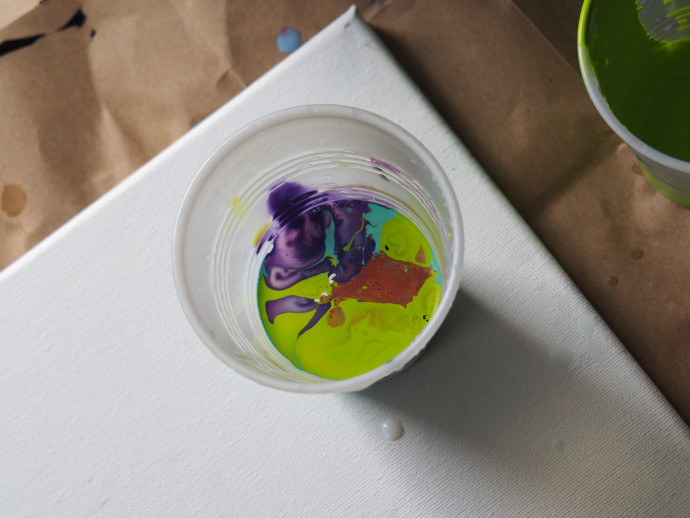
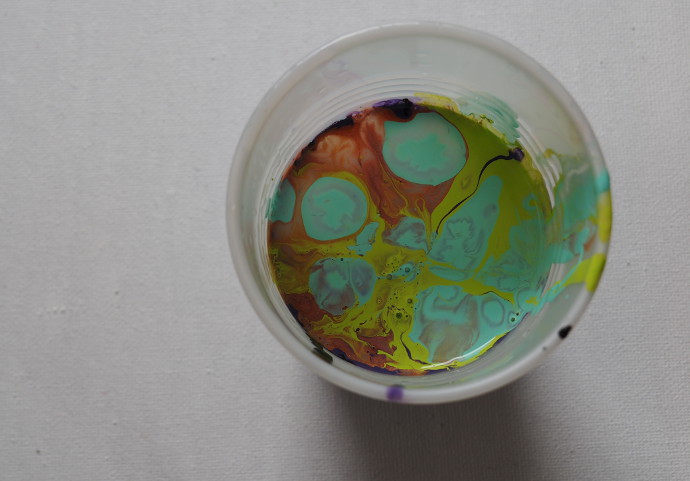
Put about 3 colors into your base color. Give it a swirl, but be careful to not over mix. You want the colors to be separate and clearly visible.
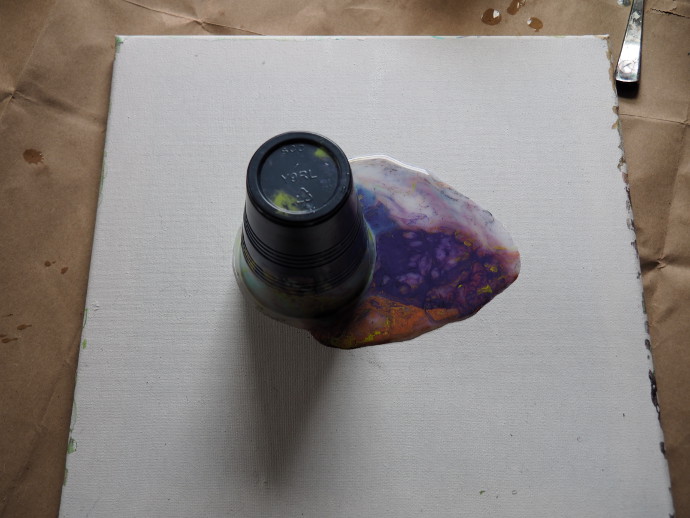
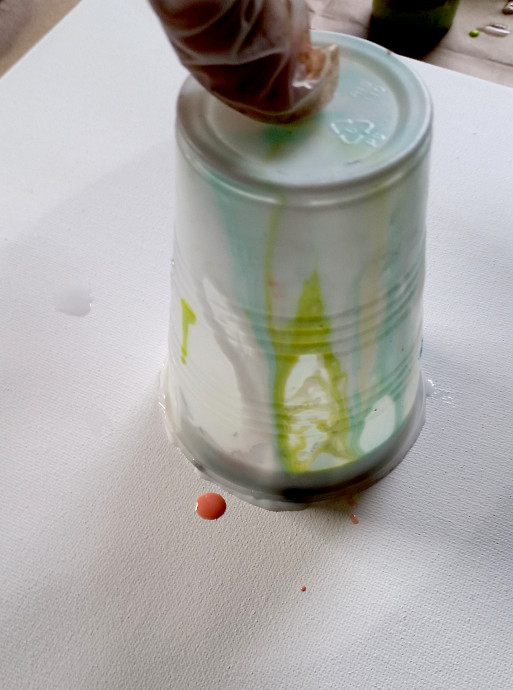
Put the canvas over your cup, and then flip them both over. Let the cup sit there for a few moments to let all the liquid drip down, then take the cup off.
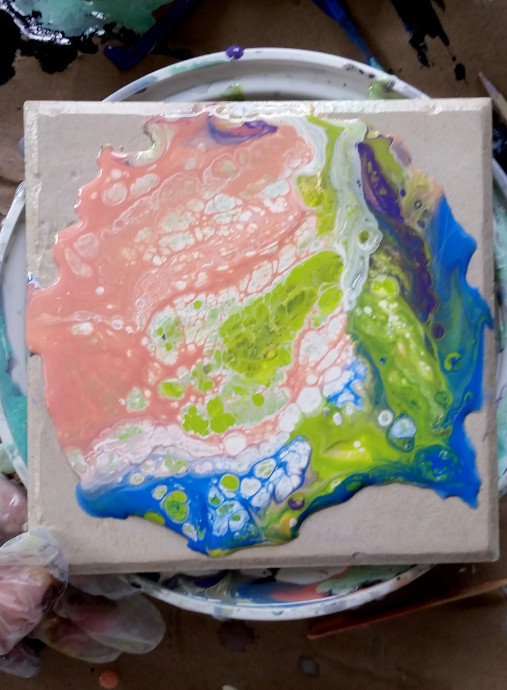
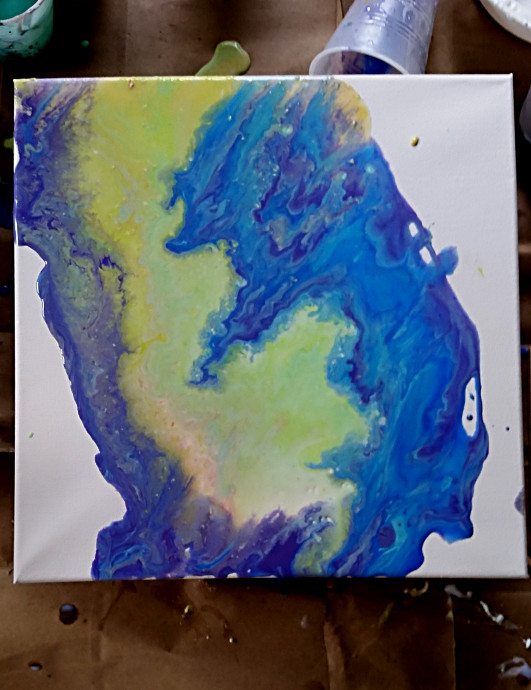
Here is the result of removing the cup after a few minutes.
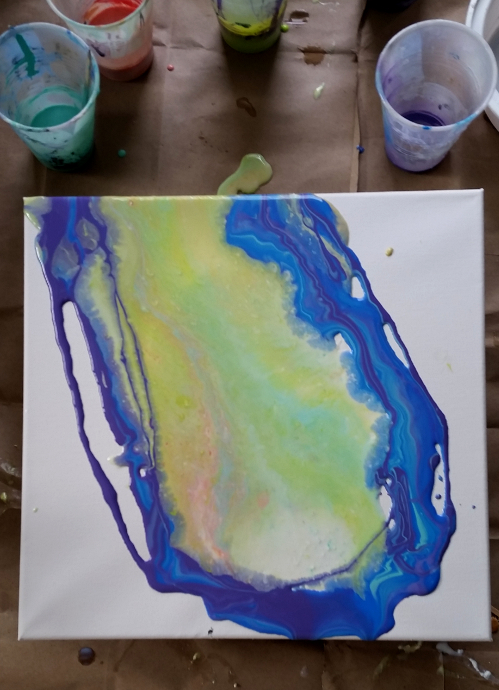
Prepare another cup of paint, this time with a contrasting color, and three secondary colors mixed in, and pour it directly on the canvas around your first pouring.
You will see it moving and shifting. The picture changes all the time while things are drying.
Here is the third time pouring around the canvas. The goal is to cover the entire canvas.
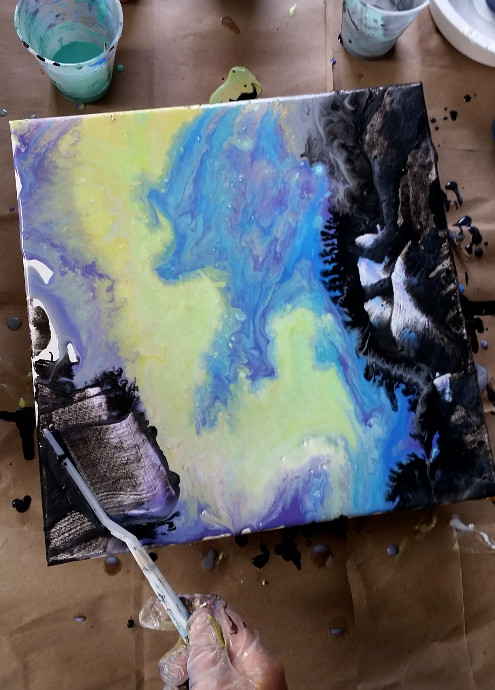
I didn’t like the black, so I removed it a bit with a palette knife.
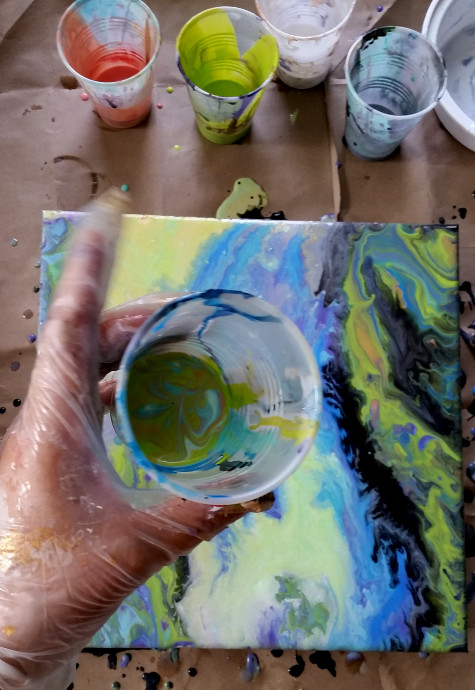
Then I mixed a different color and poured over the black.
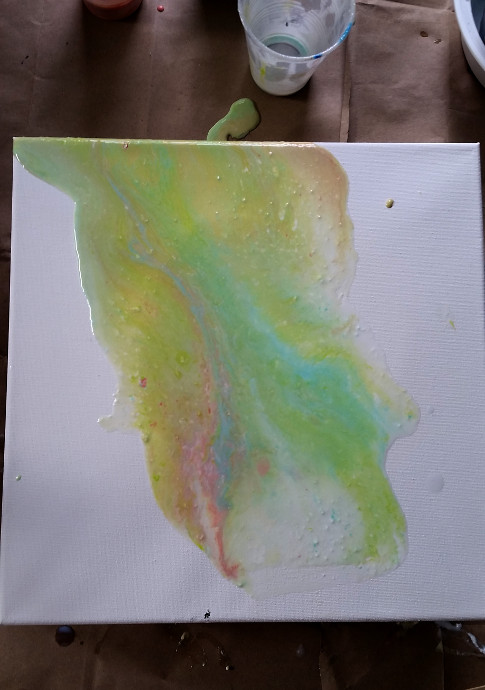
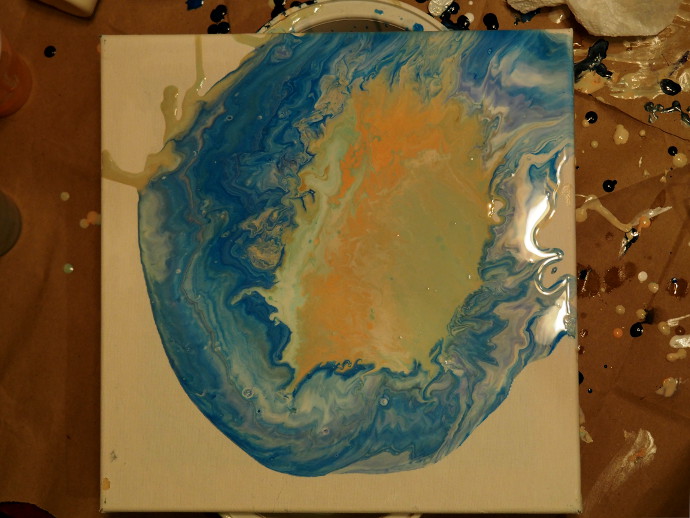
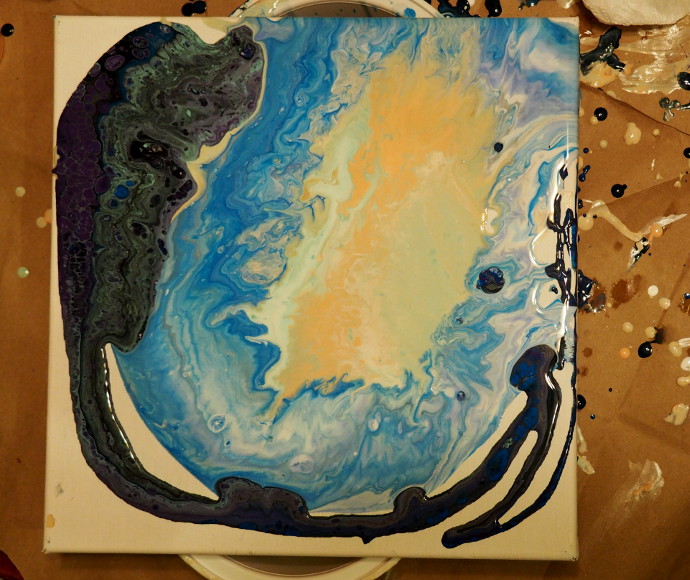
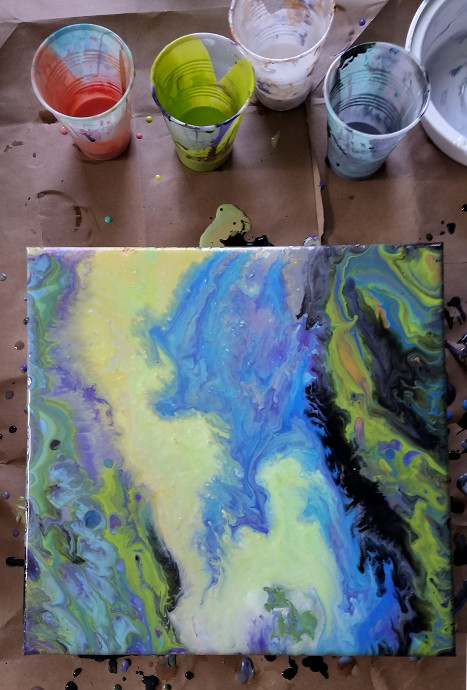
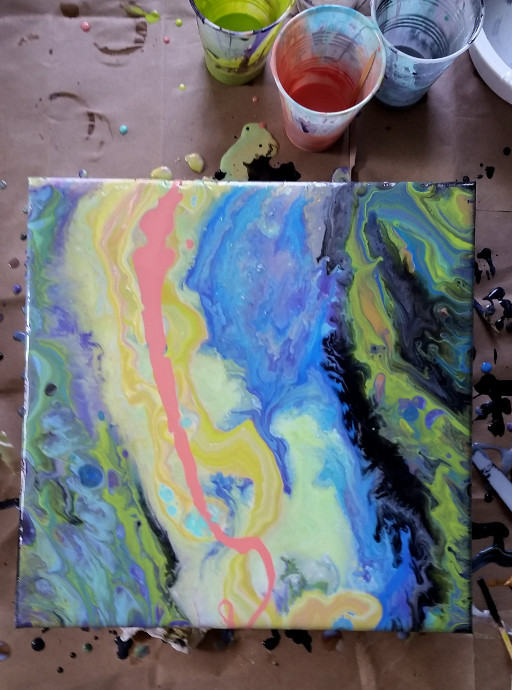
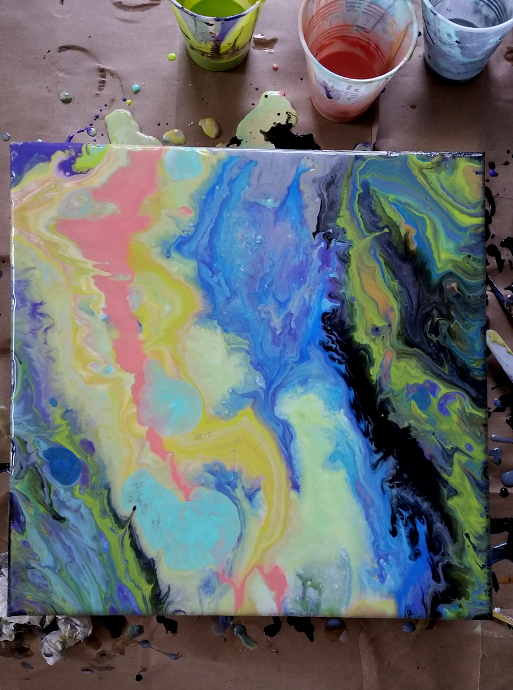
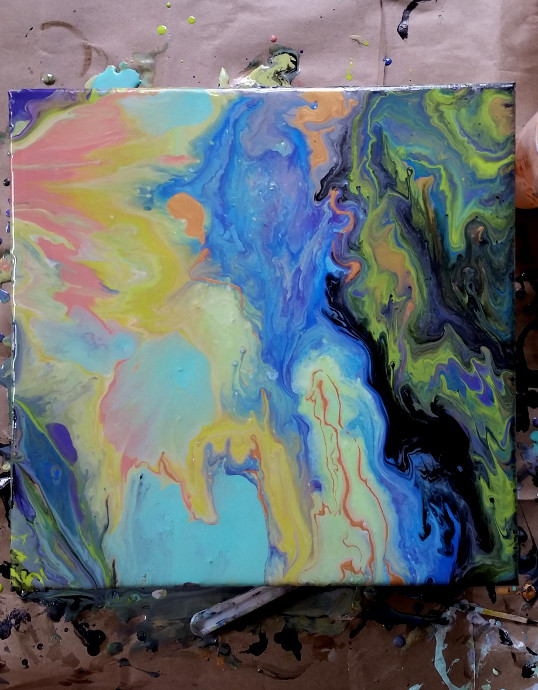
Here is my result.
Now, as this painting was drying, the paint kept moving and changing. I added a line of pink to the center as well. Take a look at the process it took below:
Once it was dry, I thought it would be fun to try painting something over it, to see how it would work out.
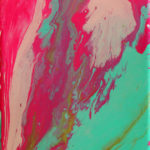
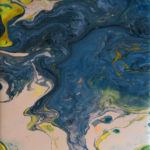
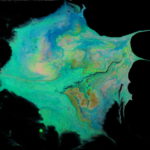
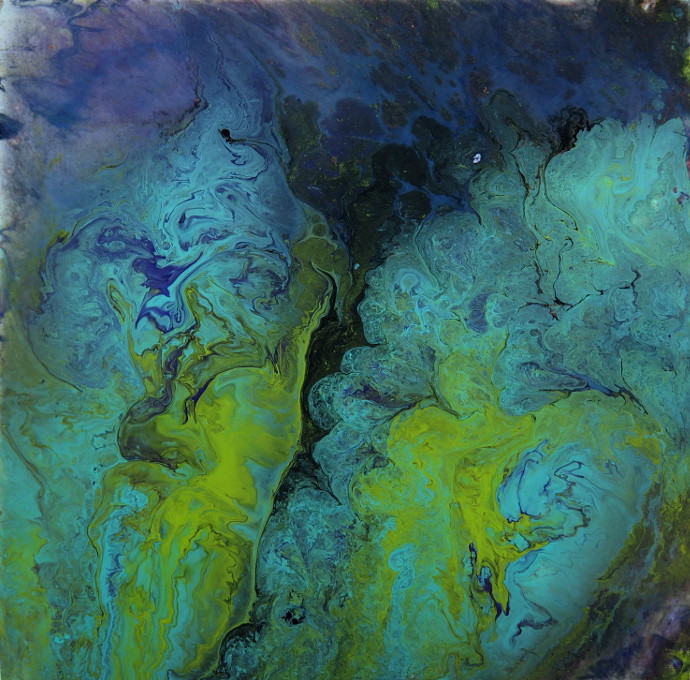
Here are a few other paintings I completed while playing with Liquitex Pouring Medium at home:
Working in a classroom
This is the basic process that seemed to do the trick for the class.
For all the steps we mixed about 3-4 parts medium, 1 part paint, and a few drops of rubbing alcohol.
The kids did a total of 3 pourings, as it seemed to work best.
- Pour about 1/4 of a cup of the pouring medium and mix a base color into it (Approximately 3-4 parts medium and 1 part paint. You want the result to be pretty runny, solid color and not transparent) . I told the kids to pick a color that would be their MAJOR color for the center.
- Do the same with smaller cups for 3 additional secondary colors. Mix about 3 parts medium to 1 part paint. These are colors you will be adding to your base color you made in step 1.
- Add drops, drips and pours of secondary colors to the cup of your major color. Give it a a light swirl, but be careful to not mix up the colors too much!
- Now it is the fun part. Flip the canvas over on top of your cup and flip them both over together. Let the cup sit upside down on the canvas for a few minutes, and then take it off.
- Repeat steps 1, 2 and 3. Except this time pour directly on the canvas around the result of the first pouring.
- If necessary, repeat steps 1,2, and 3 again. Filling up the rest of the canvas. This time I let the kids walk around and ask their friends for left over colors they wanted.
Mistakes
I made lots of mistakes when first exploring the pouring medium. Let’s go over some of them, shall we?
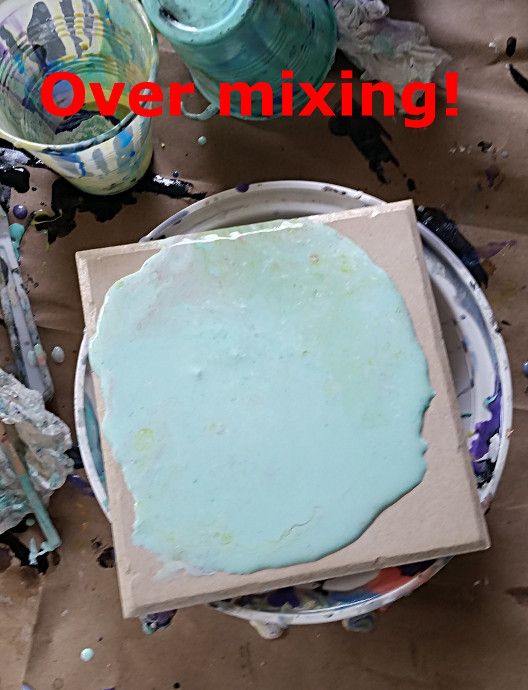
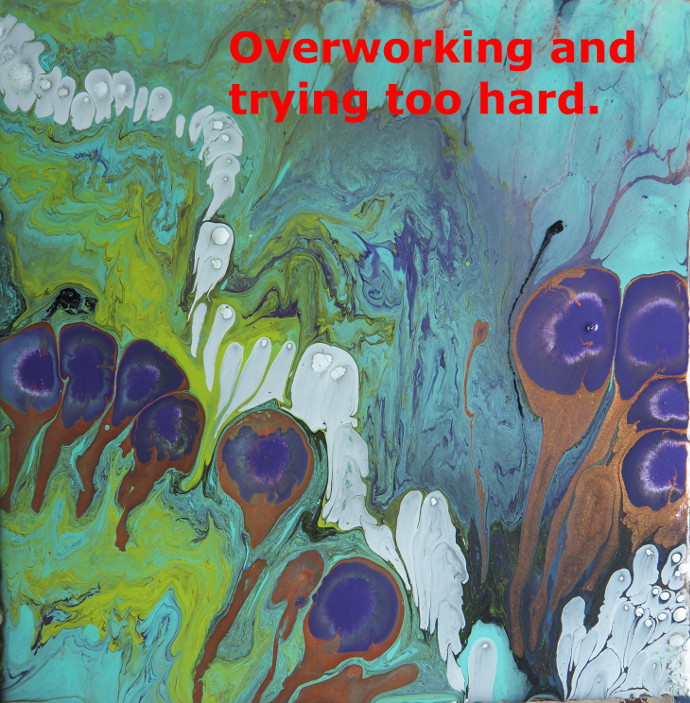
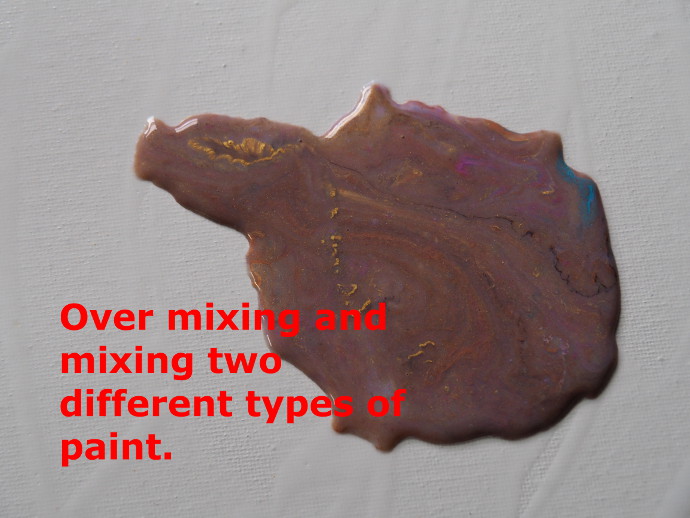
Above all the other mistakes. Mistake number 1 was over mixing! When you put your secondary colors into the cup, don’t mix it all into one color!!
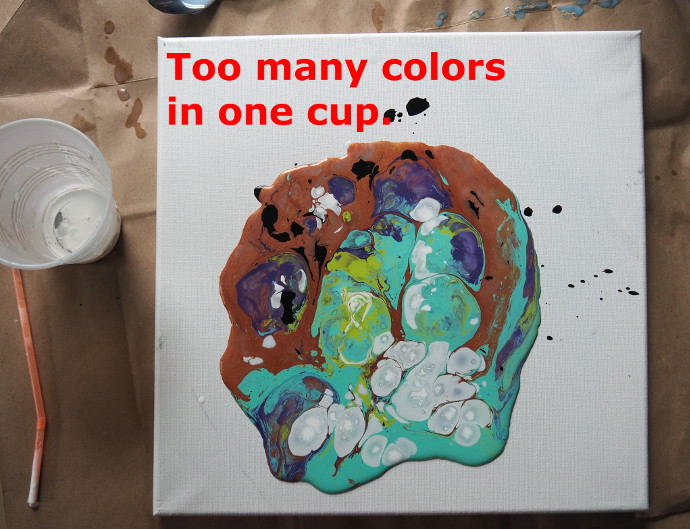
Don’t put way too many colors into a single pouring!!
It is super easy to get carried away and wind up over working the painting! Don’t! Stop yourself while you are ahead!!
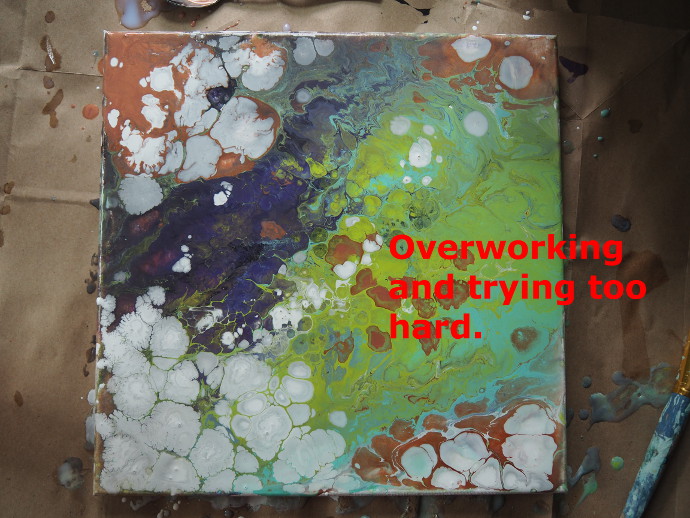
Another example of over working and trying too hard.
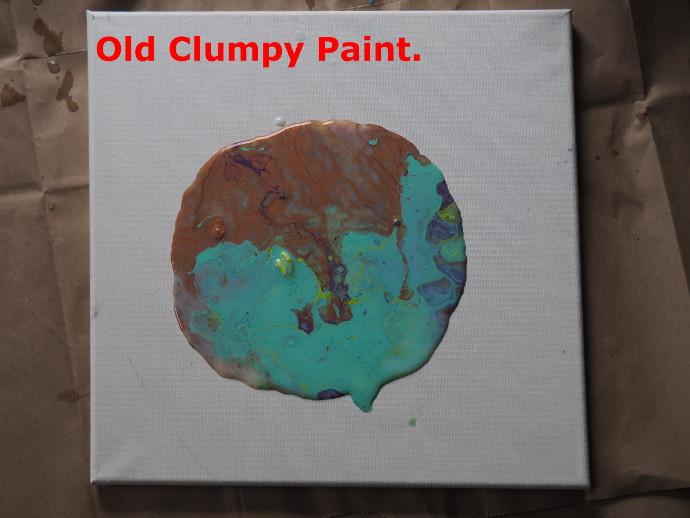
Make sure your paint is not old and clumpy, and give it a good shake prior to using.
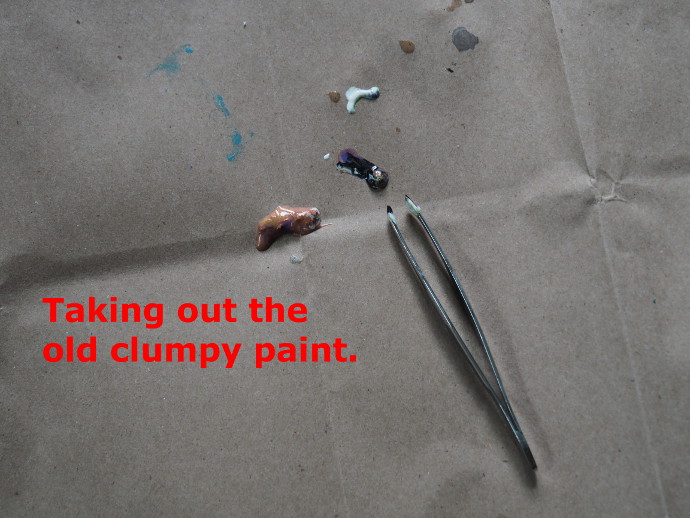
Taking out old clumpy paint is no fun!
Let’s talk about mistake #1: MIXING TOO MUCH, one more time. Similarly, it is a bad idea to combine two different paints of different densities. Yep. Don’t do it.
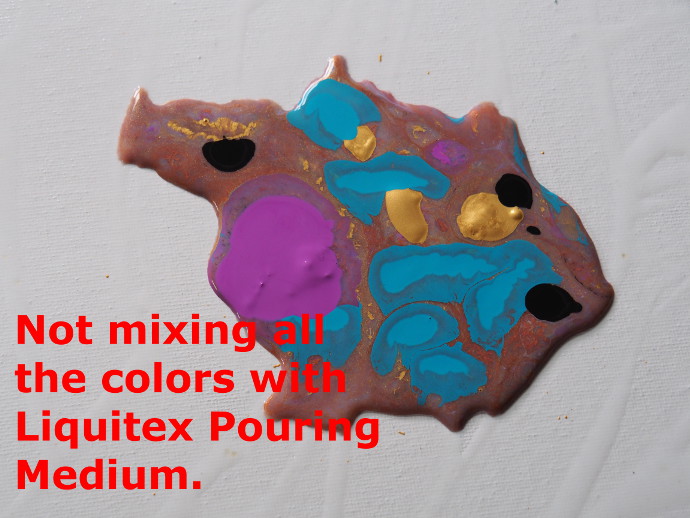
In this lovely photo, you see the result of what would happen if I dripped actual paint directly on the canvas with the liquitex pouring medium mixture. Nothing! Nothing will happen. It will sit there like the glop of paint it is.
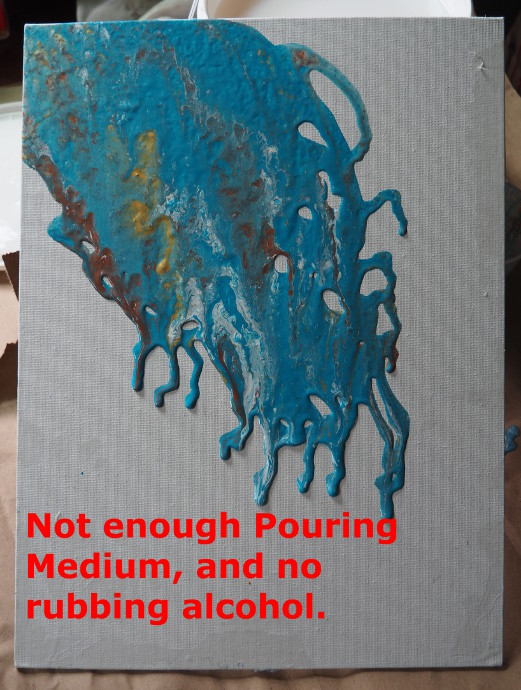
Yeah, it is hard to describe this last one. Truly the issue was that it was all too thick. Not enough pouring medium and no rubbing alcohol.
There you have it! I hope you have as much fun with this as I did!
