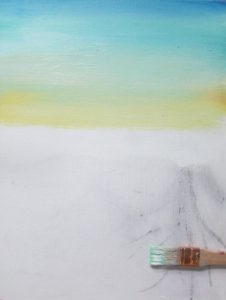
How To Paint A Tropical Beach, Ocean Waves, and Palm Trees.
 This was the last project of the year that I did with the kids in the art class. I love that even though the directions were all the same, each of the kids’ paintings were so different and individual. My favorite part were the waves, and the clouds. It’s just a fun, playful project to do together as a group or on your own. Here it is, how to paint a tropical beach.
***This page contains affiliate links.***
For this painting the kids and I used this kind of ACRYLIC PAINT. It worked wonderfully. We also used 12 by 16 CANVAS BOARDS to paint on. Also, for the majority of this painting I used a one inch flat brush, like the one in the photo below.
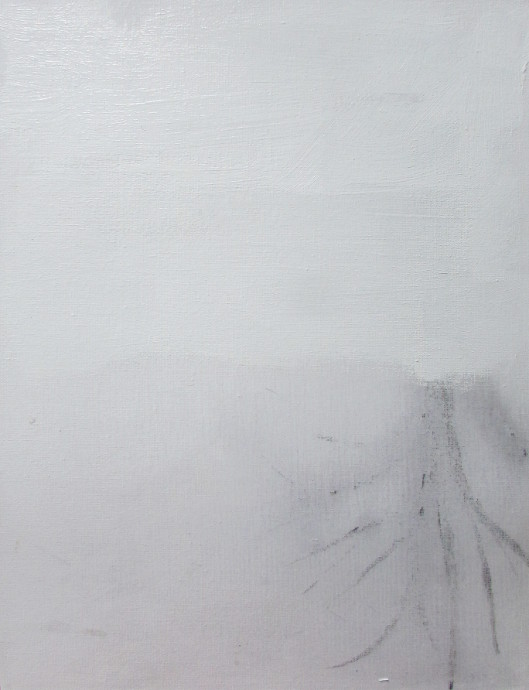
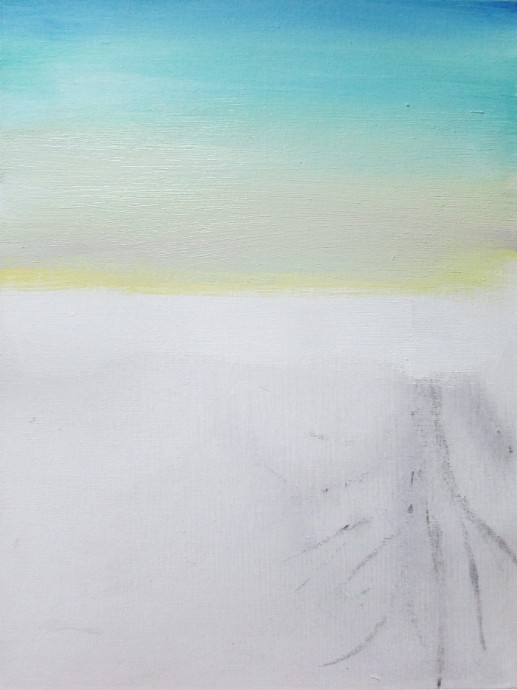
First off, let me tell you a secret. I recycle canvases. This one had a tree on it, which I sprayed with water, and wiped with a paper towel. You’ll see the upside down tree until it gets painted over.
Painting The Sky:
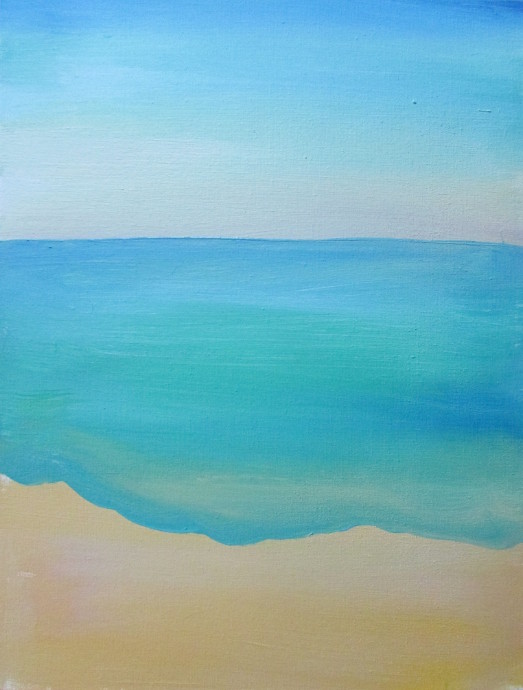
I started by covering a little more then 1/3 of the canvas with a layer of white paint.
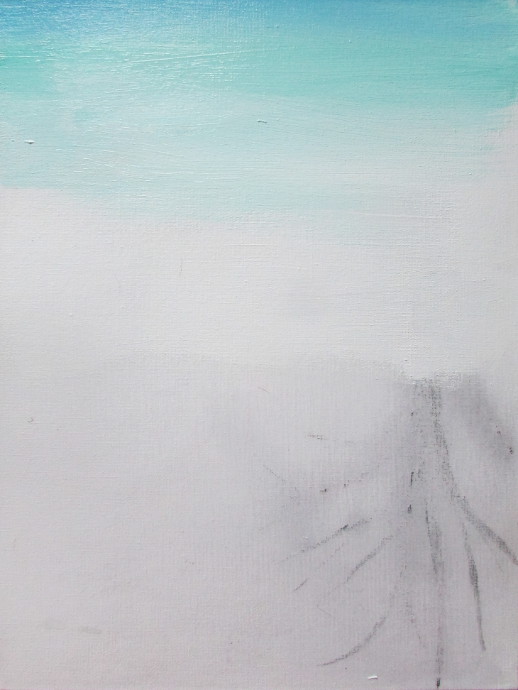
Then I started adding a bit of turquoise blue right over the white. The top portion will be the sky of course.
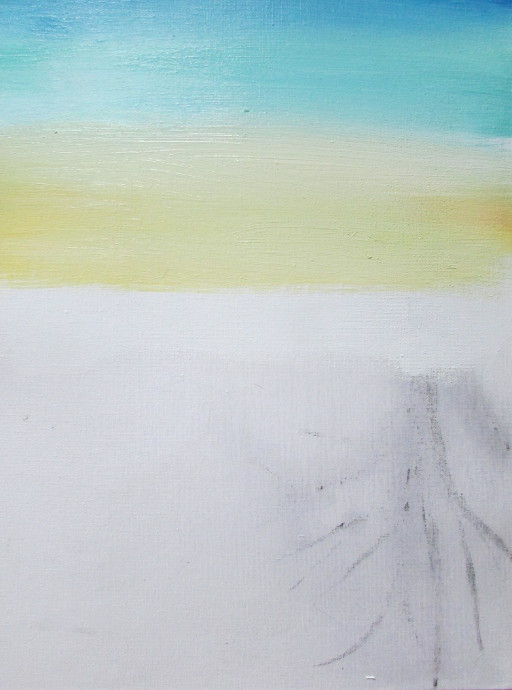
Wanting to indicate some sort of sunset, I added a bit of yellow. Turns out it was too much yellow. I only used a tiny drop on the end of the brush and it was still too much.
To help out with the excess of yellow, I added more white, and a touch of purple.
Painting The Ocean:
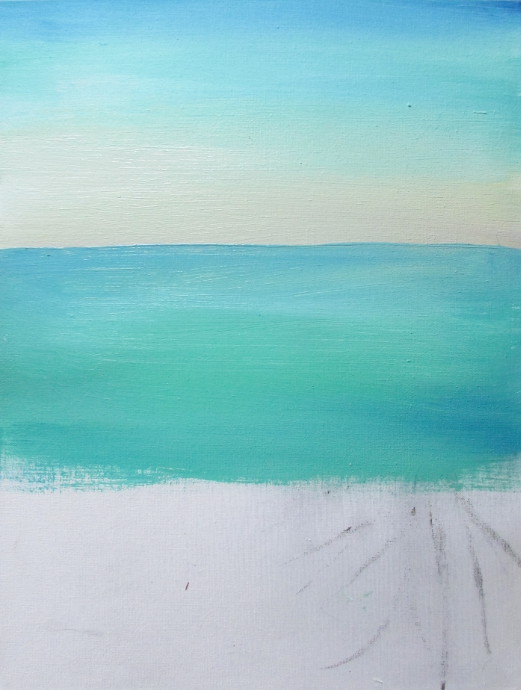
For the ocean, I used blue, without the extra white, and touches of green. Paint in the second third for the ocean.
Painting The Sand:
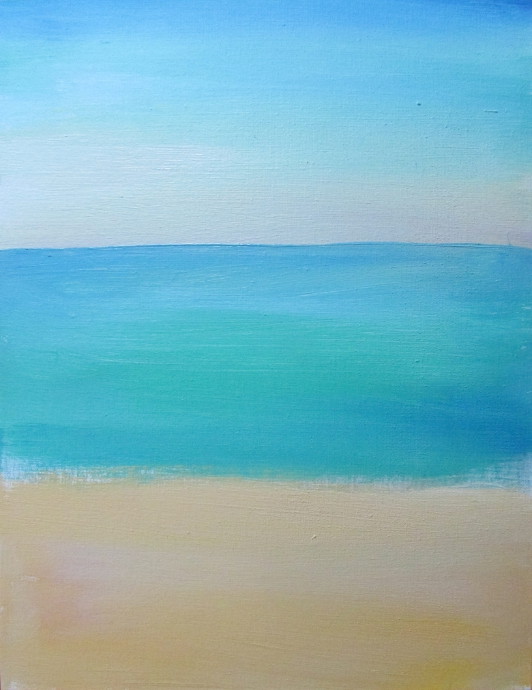
The sand is the last third of the painting, and it’s a mix of yellow, pink and white. As you can see the line between the ocean and the sand looks sort of messy, and not finished. That’s o.k., because it’s time for my favorite part: the waves.
Painting The Waves:
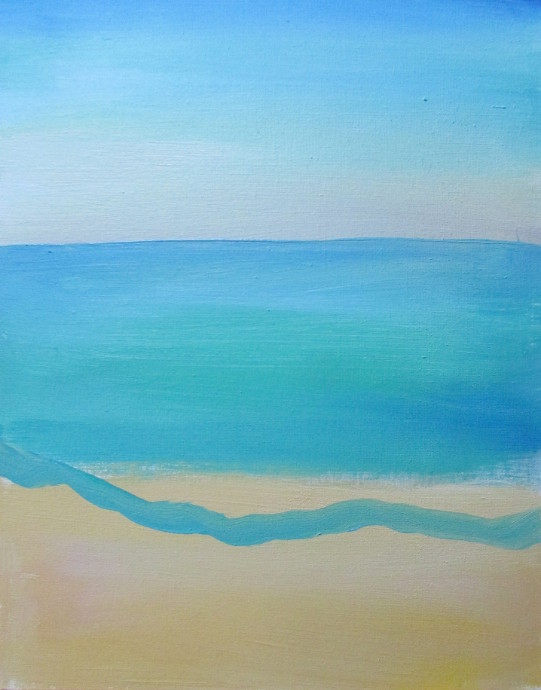
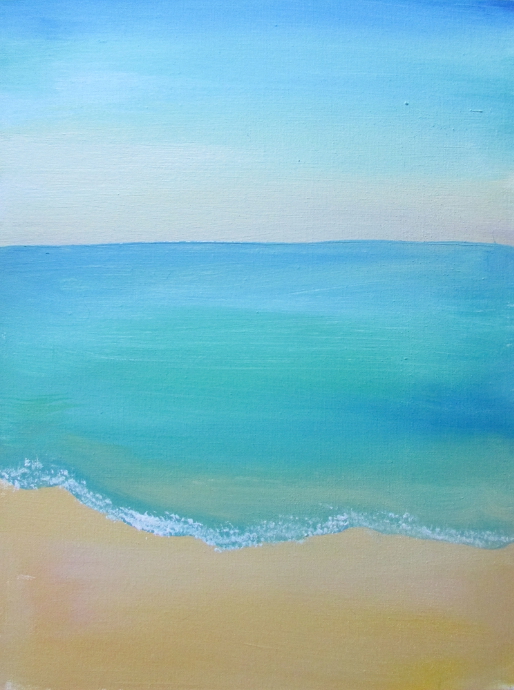
To do the wave, pick up some blue on the paint brush, and paint a rough line going across the sand where the wave will break. It is even better if the sand paint isn’t completely dry yet.
Fill in the space between the line you just made and the ocean with the blue. I like it even more if you can see some of the sand color showing through.
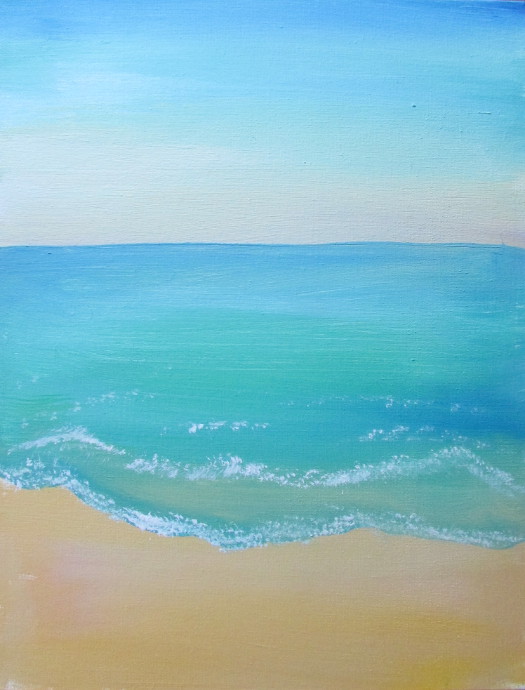
Now, pick up some white on the tips of the paint brush, and just make little spots all along the edge of the wave.
Add more white spots to indicate waves that are further away.
Painting The Palm Tree:
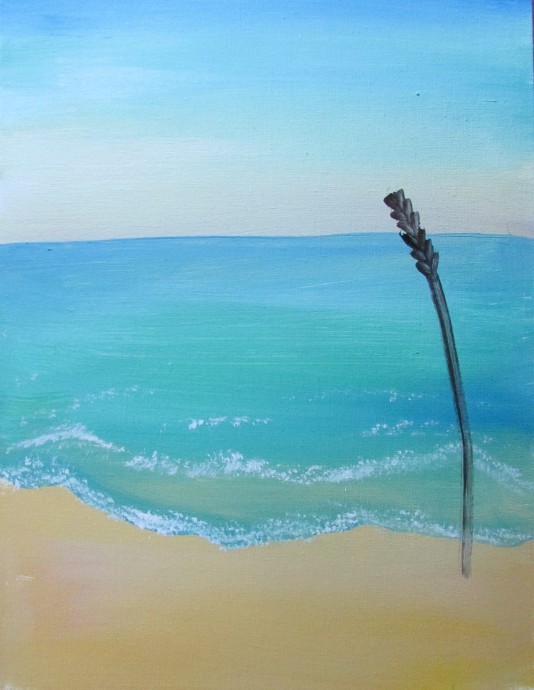
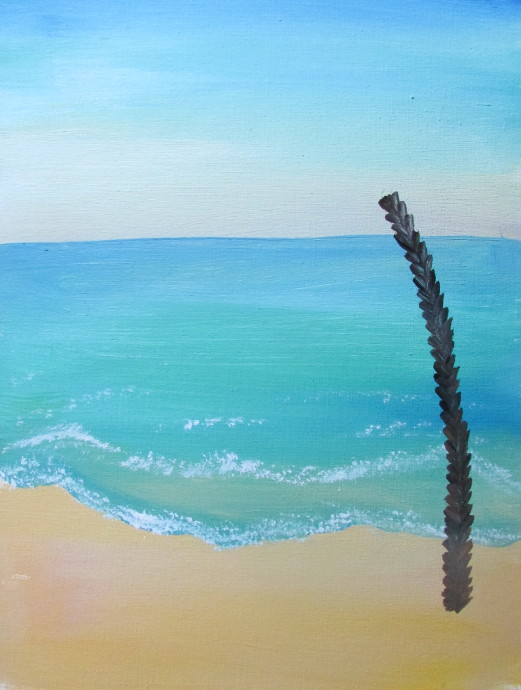
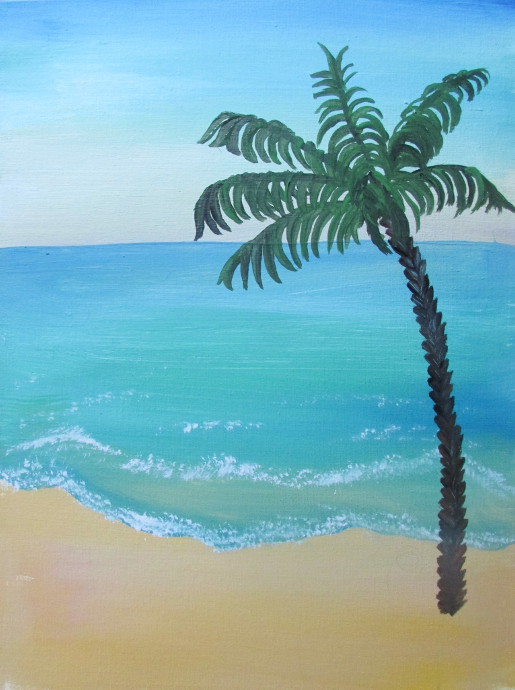
Once everything dries, it’s safe to start on the palm tree. First, draw a line, showing where the trunk of the tree will go. Then start adding diagonal dashes, as in the picture above. Of course, that’s just one way of doing it, and you can do it a hundred other ways too!
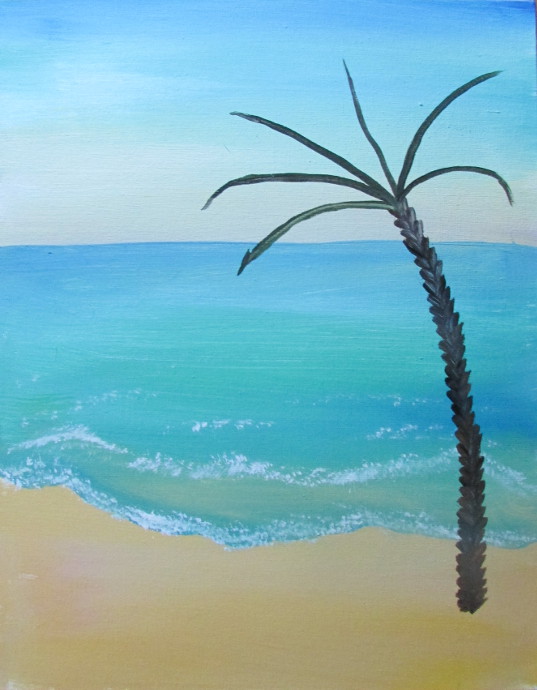
Here is my complete tree trunk.
Add several lines extending from the tree top, for the palm leaves.
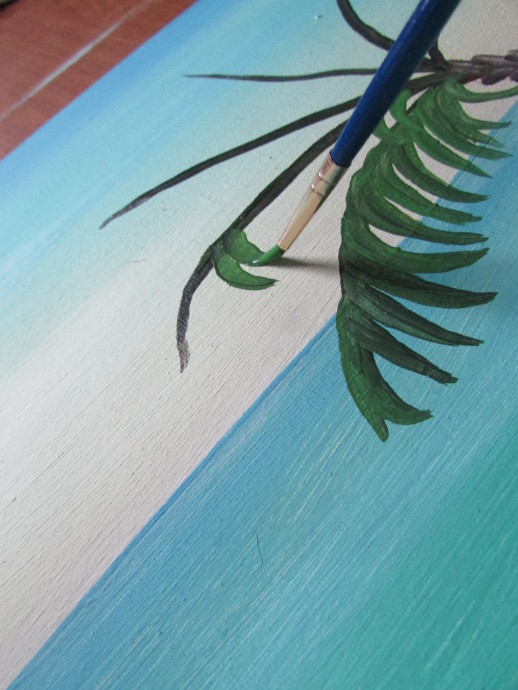
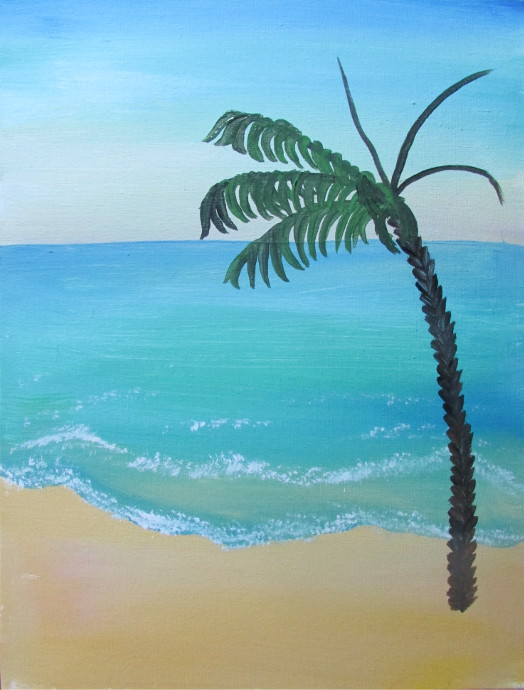
Using a smaller round brush, paint leaves cascading down from each branch.
I used a combination of black and green for the palm leaves.
Keep in mind as you paint, the palm leaves get larger toward the trunk.
Adding More Details:
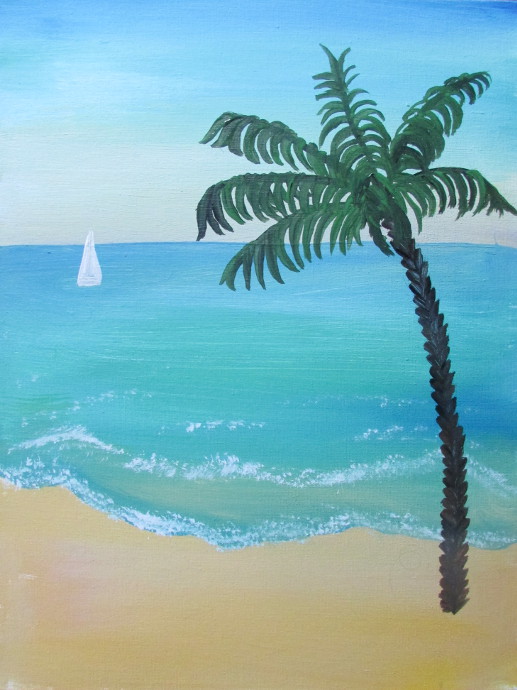
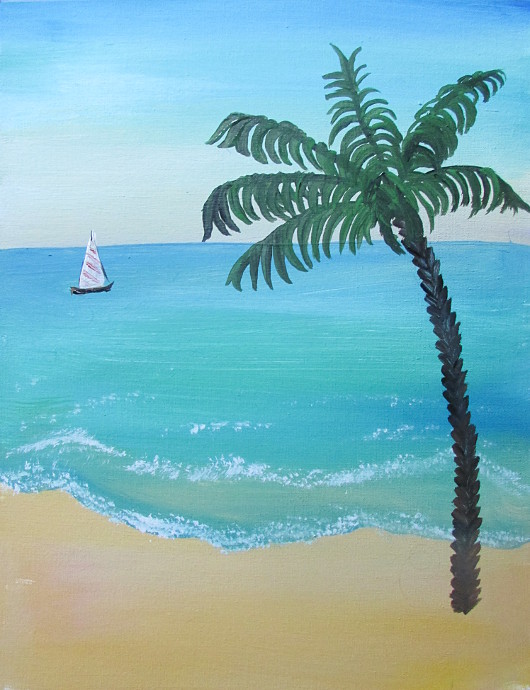
I added a small boat. I painted a small white triangle for the boat.
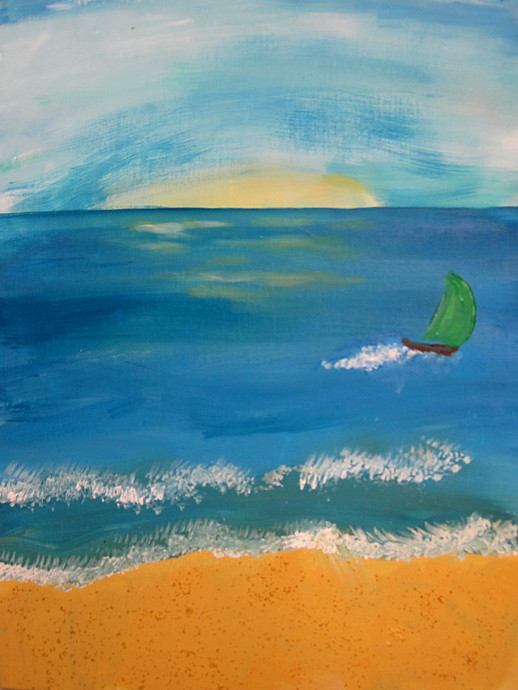
Some of the kids in the art class came up with a way better way to paint a boat. Instead of a triangle they did an almost a half moon shape. I liked the look of it very much so.
Then I just added the boat.
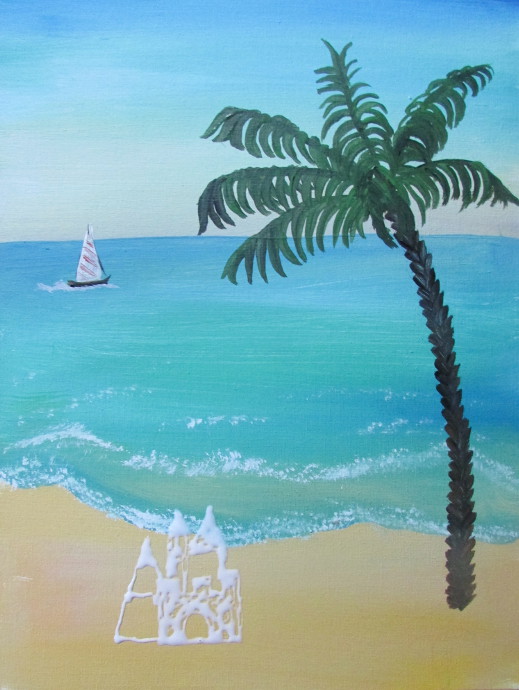
For the boat, I added some foam behind it. I also decided to build a sandcastle. Using regular school glue, I drew out the castle.
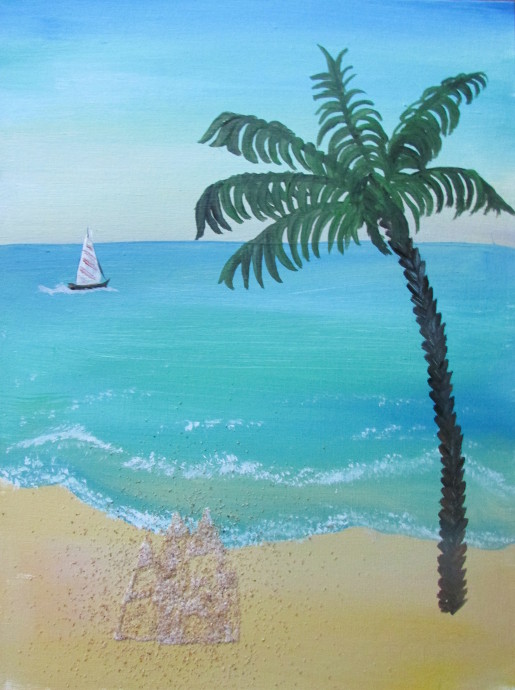
Then I sprinkled some craft sand over it.
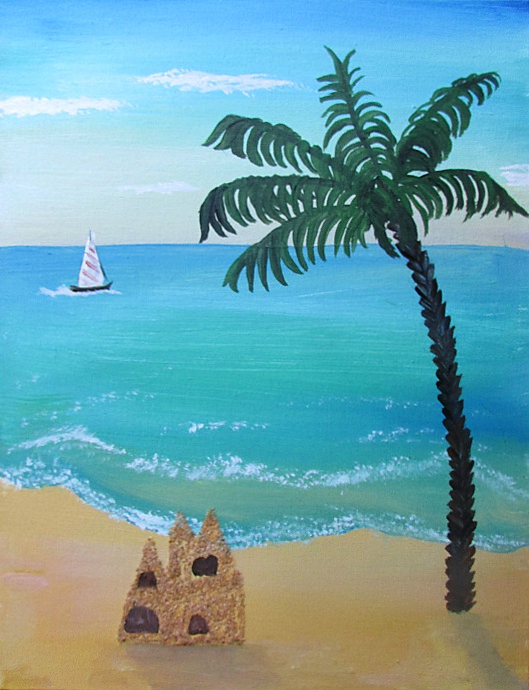
I painted in the sandcastle windows and doors, then I added a shadow to the tree and the sandcastle.
There you have it. Easy peasy.
