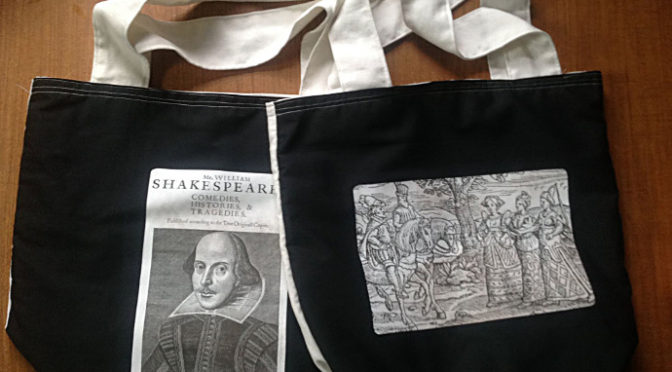
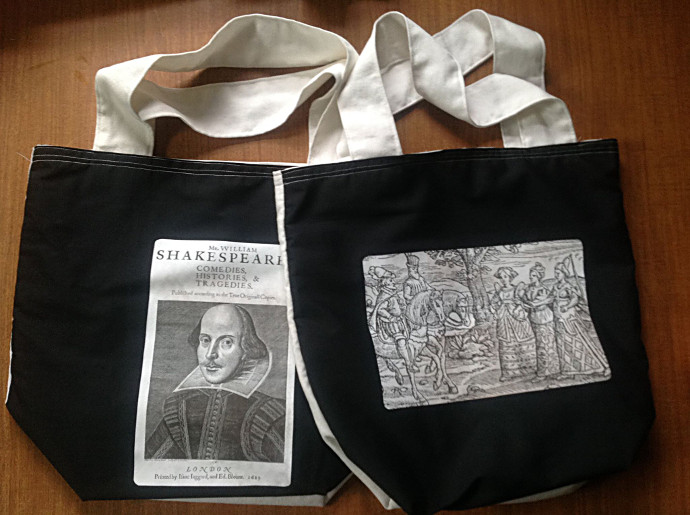
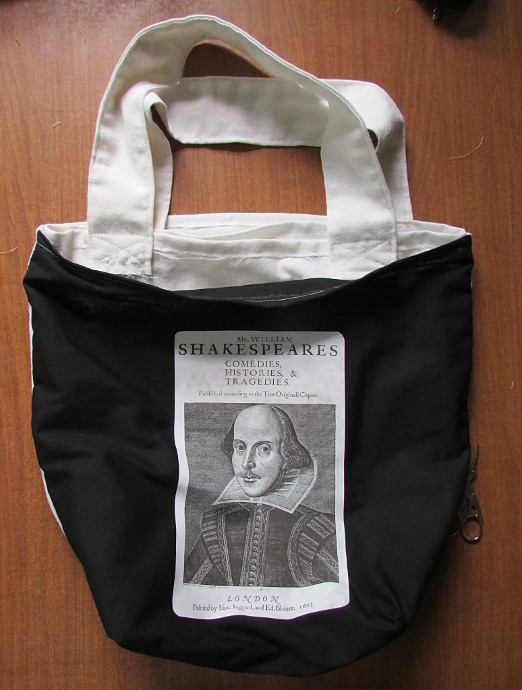
A little while ago I made these Shakespeare themed purses for a friend. They were simple and easy to make (you do need basic knowledge of a sewing machine and some good scissors).
They came out fantastic, if I do say so myself, and my friend really loved them:
Here Is How To Sew A Shopping Bag Or A Purse
***This page contains affiliate links.***
What you need:
- Sewing Machine
- Black Fabric
- White Fabric
- A good pair of Scissors
- Transfer paper for dark T-shirts: I used Printworks Dark T-shirt Transfer Paper. They worked marvelously and I would use the same paper again.
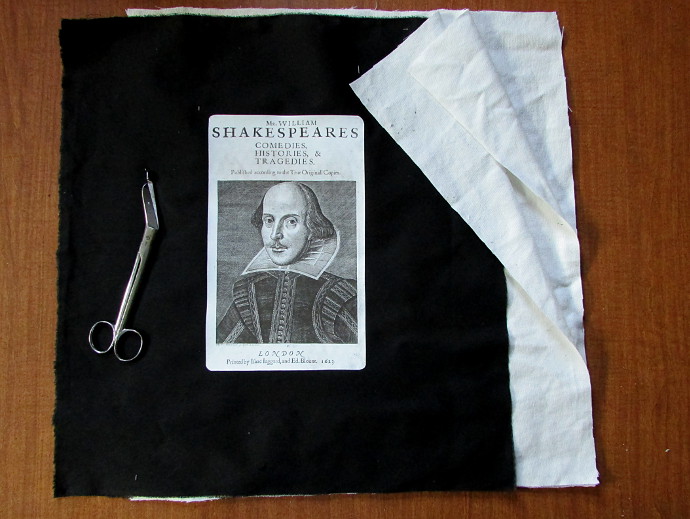
I dug around a bit, and found a portrait of William Shakespeare and a wood carving of Macbeth encountering the three witches. Both works are in the public domain in the United States.
Making The Pattern
Pattern is a strong word to use here. It should be more like cutting out squares and rectangles.
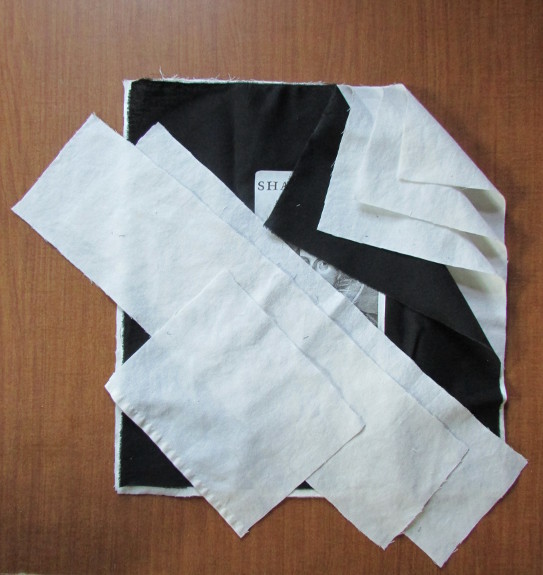
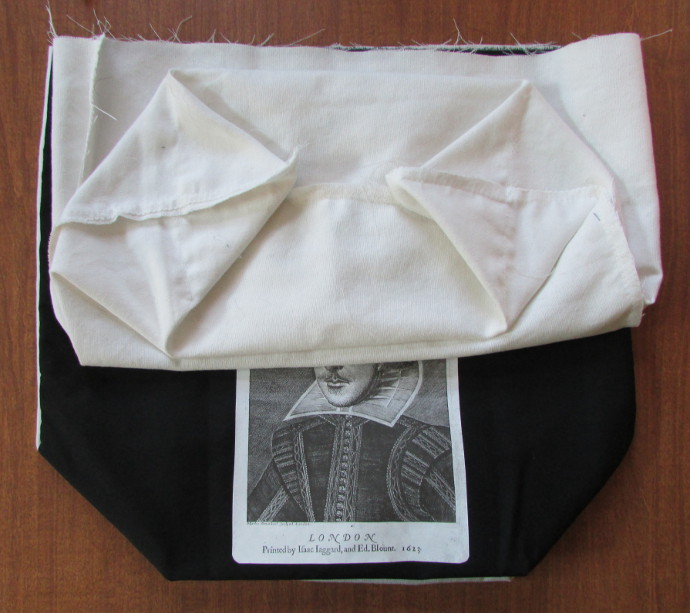
First I cut out several parts. Four squares all together. Two white ones for the inside of the bag, and one white and one black for the outside layer. Needless to say the squares should all be the same size. Then I printed, cut out, and ironed on the image on to the black square. I was making two purses, so a total of 6 white squares, and 2 black ones with an image on each. The squares should be about the size of the bag. In my case they were about 1 1/2 feet by 1 1/2 feet.
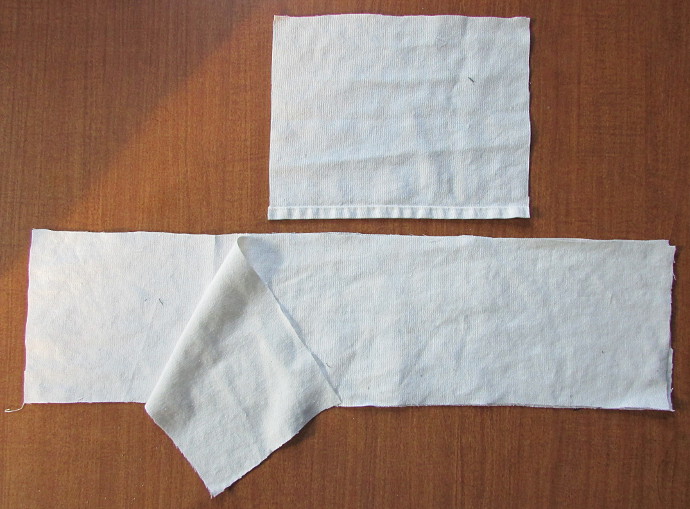
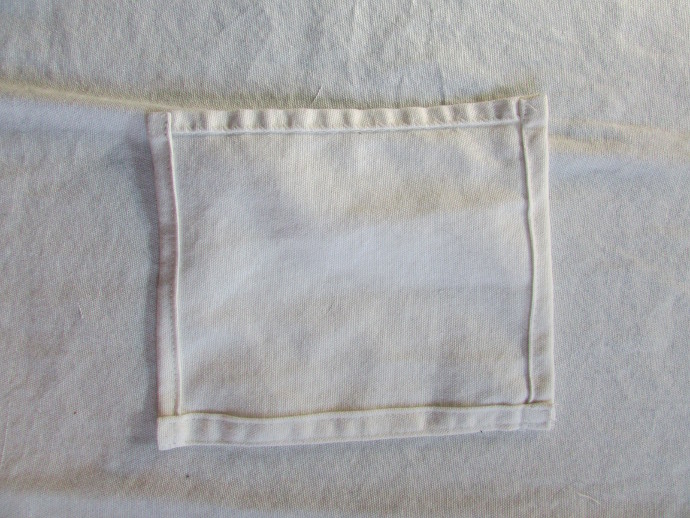
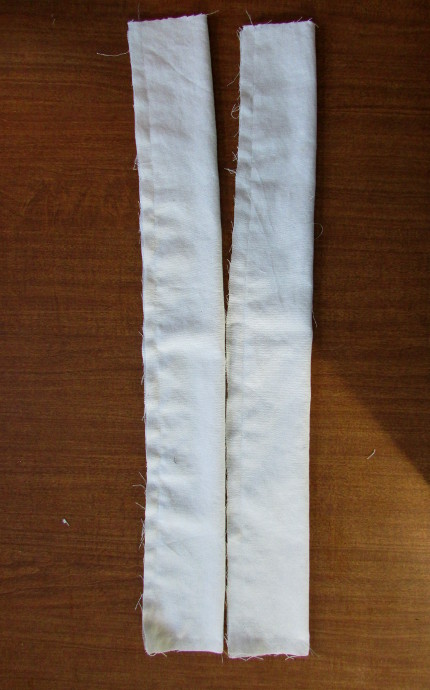
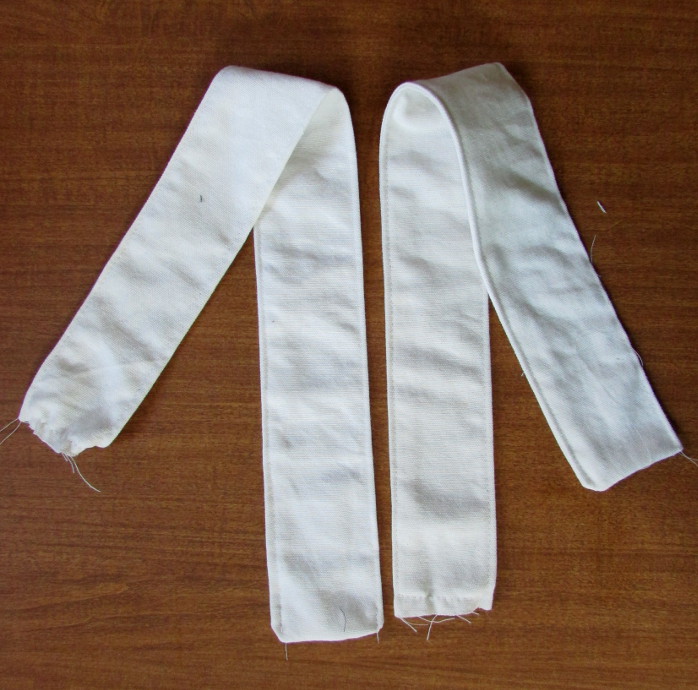
Cut out handles and a pocket. For each bag I needed one rectangle for a pocket (my white fabric was recycled curtains, so the edge of the pocket was already hemmed). Each bag also needed 2 handles. Each handle was a thick, long rectangle. They measured to be about 4 inches wide, and 1 1/2 – 2 feet long. The way to think about it, is what length would be comfortable for you to carry, and if you were to fold them in half lengthwise, how wide would you want your handles to be? I like mine about 1 1/2 to 2 inches wide at the end, so I double that for the template.
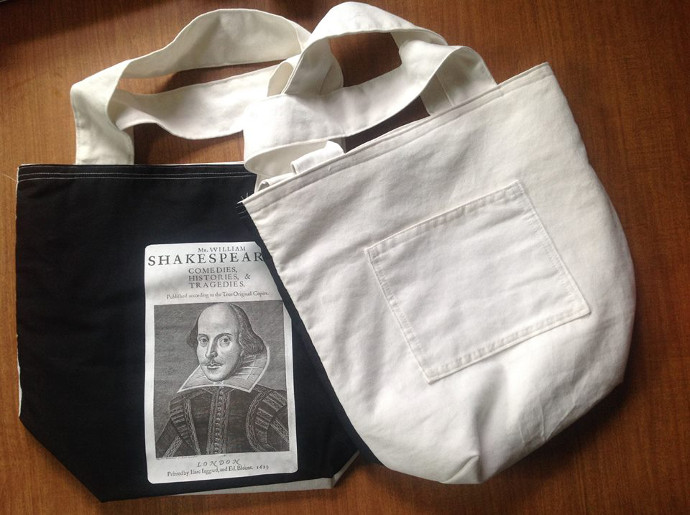
Here are all the parts for one purse, laid out for size comparison:
Get Sewing
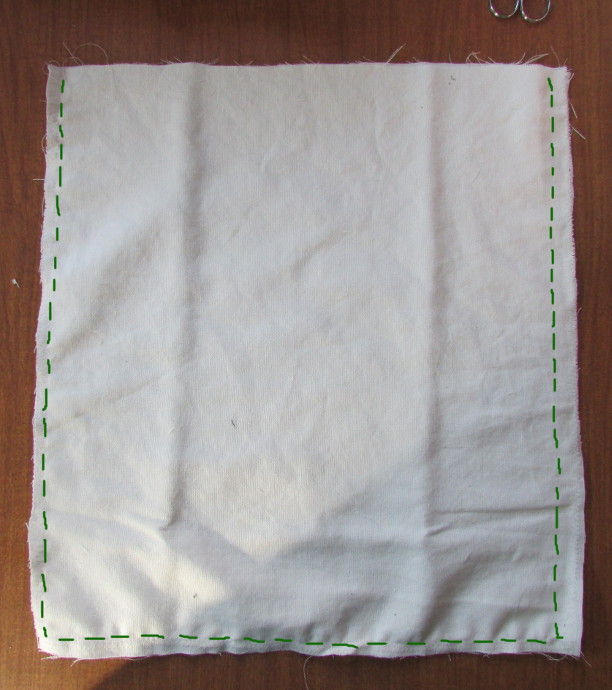
Next, hem the pocket around all four sides.
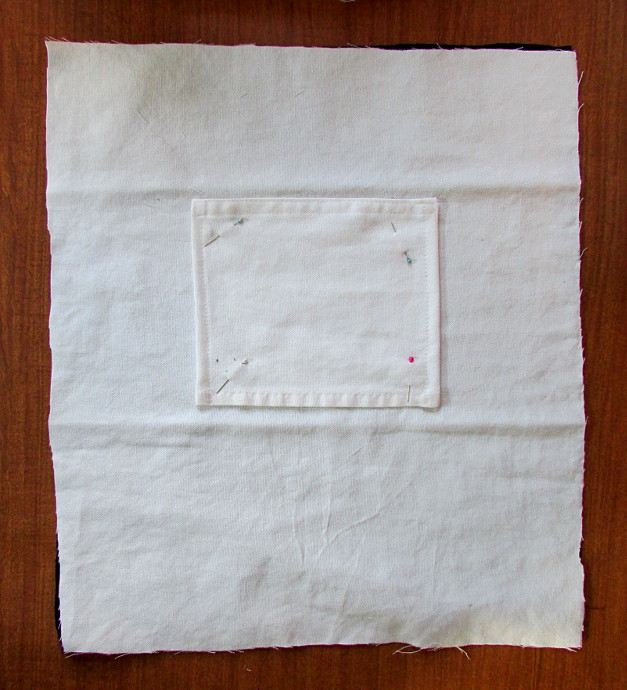
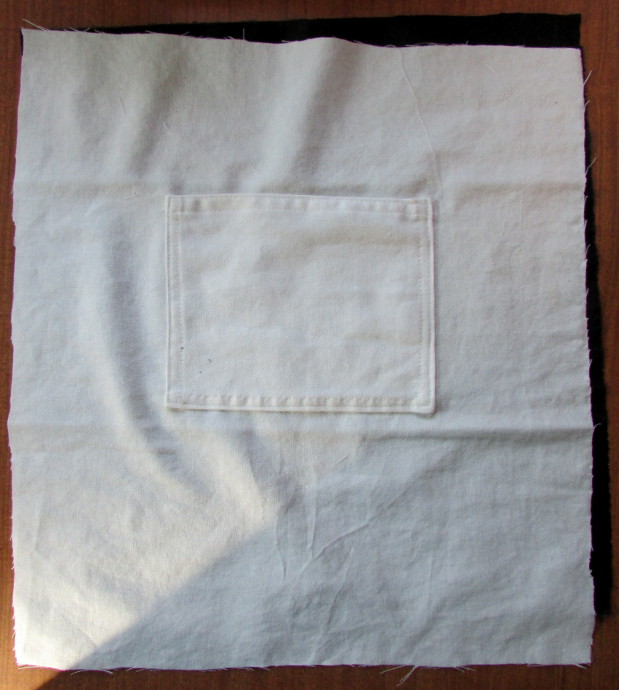
Pin it to the white fabric square. This will be the outside of the purse.
Sew it on the left side of the pocket, the bottom and the right side of the pocket.
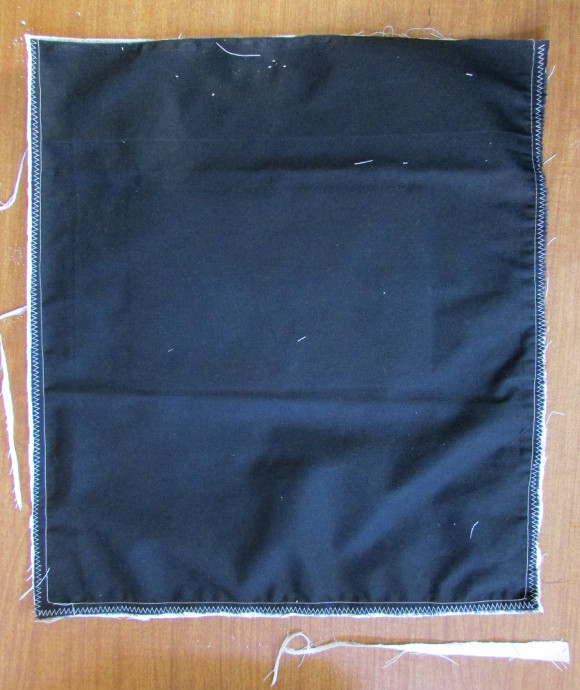
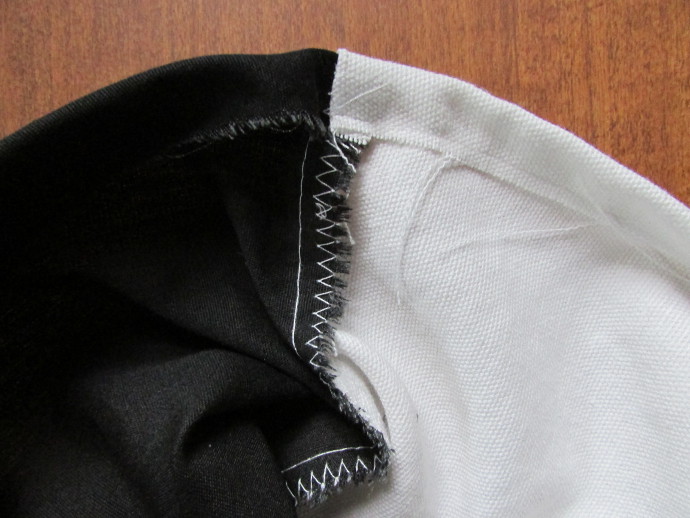
Next, take the remaining two white squares of fabric, and sew them together around the sides and bottom. See the photo below. First I do a zigzag around the edges, and then a regular straight seam right next to it. This will be the inside layer of the purse.
Layer the black and white square facing in. In other words, the picture on the black square and the pocket on the white should be facing each other. Now sew them together in the same manner as the first two squares.
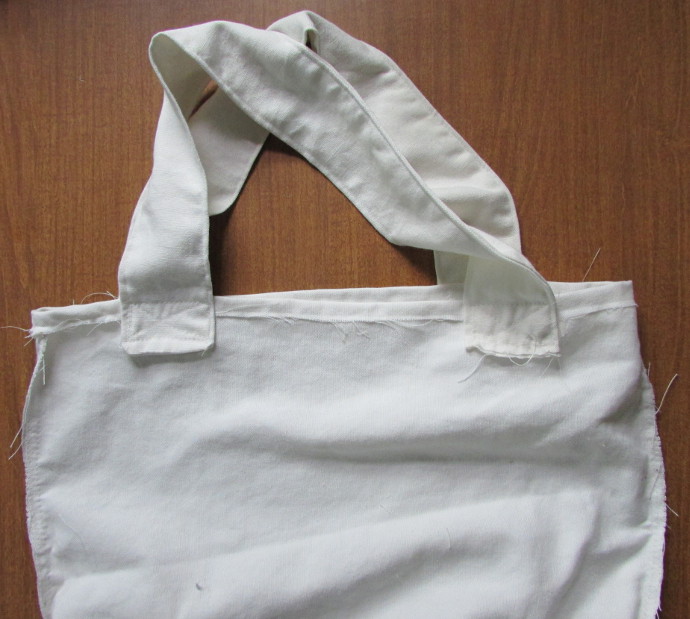
Now your inside and outside of the purse are ready. It is time to make the handles. Fold each handle in half lengthwise, then sew along one end, and the long edge. First, I used zigzag on the edges, and then a straight stitch.
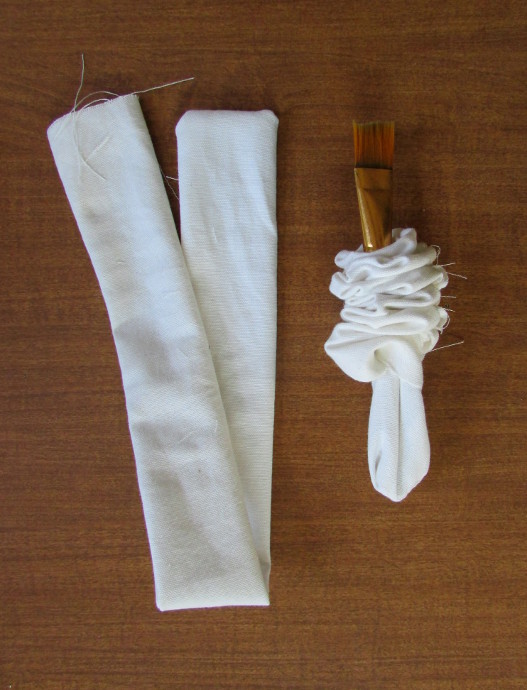
Each handle should look like a tube with one end open. Next, I used a paintbrush or a pencil to turn each handle right side out through that opening on one end.
Once the handles were all right side out, I used a straight stitch and sewed all around the edges of the handles. As in the photo below.
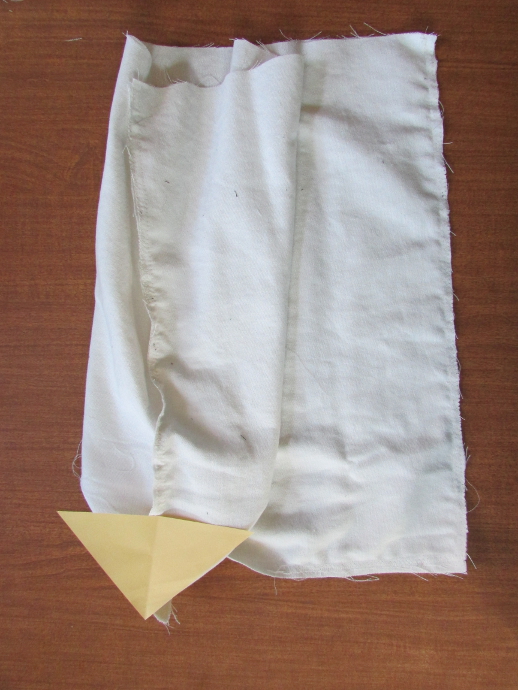
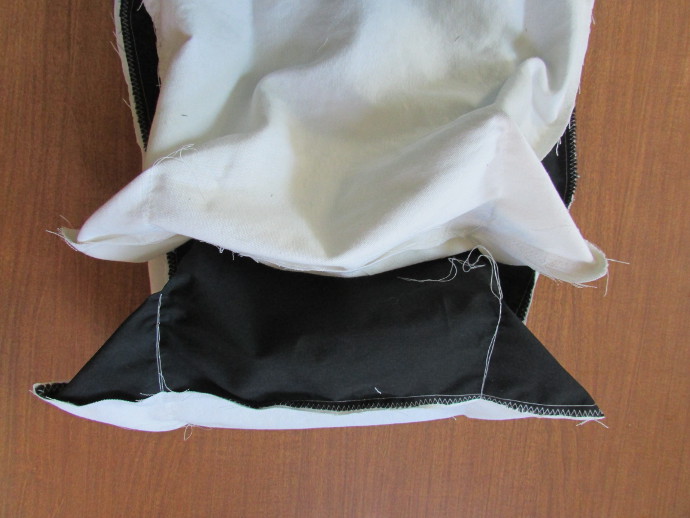
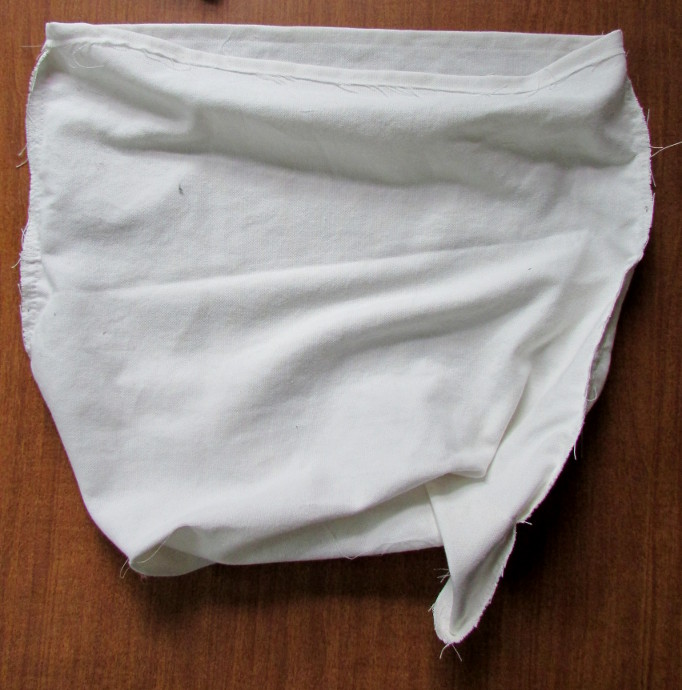
Now it’s back to the inside of the purse. I wanted to create the bottom of the purse by sewing in corners. Like in the photo below. To make all the corners even, I cut off a corner of a paper to measure by. I folded the corner so that the seam on the side, and the fold on the bottom meet.
Do the same thing on the inside of the purse, and the outside.
Here is what they look like when done from inside and out. Now, turn the outside of the purse right side out, while leaving the inside as is.
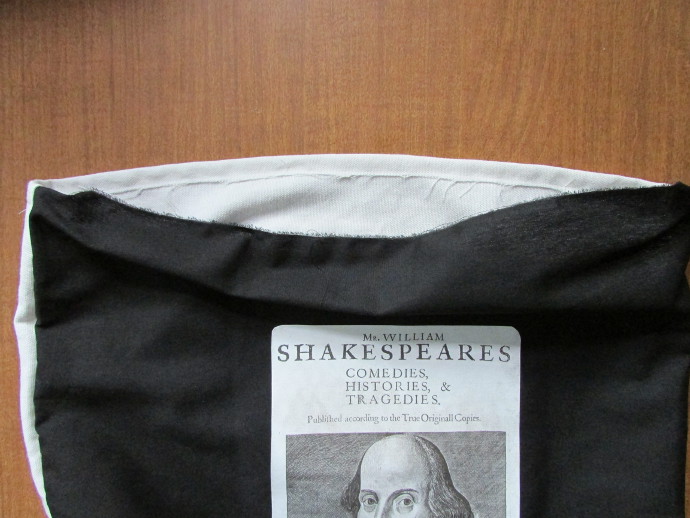
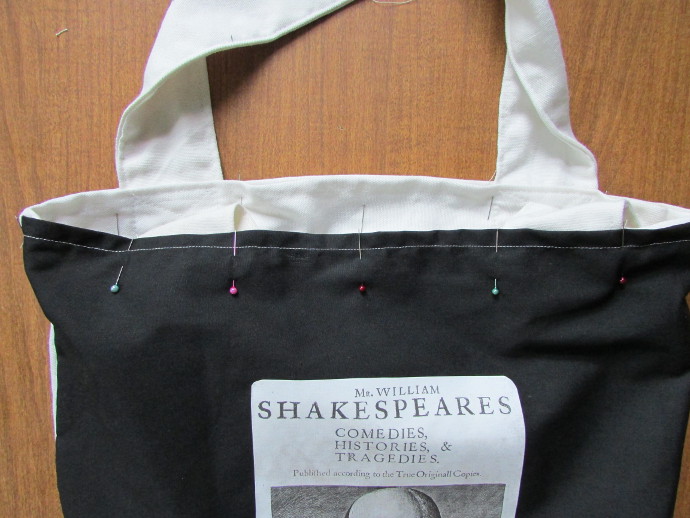
Fold the edge of the outside of the purse inwards, and sew along in a straight line.
Here is the detailed view of the top of the outside of the purse.
Take the inside of the purse, turn the top outwards, to where the seams are. Sew in a straight line all around.
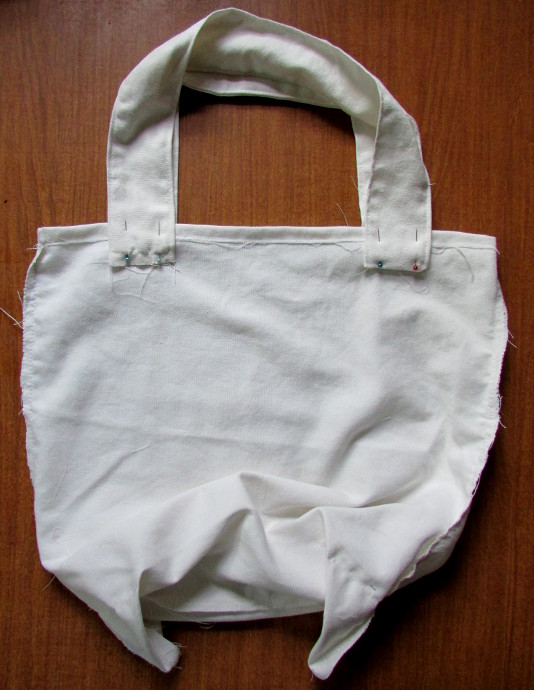
Attach the handles evenly using pins to the outside of the inner layer.
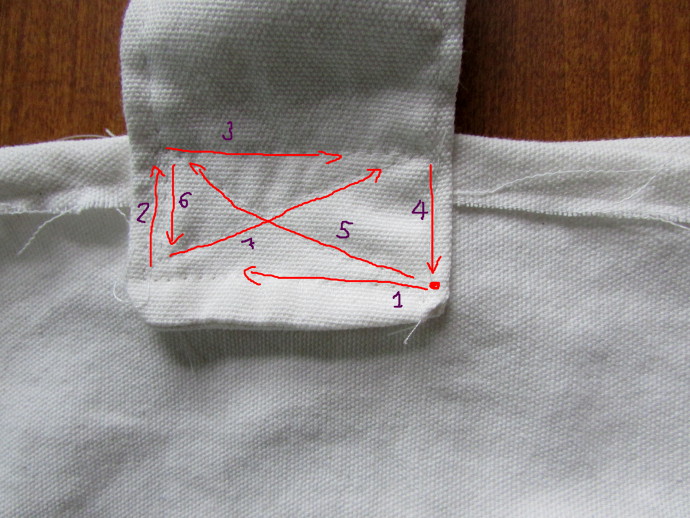
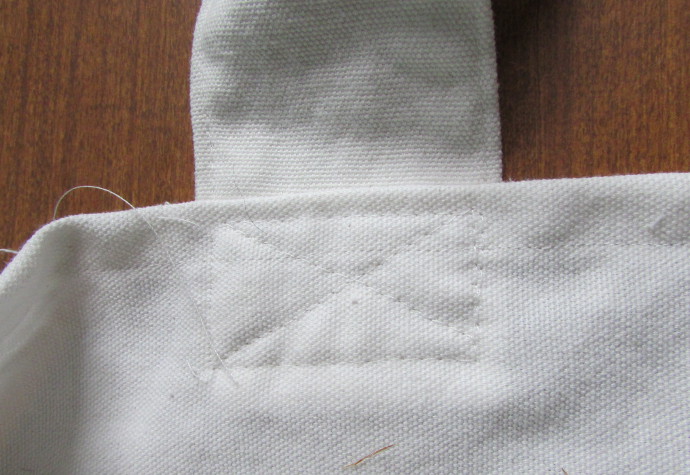
Sew the handles on. I used a straight stitch. Starting in one corner, and making a little square, followed by an X. See two photos down.
Here is how I sewed on the handle to the outside of the inner layer.
Here is what the handles look like from the other side, once sewn on.
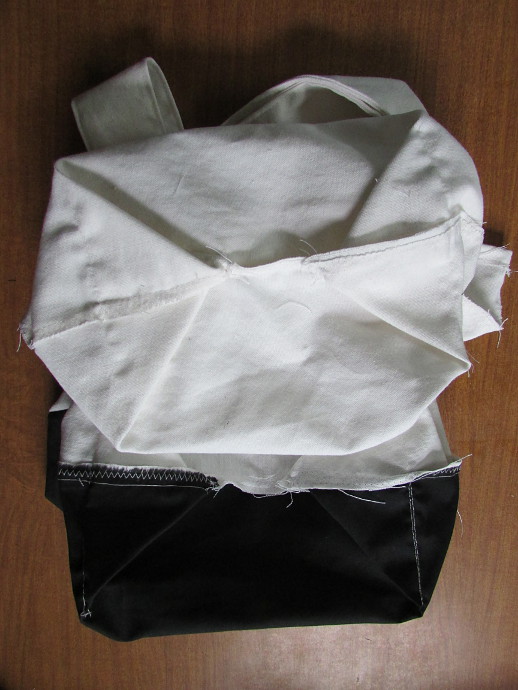
Now take the outside layer of the purse, and inside layer of the purse. The inside layer should go inside the outside layer, with the seams facing in. I lined up the bottoms together.
This is what the purse should look like now.
Use pins to pin all the edges together nice and neat. Sew in a straight line all around, attaching the inside and the outside together. I went around twice. Once below the stitch line that’s already there, and once above.
All done!!!
