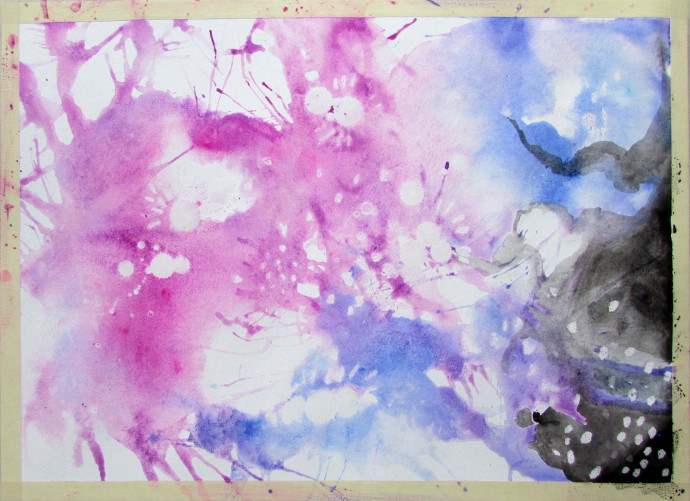
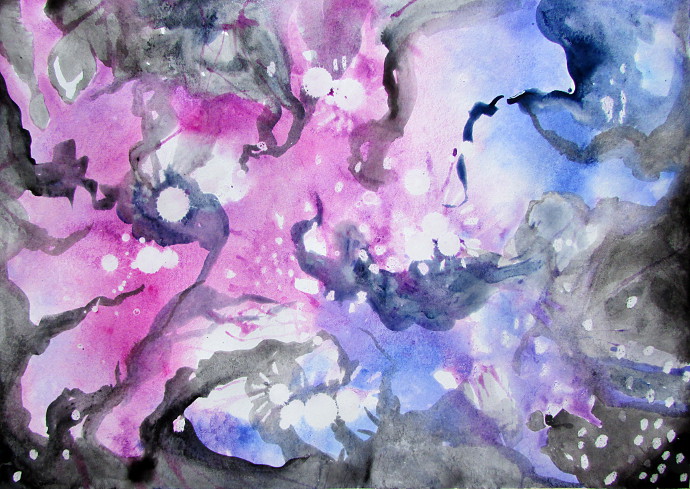
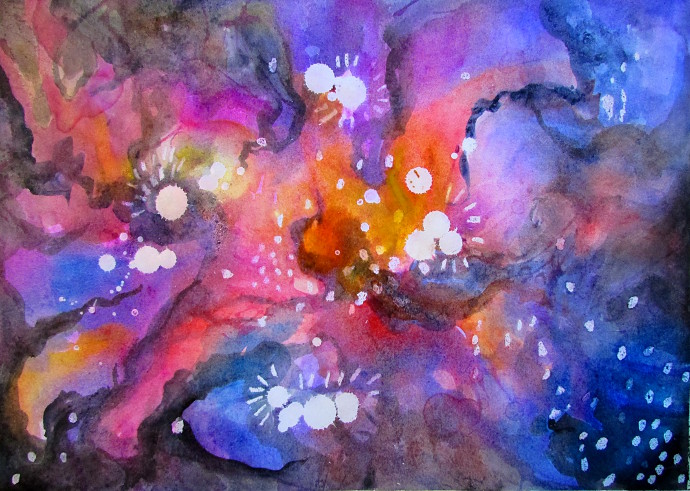
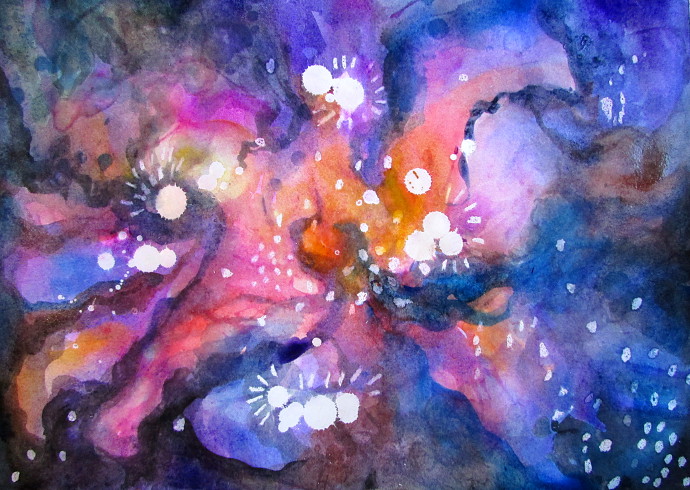
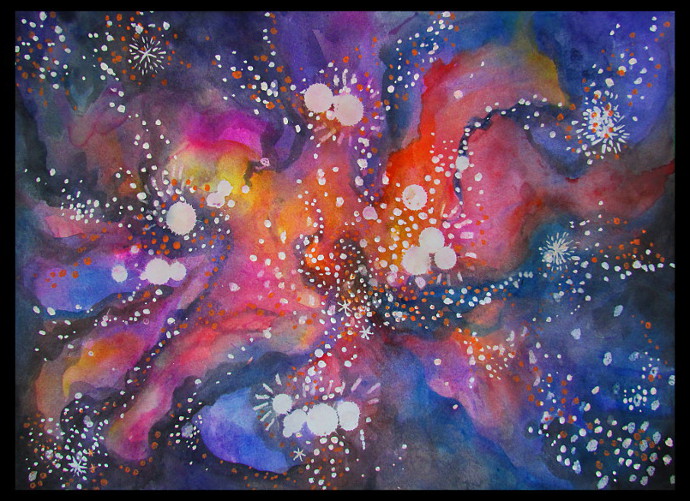
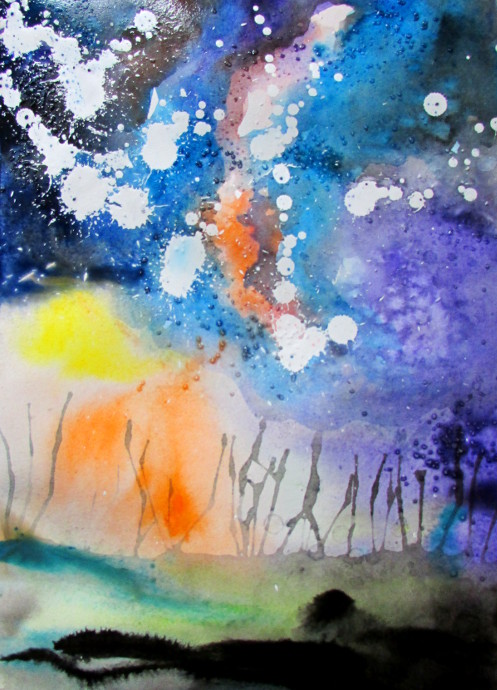
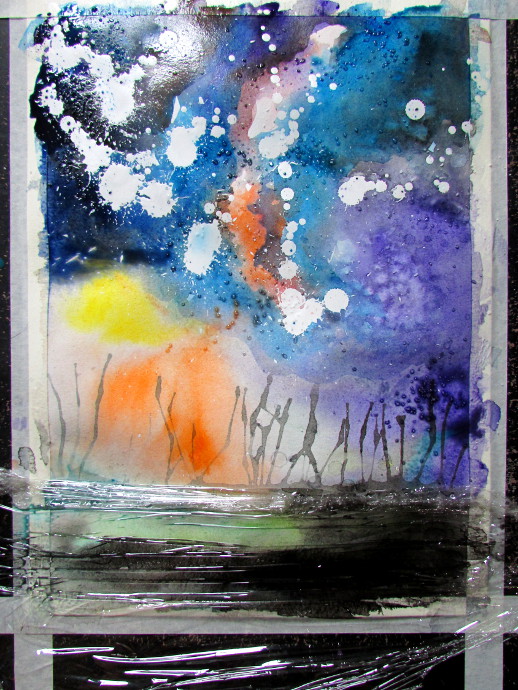
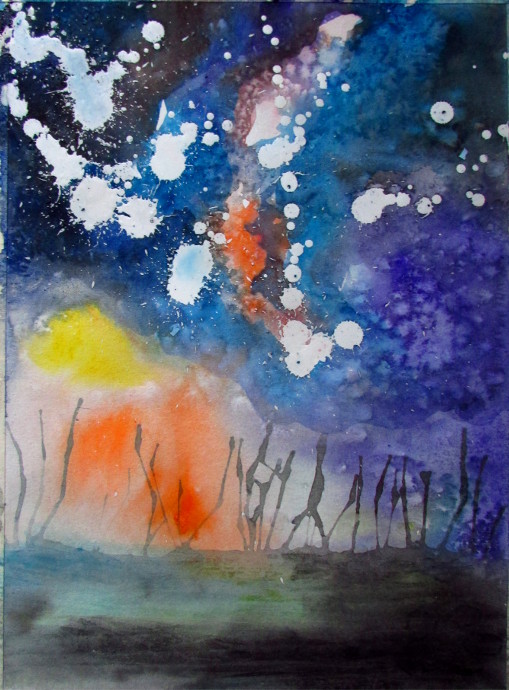
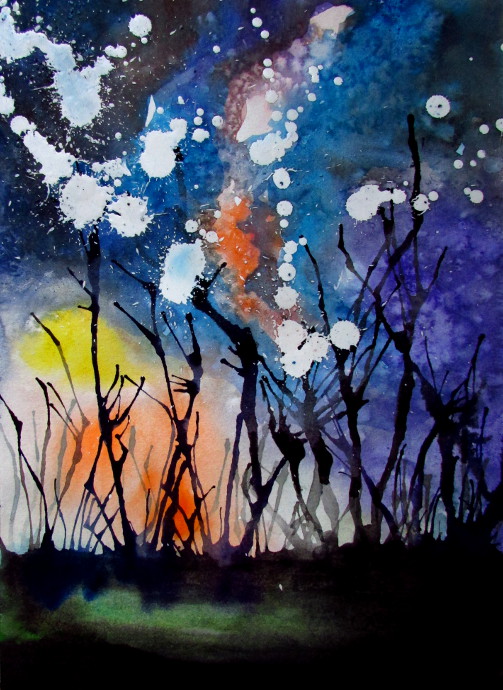
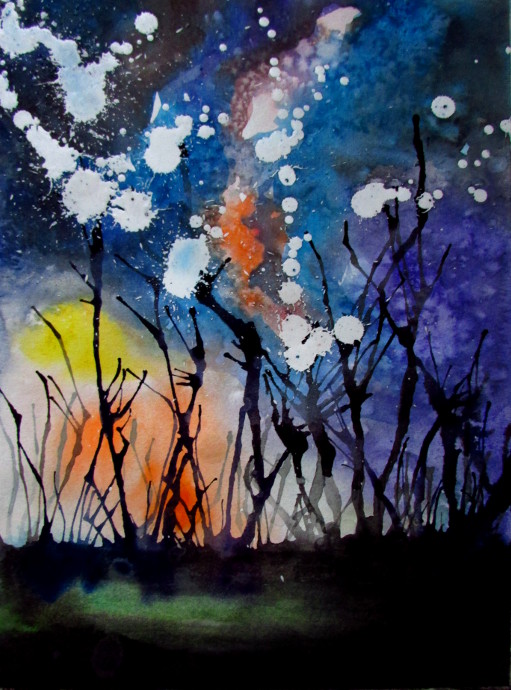
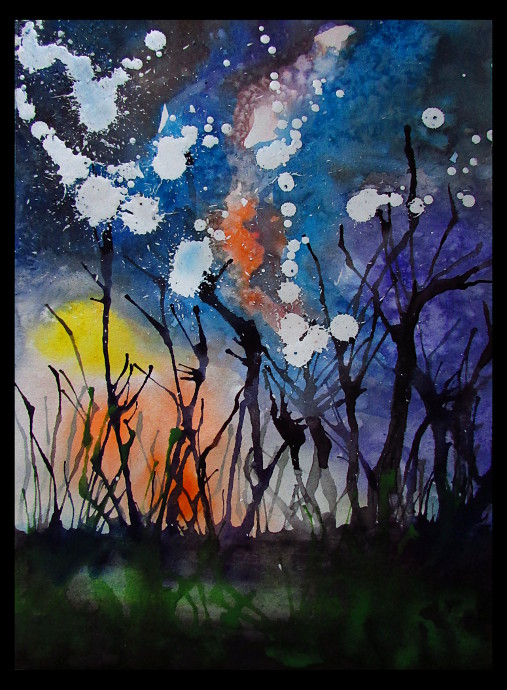
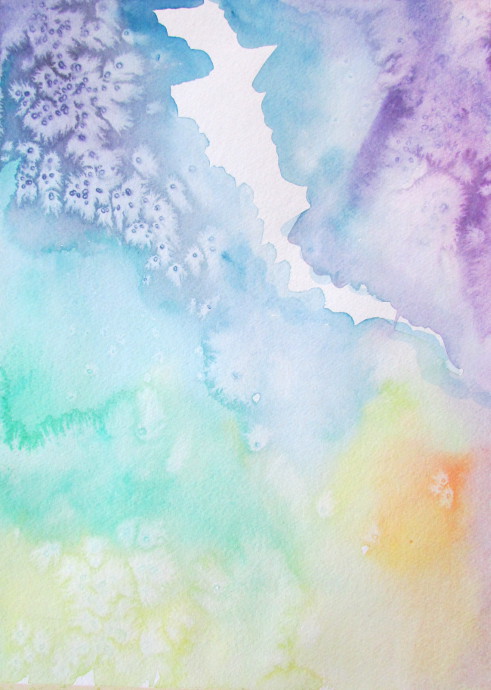
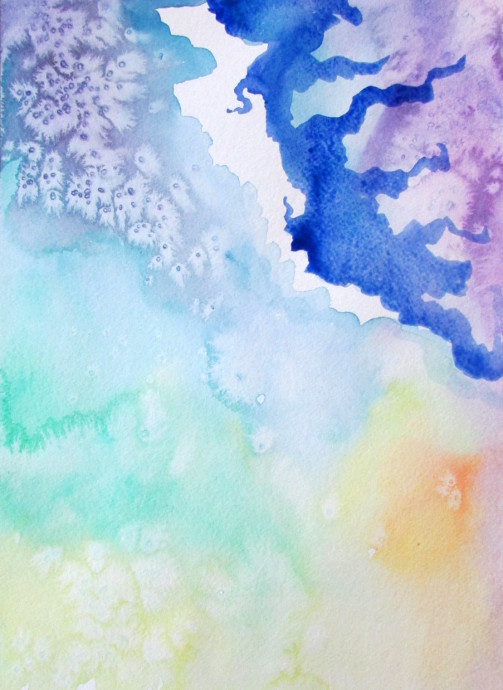
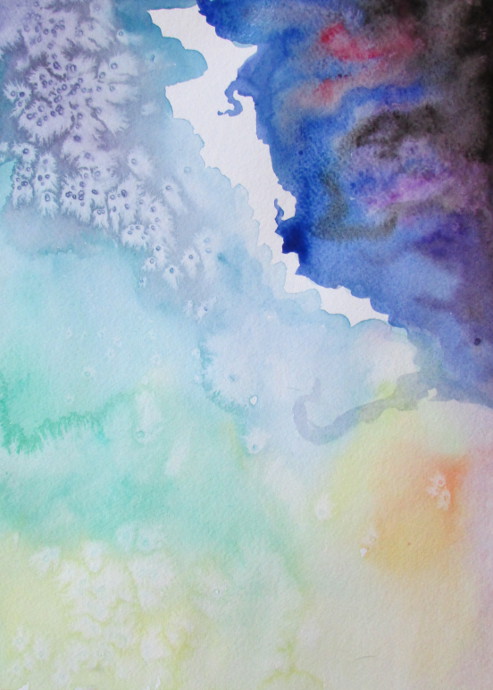
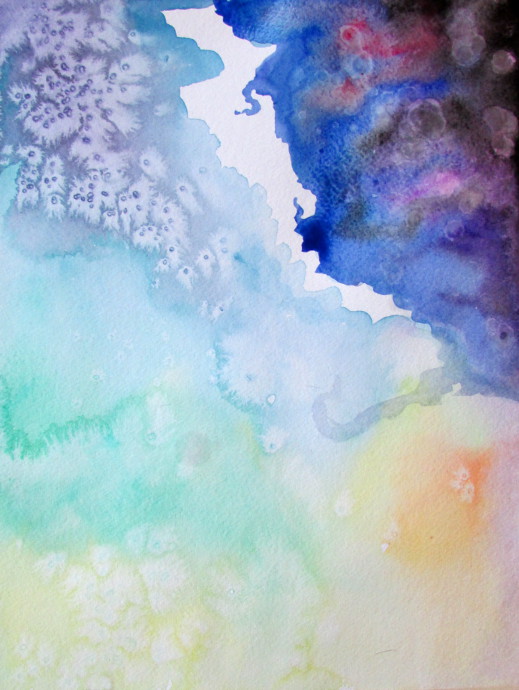
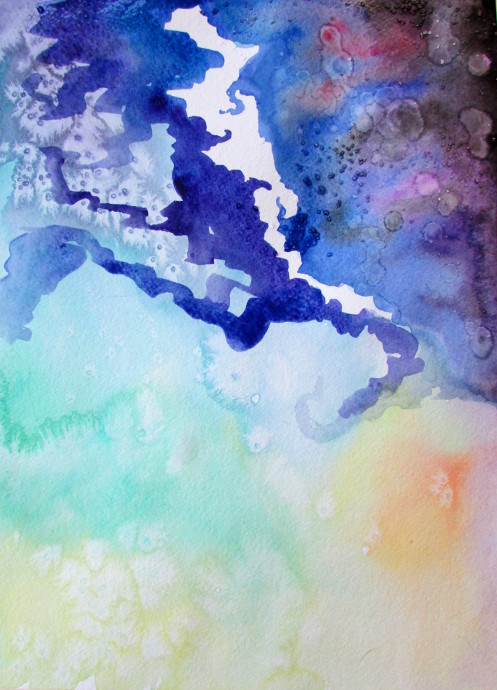
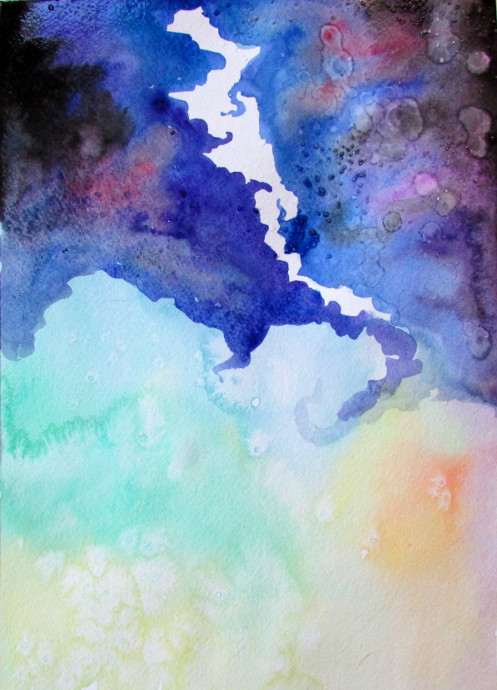
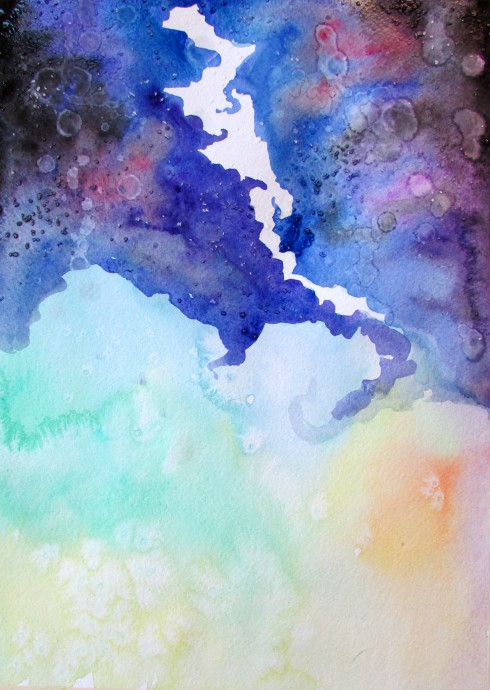
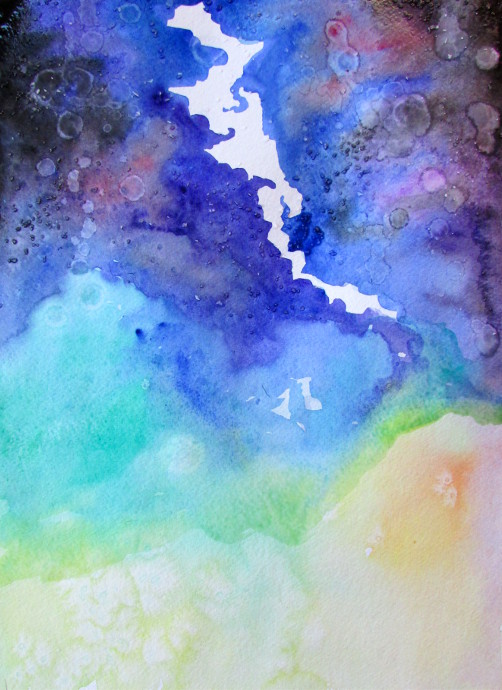
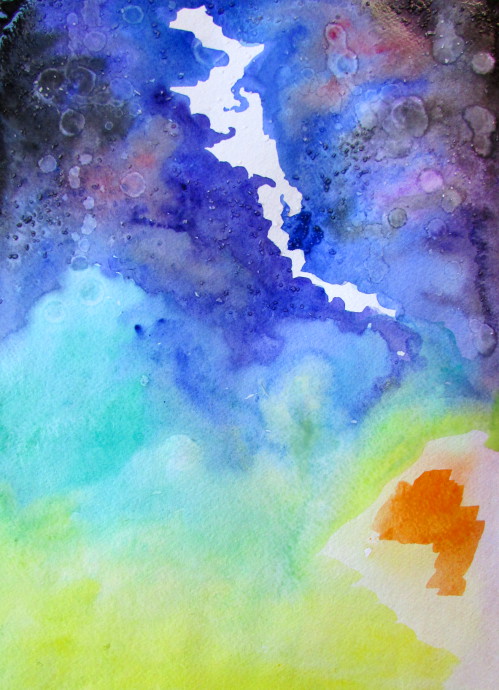
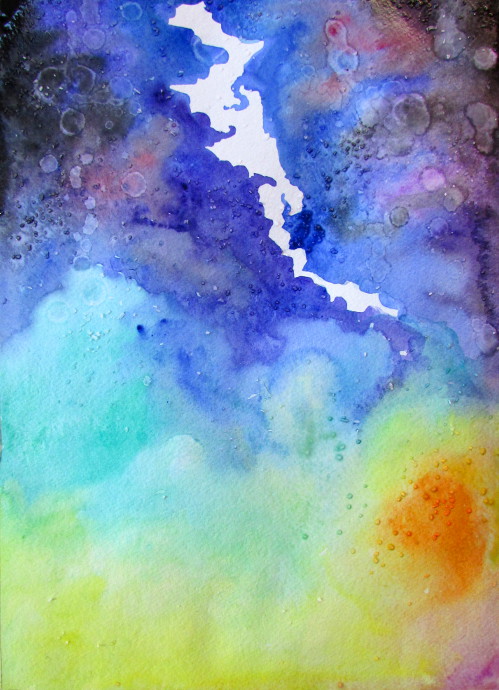
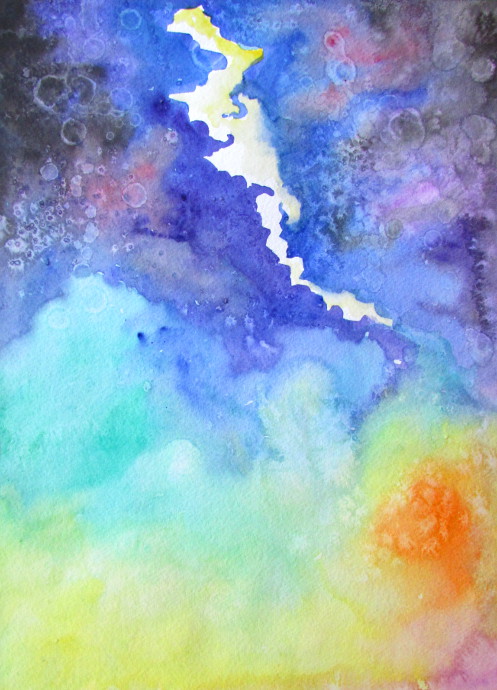
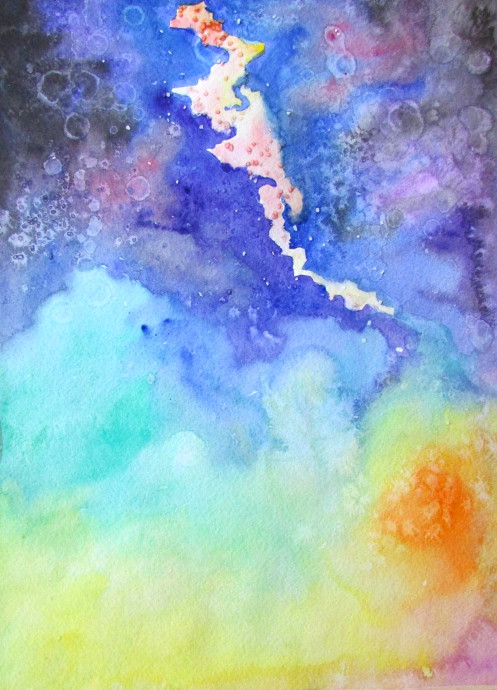
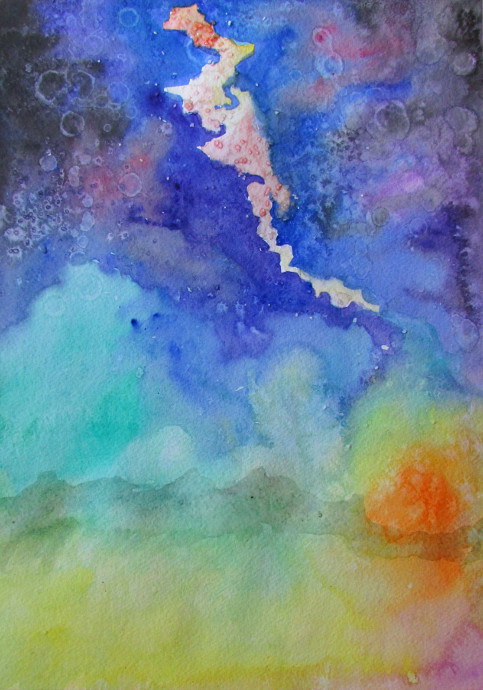
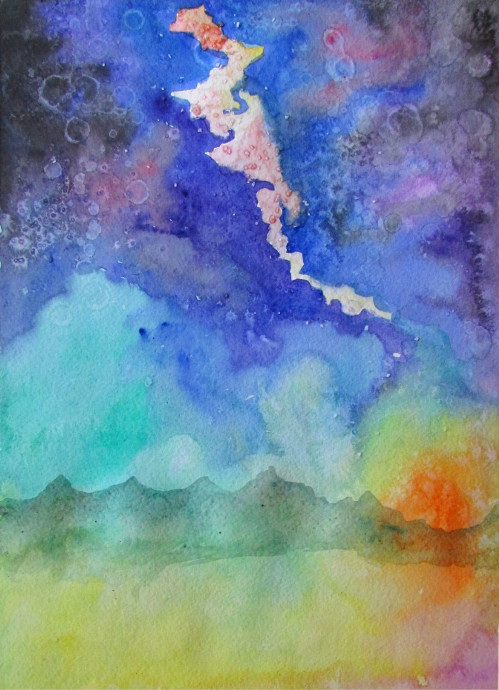
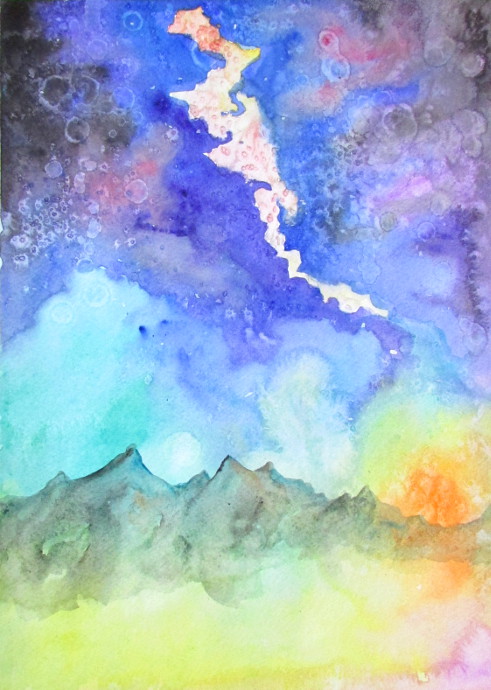
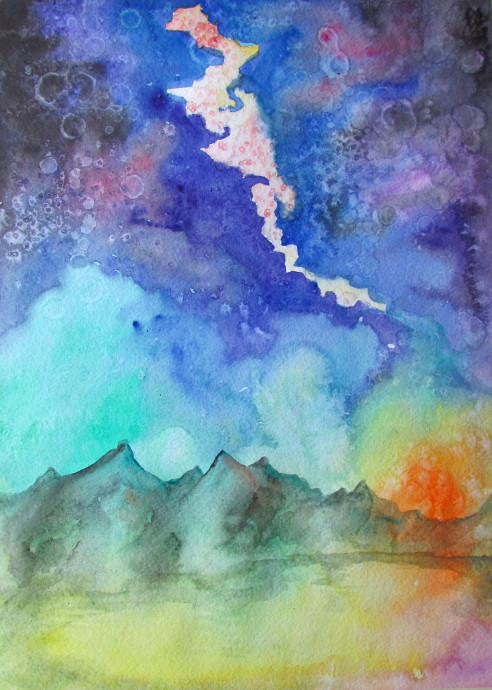
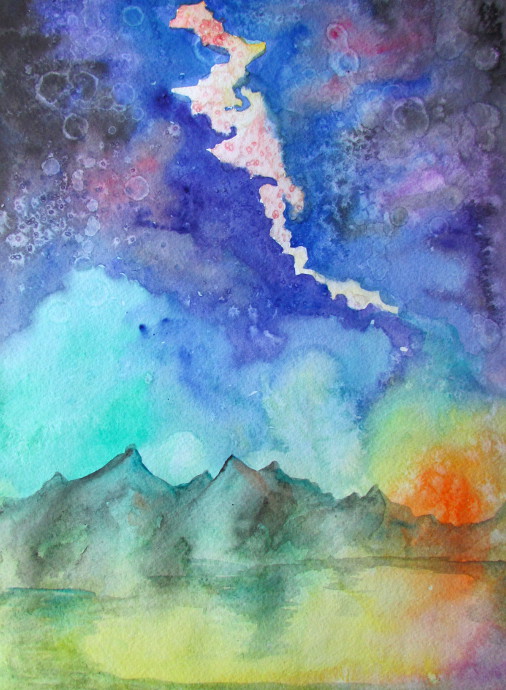
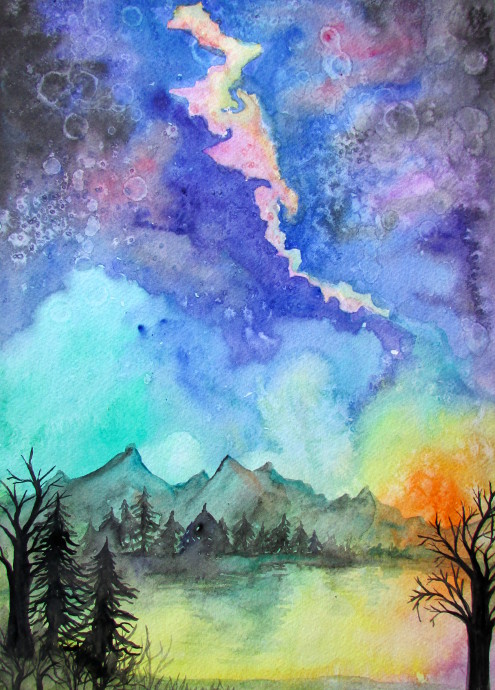
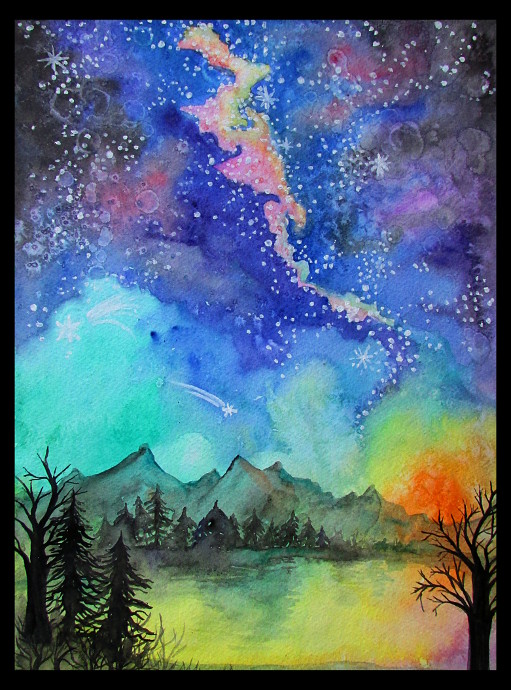
I love playing with watercolors! Not being too careful with how the picture will turn out, but just enjoying the process. I also love trying all the fantastic watercolor tricks and seeing how things will turn out. These fun watercolor galaxy and space paintings do just that, allow you to have fun and enjoy the process.
Fun Watercolor Galaxy and Space Paintings
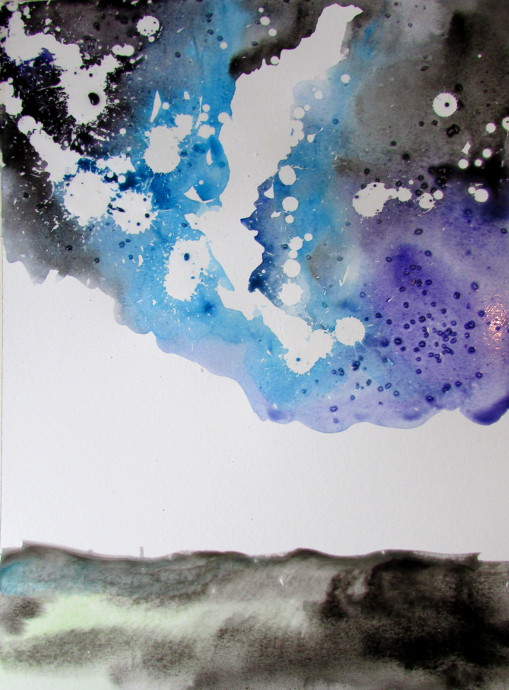
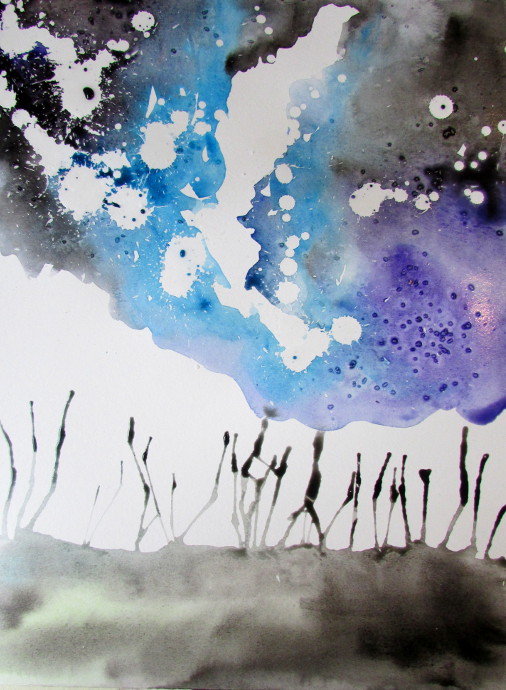
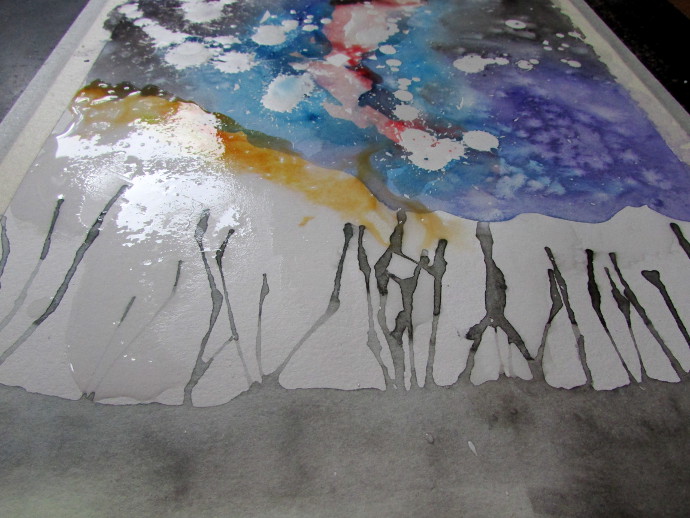
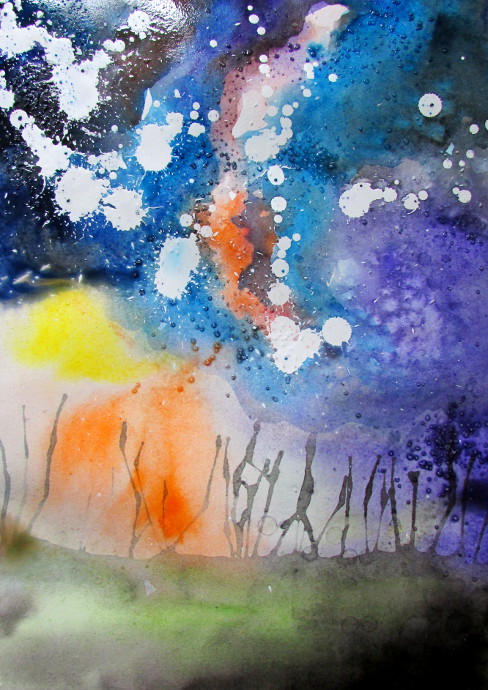
Here are three paintings I did while playing around like that. They are space, galaxy and alien landscapes, and they were a lot of fun to do! Read below to see full step by step instructions on how to go about painting all three of these awesome fun watercolor galaxy and space paintings!
***This page contains affiliate links.***
For all three paintings I used these kind of watercolor paints and this kind of paper, and of course, you can’t forget brushes. For all the fun stuff you would need a few more items: a straw, white crayon, white oil pastel, a candle, a little bit of white acrylic paint, rubbing alcohol and salt! Salt is important and is probably my favorite effect. Not all salt will work well with watercolors. I have found that the best results happened with this kind of salt. The regular sea salt that I had at home didn’t work at all, and the fine grind salt was just diluted in the water.
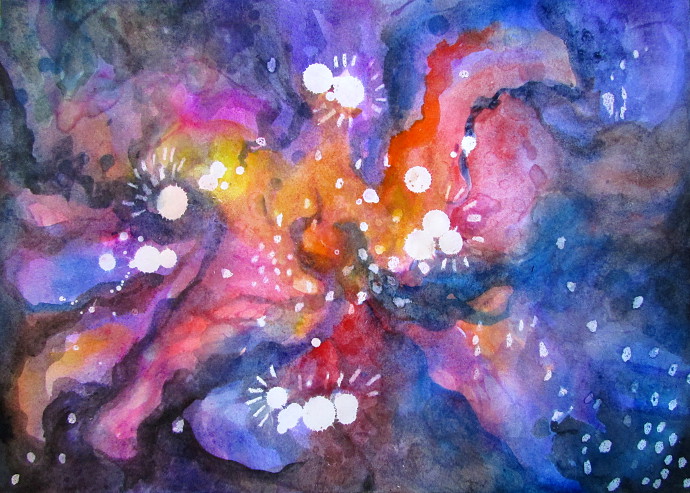
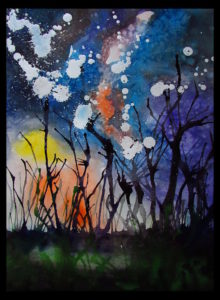
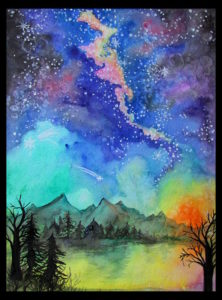
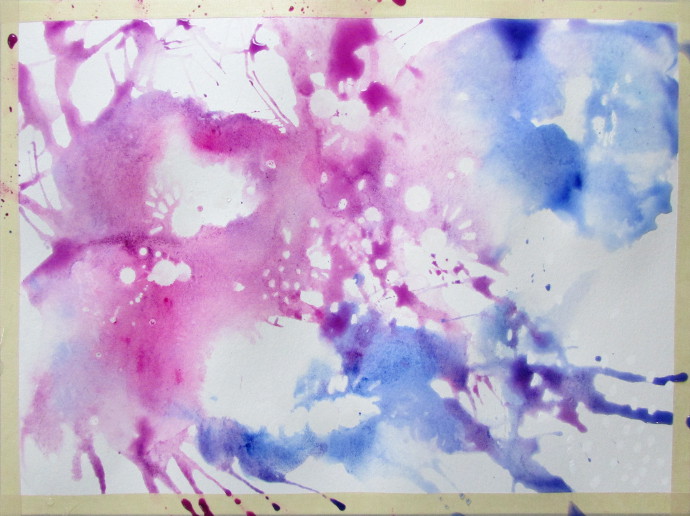
I figured I will start in order. The first painting I did was the pink one on top. It was excellent practice for playing around. The second one was that alien landscape on the bottom left, and that was fun also. The last one was quite a bit more intentional, and it’s the bottom right one. Here I used all that I learned from the first two and made it look exactly how I wanted.
Painting 1: Fun Watercolor Galaxy Painting
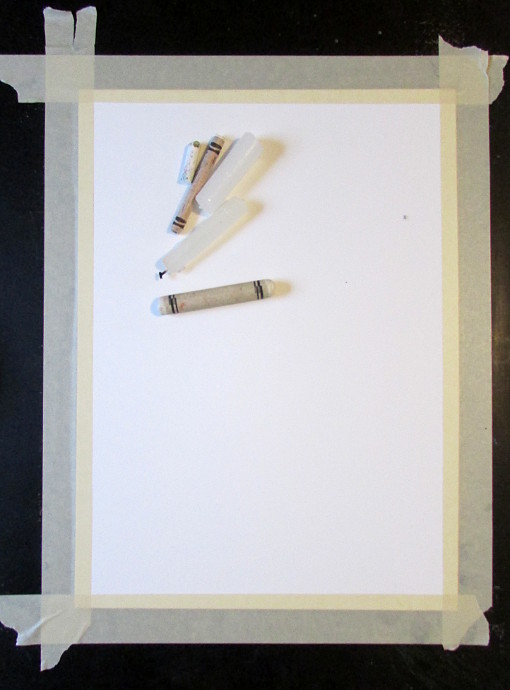
I started by taping the paper to the board with masking tape, it will help keep the paper straight when it’s wet. Next I got out some wax, a white crayon, and a white oil pastel.
If you have never done crayon resist with watercolors you should! The idea is that the crayon will leave a wax residue that watercolor can’t penetrate. Therefore, whatever you draw with the crayon will show up as white when painted over with watercolor. You can see more about it here. The thing is that not just crayons can do this. You can do this with wax, you can even do it with soap, oil pastels have an excellent result as well.
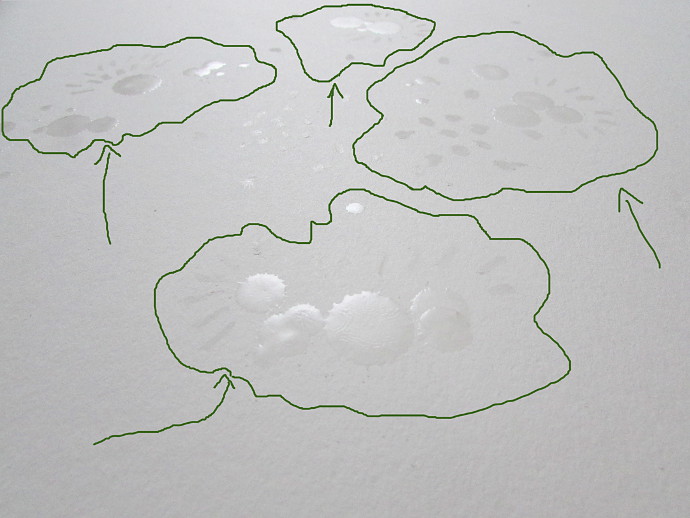
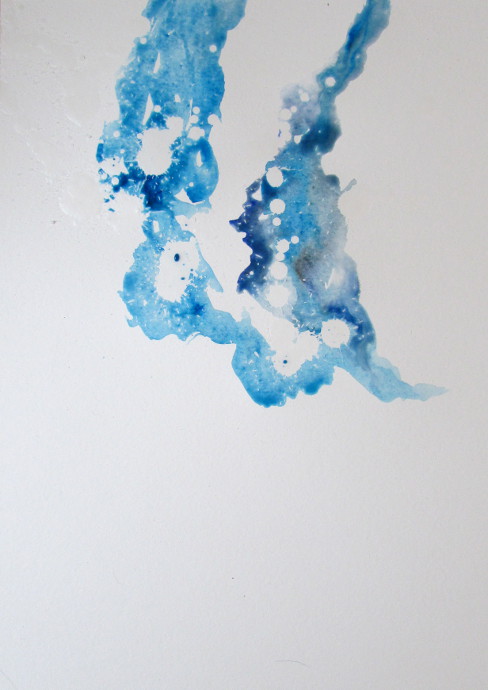
I started by warming up a bit of wax and just dripping it on the paper to make star like shapes. I also added lines, dots and other fun shapes using crayons and oil pastels. It’s a bit hard to see right now, so I had to tilt the page to help make it more visible.
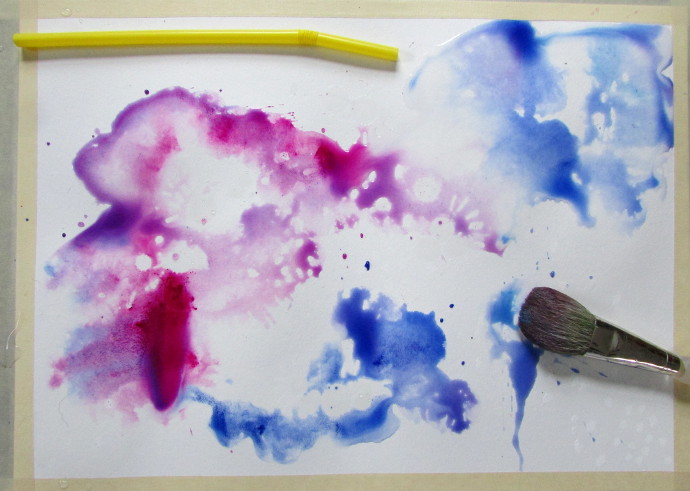
Next, I sprayed a bit of water with a spray bottle right on the paper, and added some color to it. For the following step, I used the straw to blow on the watercolors to make interesting shapes and designs.
Here is my paper after I spread the paint with the straw.
I wanted to add some salt. Normally salt absorbs some of the water and pigment, making fantastic designs over the watercolor. However, not all salt works. This is the usual sea salt I had at home, and it did close to nothing.
After the failed experiment with the salt, I started adding black paint to the edges of the painting, and pulling it out to the center.
I worked all around the painting, making dark swirls and designs. You can really see the crayons, oil pastels and wax coming through.
Next I added some yellows, oranges and reds to the painting, and dripped some rubbing alcohol in spots.
I added more blue and black swirls.
Back to a bit more red and orange in the highlights.
Then I used white acrylic paint, and a small round paintbrush to add stars all around. I have also experimented with white paint on an old toothbrush, but I wasn’t thrilled with the result.
Painting 2: Fun Watercolor Alien Landscape
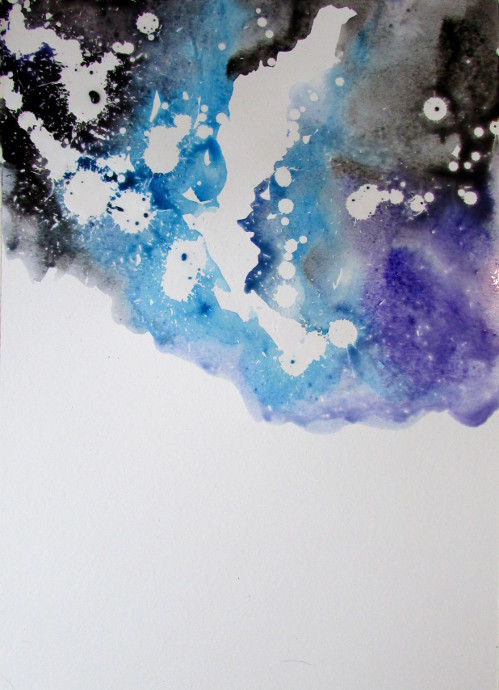
I started this painting much like the first one: tape the paper with making tape to the board, warm up and drip some wax. The difference is this time, I wanted an intentional white space in the middle, so I didn’t wet the page, but just added several shades of blue paint with a wet brush, leaving the space I wanted.
I added black paint to both corners, and purple to the middle right, blending them all together.
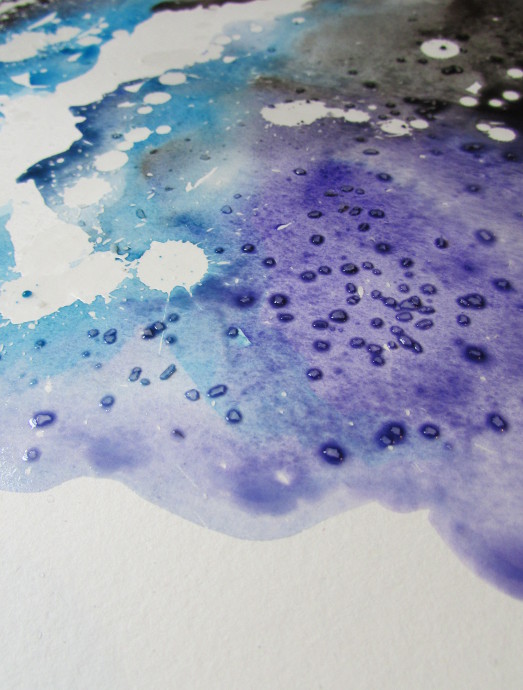
Now it’s salt time! The right salt, the one that actually works. Keep in mind, that every time you add salt, you need to allow the painting to dry before you shake it off!!!
I added some light green and black to the bottom of the painting.
Using a straw I blew the paint on the bottom of the painting up.
After letting the whole painting dry for a while I shook the salt off, and you can really see the effect of it now in the purple paint on the right. I also added some water with the brush, and a bit of yellow paint.
I added orange and yellow to the wet areas, plus more purple. Then I salted the painting in spots.
More black paint in the corner on the bottom, and dark blue on top.
I covered the bottom portion with plastic wrap. If you are patient it would make lovely wave like patterns. I am not always patient, so I wound up lifting the seal too soon.
It still made the pattern, but not as effectively as I wanted. Here I was also able to shake the salt off.
I added black and purple paint to the bottom again, and blew it out with the straw.
A bit of rubbing alcohol on the bottom area.
As a final step here, I added some green paint when everything was dry, and blew it out with the straw a bit. This painting was also a fun experiment.
Next, I wanted to use all that I learned experimenting and paint something a lot more intentional.
Painting 3: Fun Watercolor Space Painting
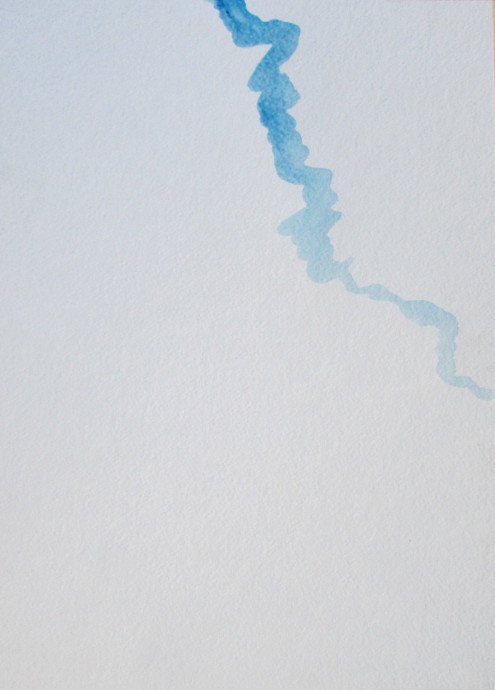
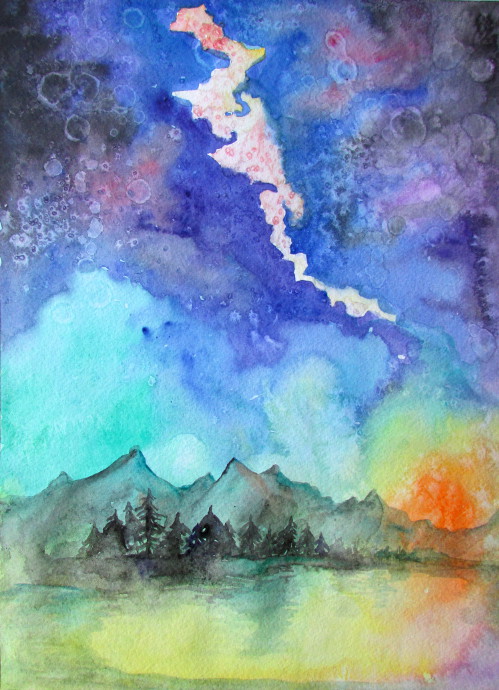
As before, I started by taping the watercolor paper to the board. For this one I decided there would be no crayon resist, so no wax, no crayons and no oil pastels. I did know that I wanted a galaxy to be seen from below, going in a diagonal from the top to the middle. That’s all. (Hey, it’s my painting and if I want the galaxy to be visible at sunset, that’s exactly what’s going to happen). I just picked up a bit of blue and applied it lightly in a swirl going diagonally across.
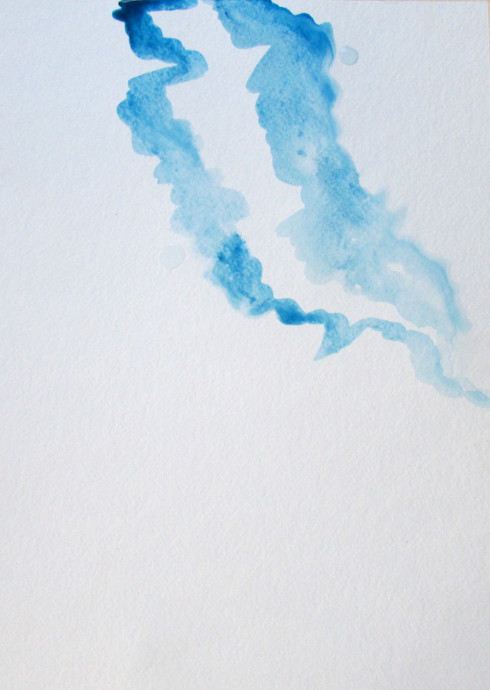
I added another swirl of blue paint on the other side of the galaxy, leaving a white space in between. I also added a bit more blue to the right.
Now, on the left a bit more purple and blue as well.
Even more blue, now fading toward a greener tone.
The bottom of the painting is where my landscape and sunset going to be, so I added water, and then painted the left side green. On the right, where it’s going to be actual sun setting, there is quite a bit of yellow, and a dab of orange.
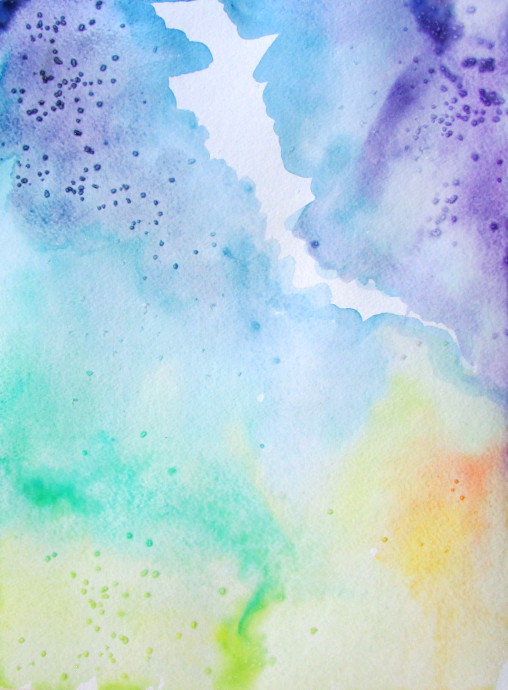
It’s salt time! The right kind of salt. I only added it in the few spots on the painting. Just a reminder, every time you put salt on the painting, you have to allow the area to dry.
Here is what happened to the spaces that had the salt on them when it all dried up. I love the effect!! That is now my under-painting, my map to what’s going to happen in this painting.
Using what I have already done as a guide, I add more blue paint, but this time it’s more intense blue. Using a medium flat brush, I made swirls.
From the upper right corner, I used black and purple/pink and swirled them right into the blue.
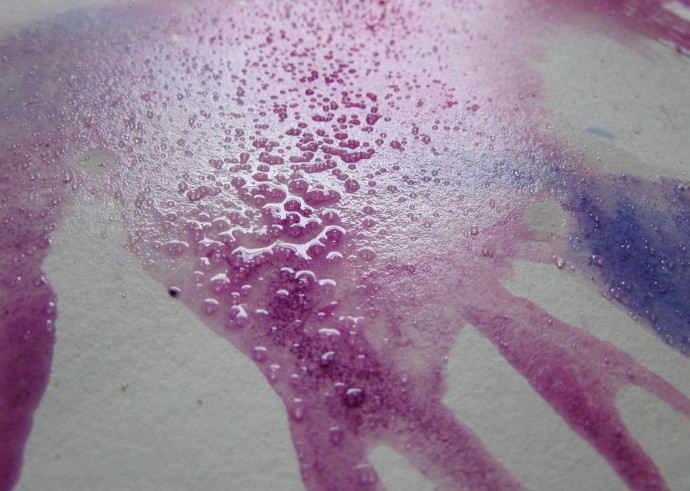
I worked quickly, while it was all wet, I dripped a bit of rubbing alcohol using a brush on the freshly painted upper left corner. You can see what happens really well on the photo above.
While the upper left corner was still wet, I added a pinch of salt. Then I began working on the right side. Same way as before, first I added some intense blue swirls.
I also added black to the corner, and purple/red to the blue. Swirled them all together.
While it’s still wet, I dripped some rubbing alcohol and sprinkled a bit of salt.
While the top area was drying (I made sure the salt is only in the areas I wanted it to be), I started adding some color to the middle. A bit of turquoise and green. I didn’t want to blend them in too much, but just a bit with the blue above.
Now all the way on the bottom, I added bright green and yellow, plus a nice dab of orange for the sun.
I blend the sun around the edges just a bit, and sprinkled salt.
Here is what it looks like when it’s all dry. Now, I went on to work on the white space on top a bit. I added some water, and allowed the blue to bleed into it a bit, and a drop of yellow.
I didn’t want the white space to actually be white, so I added a bit of purple, and yellow, and then of course salt. Here I kept the water to a minimum, to make sure that the blue color more or less stays where it was.
It’s landscape time! Using a green/gray color, I lightly indicated where the mountains will be.
I made the mountains a bit darker, but then I realized I was not happy about the way they looked: they were too uniform. The spaces between each peak were almost the same, and the peak heights were all almost the same. I needed to fix it, so….
There, all fixed. I changed up the peak heights, and spaces, making the mountains look all different.
I added some darker colors to the sides of the mountains facing away from the sun, and some greens to the sides facing the sun. At this point I also decided that there will be a lake, so I made the lake shape a bit more defined.
Using grey/green colors, I made the lake even more defined, and added a bit of reflections the mountains cast on the lake.
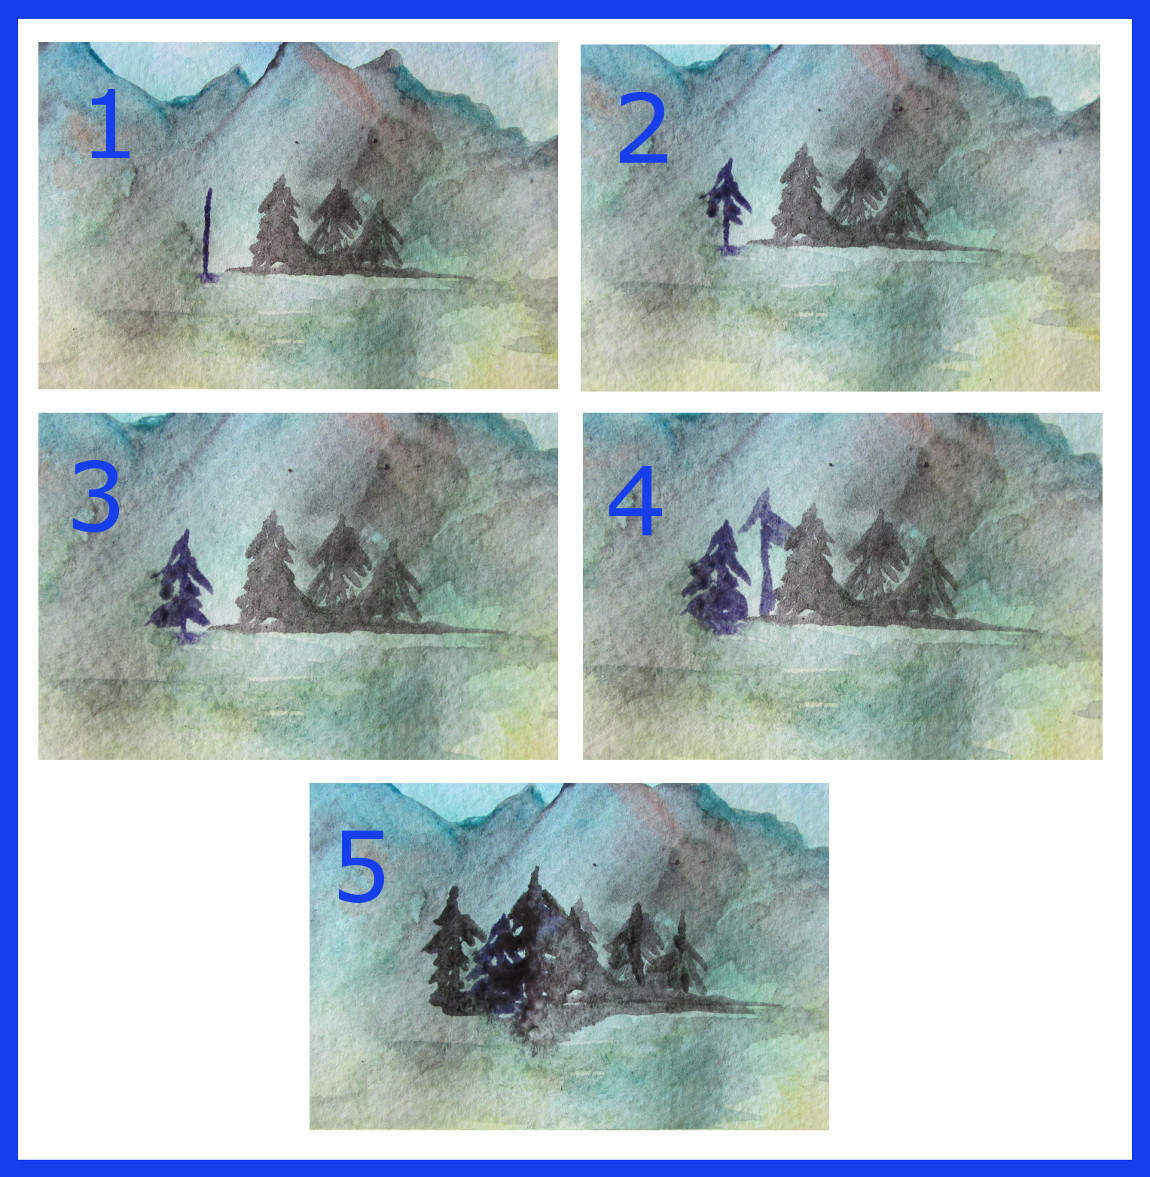
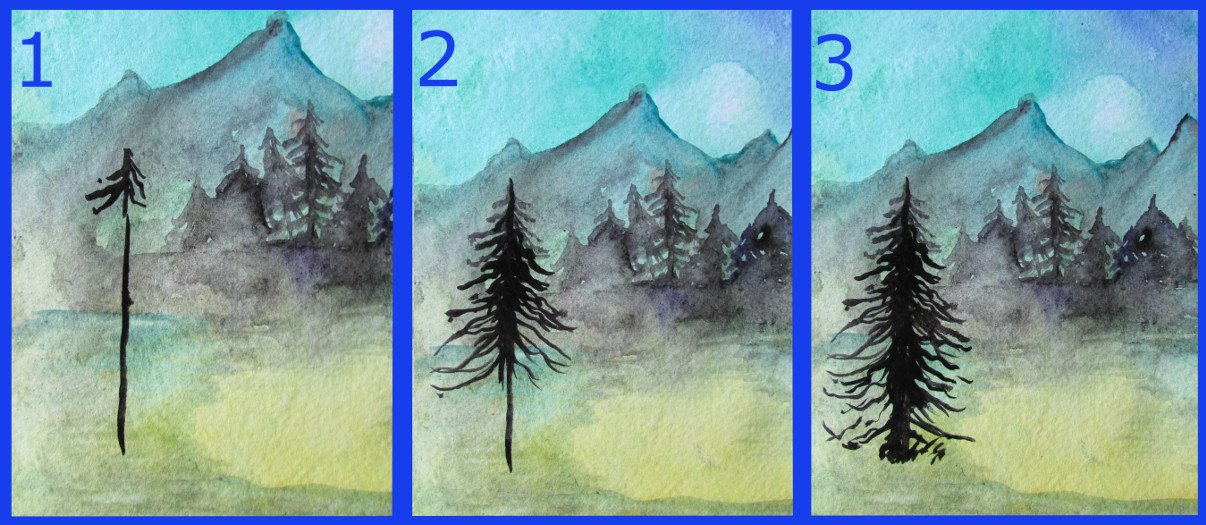
It’s time for trees! I put trees on the base of the mountains. Tiny trees in watercolor are easy:
- Start with a line.
- Add branches from the top, going down.
- Add a few more branches until you reach the end of the stick.
- Put a bit of paint to indicate a shadow under the tree.
- Add more trees and shadows by the little group of trees.
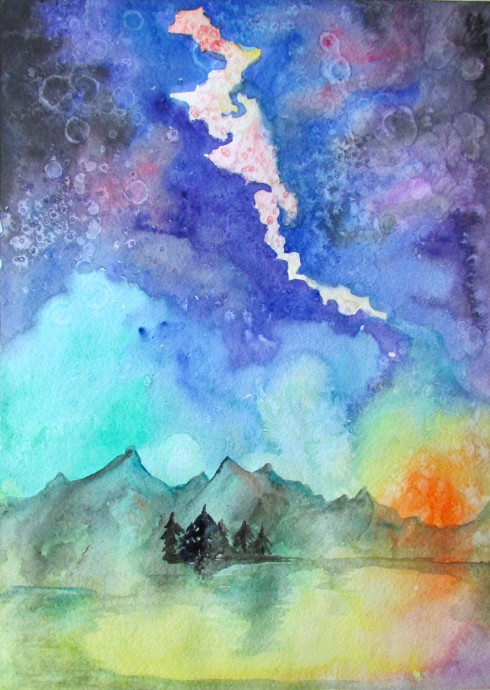
Here is my little group of trees in the context of the whole painting.
I added more trees, going toward the sun. The closer to that sunny area the trees are, the smaller they become. I also painted a bit of reflection of the trees on the lake.
A few more trees going to the left, away from the sun. These I made a bit bigger.
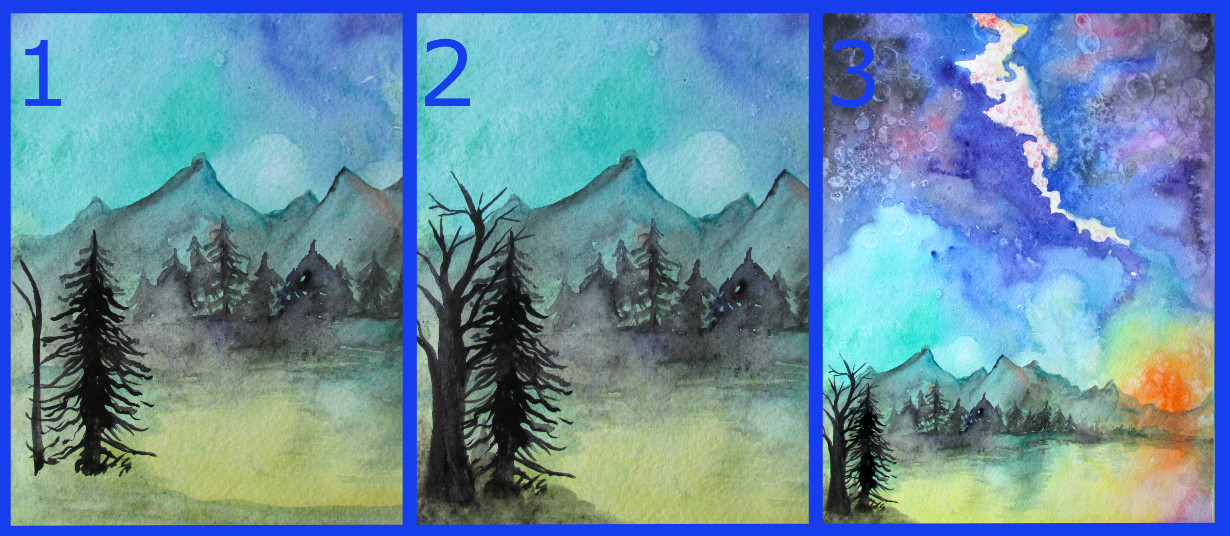
Next is the big pine tree in the foreground.
- Start with a tall thin line and add some branches going from the top.
- Add more branches, making the center line thicker as you need to.
- Finish all the way to the bottom, adding bits of grass and brush on the bottom.
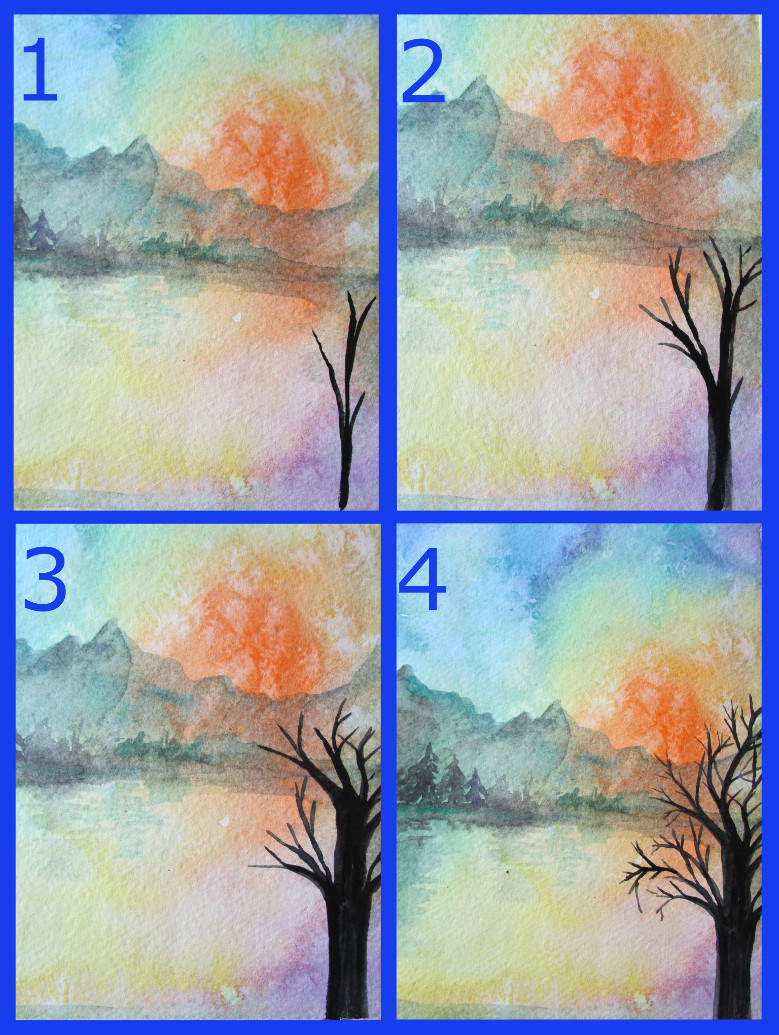
Time for another tree, this one is just a regular tree. I guess I am drawing a winter night, there are no leaves on trees there.
- Start with a line, it doesn’t have to be straight, it can bend in any direction you choose.
- Start adding to that line, each time a brush stroke becomes a branch.
Look below for another example of the tree.
Same thing as before, start with a line, and keep adding more lines, each one becoming a branch. Keep at it until you are satisfied with the tree.
I added another tree on the left, and then some brush going along the page. I also added more purple/orange to the white space on top.
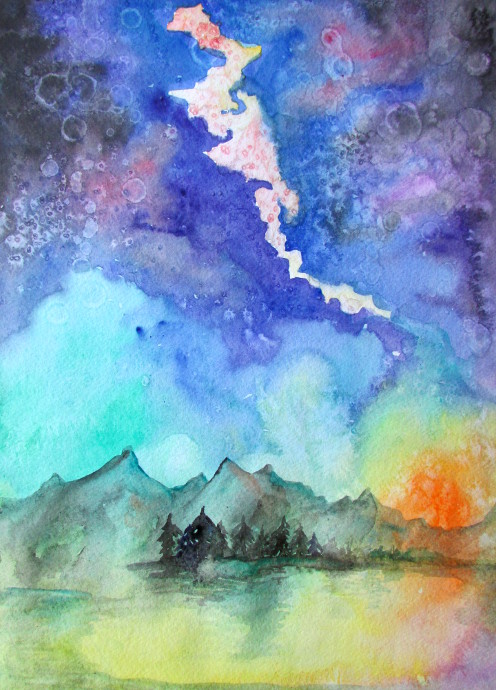
For the final step (look at the photo below), I used a thin round brush, and a bit of acrylic paint, and added dots, stars and comets to the sky.
All done!
