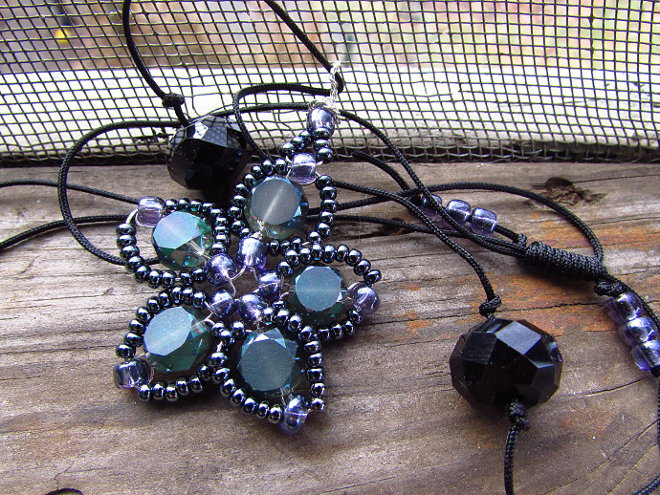
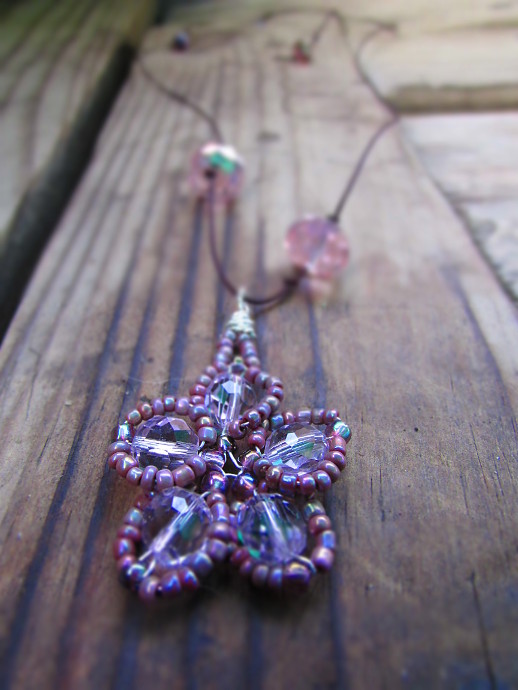
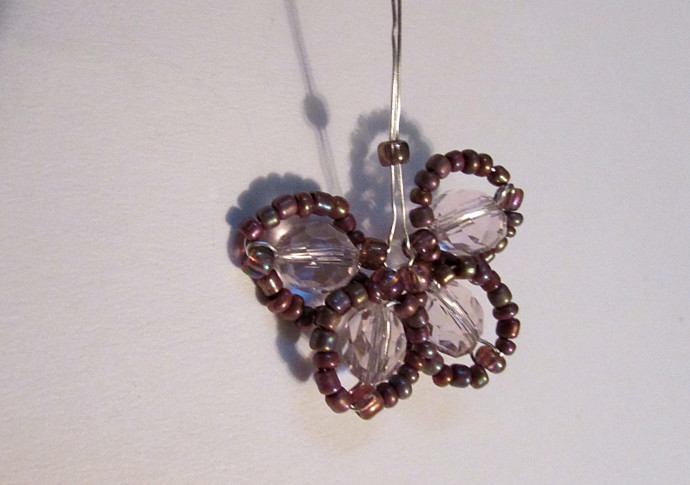
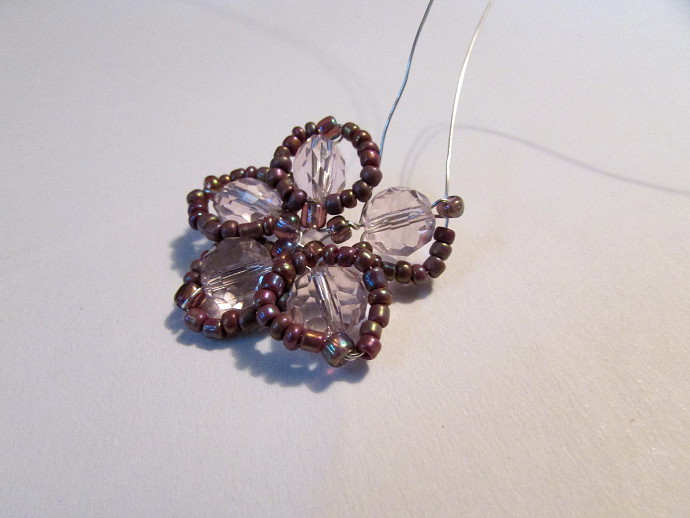
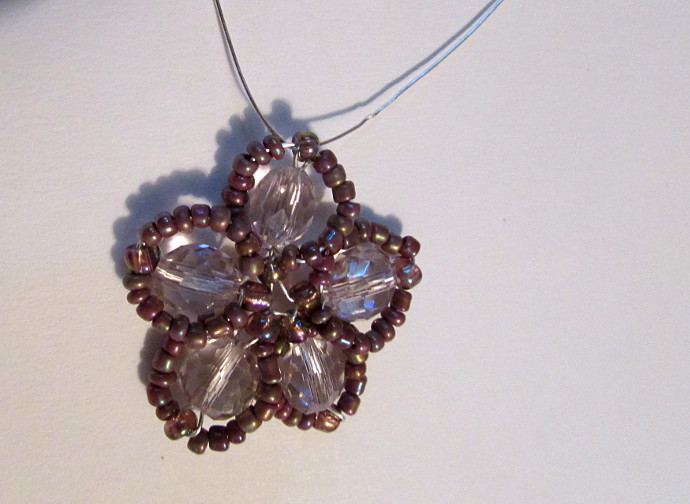
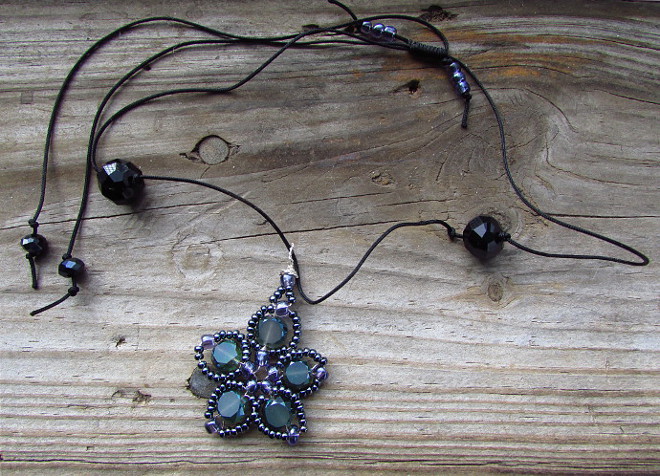
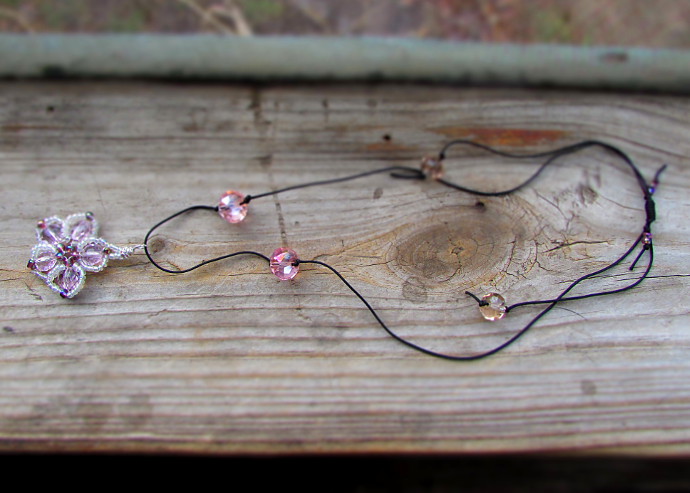
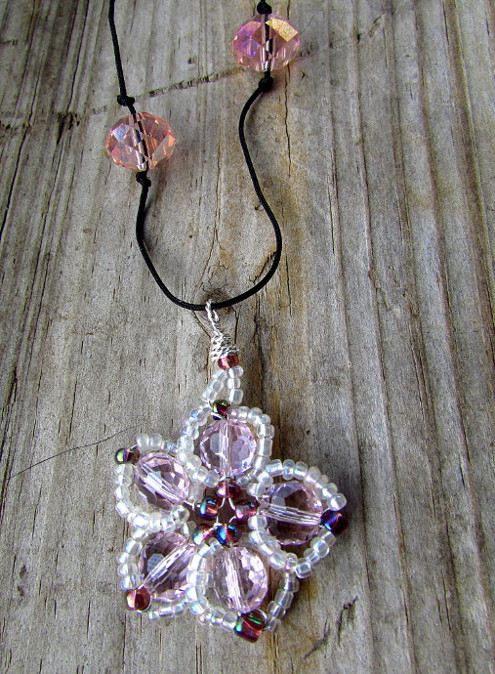
These instructions are for an adorable cherry blossom pendant. I made it into a pendant, but it could be earrings, or a part of a larger project, or a hair piece, or anything else you can think of. Here it is, and don’t forget to look below to see how to make it:
How to make it:
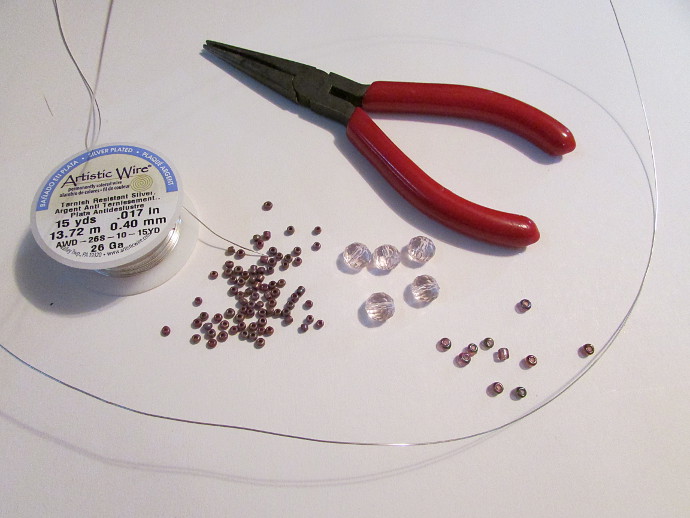
What you will need:
*Silver Plated Thin Wire (I used 28 gauge).
*Jewelry Pliers
*Seed beads
*Larger glass beads (next size up from seed beads)
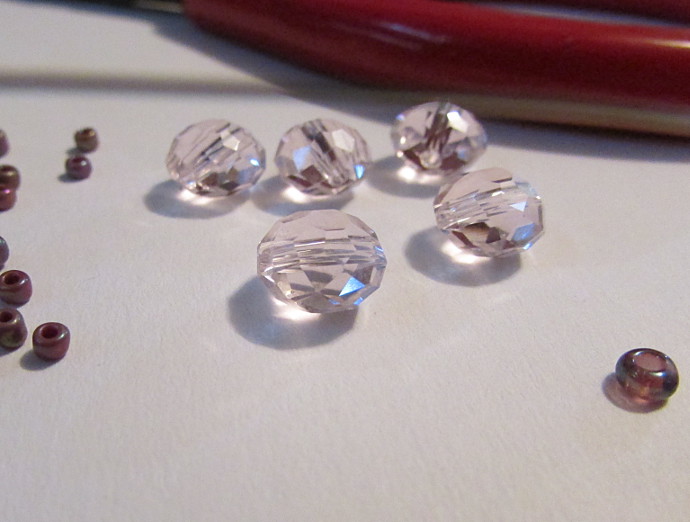
*Five flattened crystal beads, about 1/4 inch in diameter.
Just because pictures are awesome, here are two of the supplies:
Lets get started! Bead and Wire Cherry Blossom Necklace Instructions:
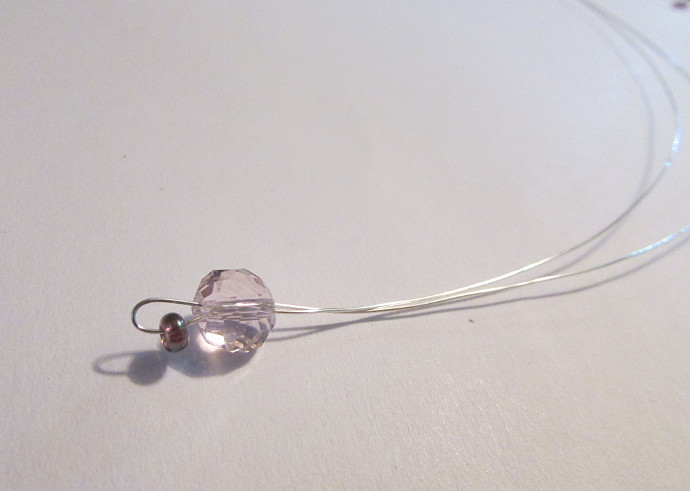
Clip off a good length of wire, about 24 inches. I always prefer to have extra, then not enough. Fold it down the middle. Put one larger glass bead on one end, and then the flat crystal on both ends of the wire, like in the photo below.
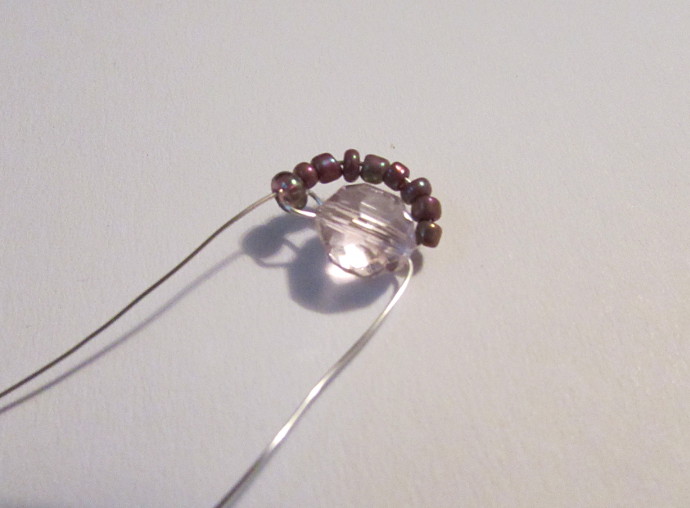
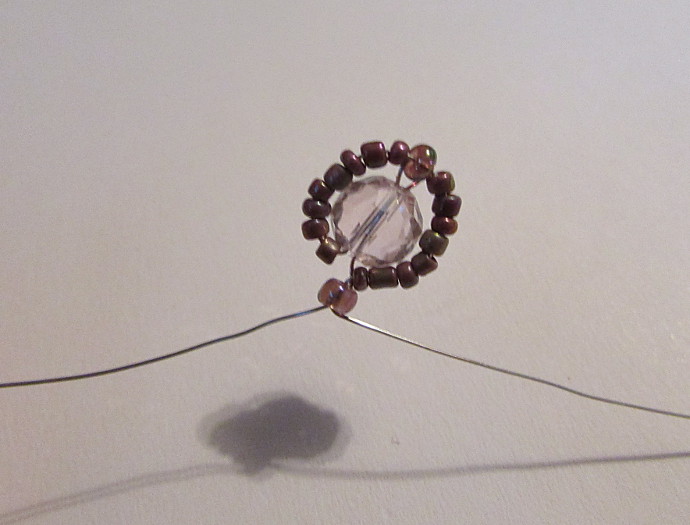
Take one end of the wire, put enough seed beads on it to go around one half of the flat crystal bead (in my case it took 8 seed beads). Bend it upwards, and put it through the larger glass bead on top.
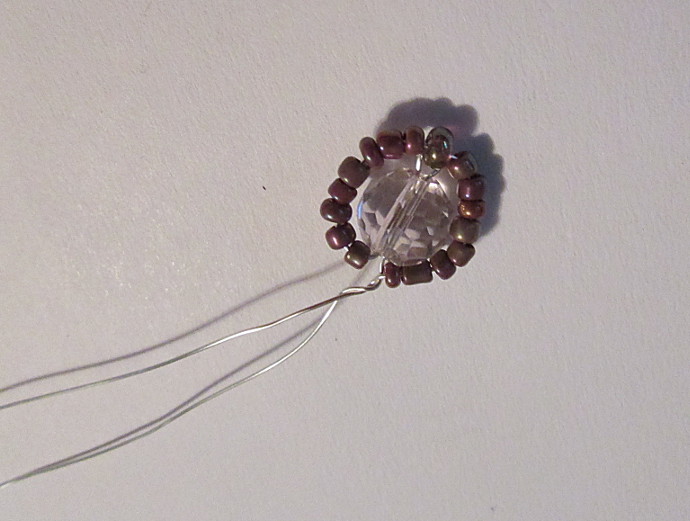
Put another stretch of seed beads (8 for me), and bring the wire down the other side of the flat crystal.
Twist the two wires together.
Now put another larger glass bead on, but this time on both ends of the wire. Your first petal is done.
Your next petals are 2, 3, and 4, and they are all done the same. The last petal, # 5, will be a little different. Here are the instructions for petals # 2, 3 and 4.
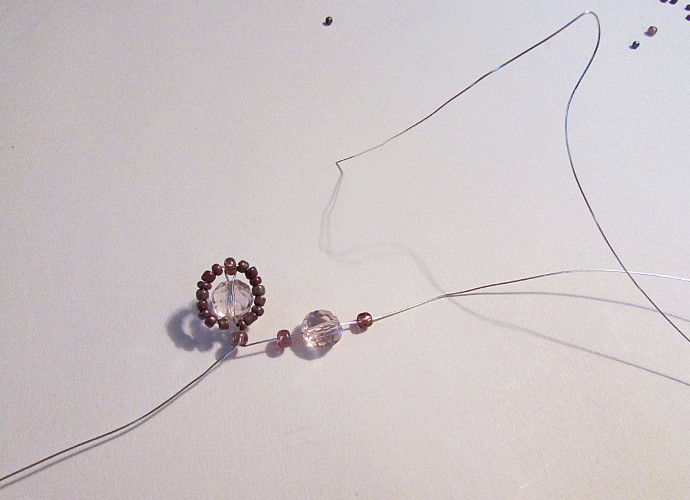
On one wire, put on a larger glass bead, a flat crystal bead, and another larger glass bead.
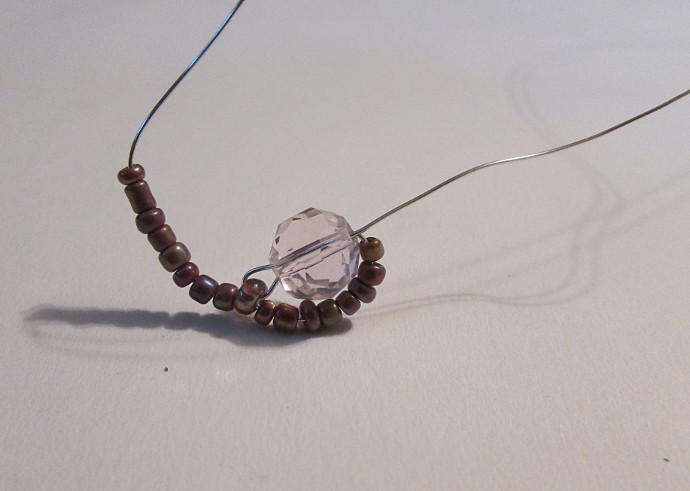
Now, push the end of the wire you are working with back through the crystal bead, leaving the top larger glass bead in the loop. Don’t put it through the bottom larger glass bead yet, but pull it out on the side, like in the photo below.
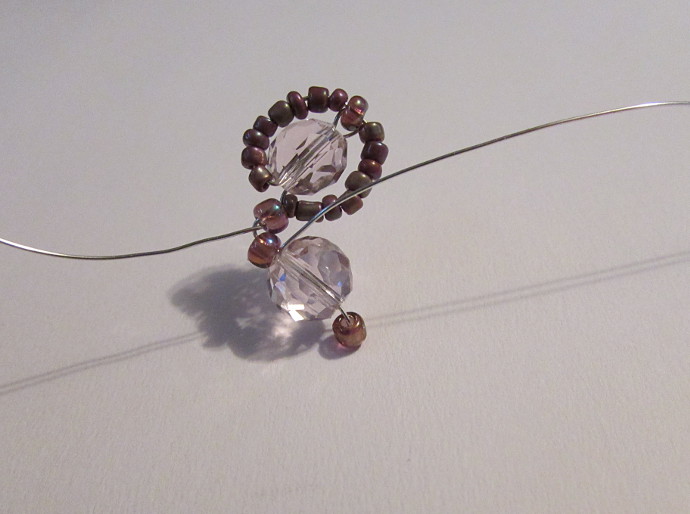
Put seed beads on the wire to go around the half of the petal, push the wire through the top larger glass bead, and put on another bunch of seed beads to go to the other side of the petal.
Bring the wire down, and push it through the bottom larger glass bead. 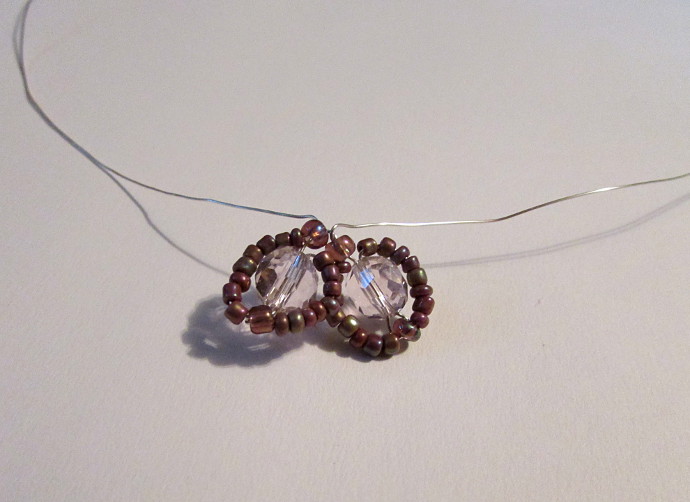
Be gentle with your wire when pulling on it. Make sure it doesn’t get too narrow, and that it doesn’t snag or twist.
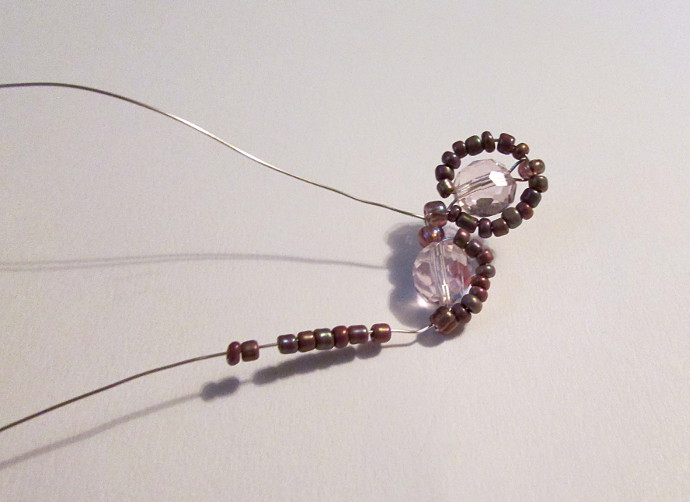
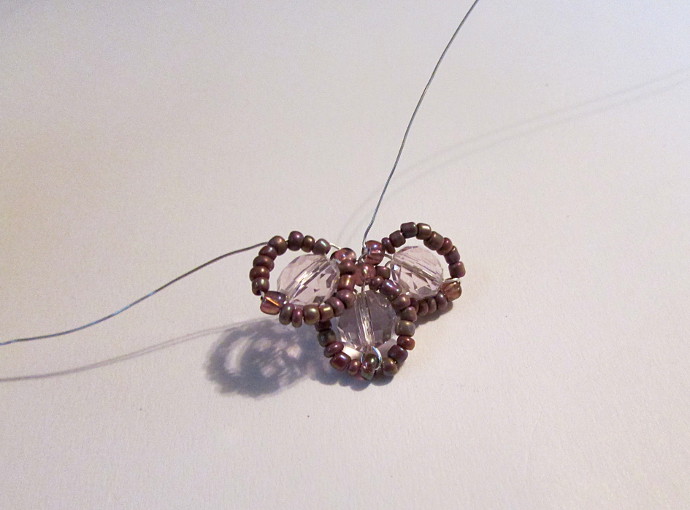
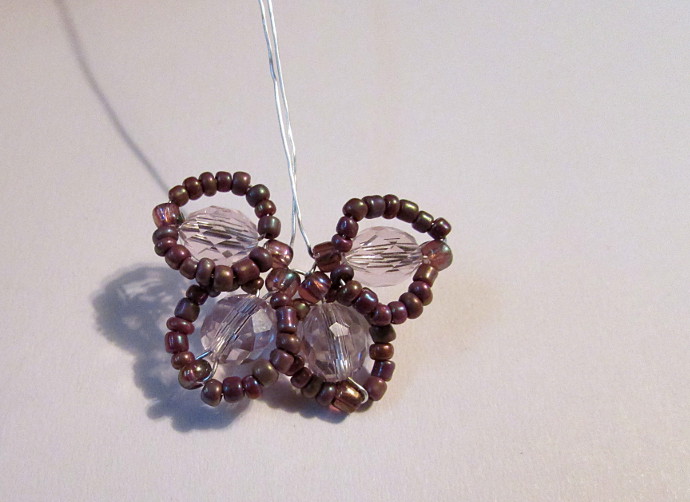
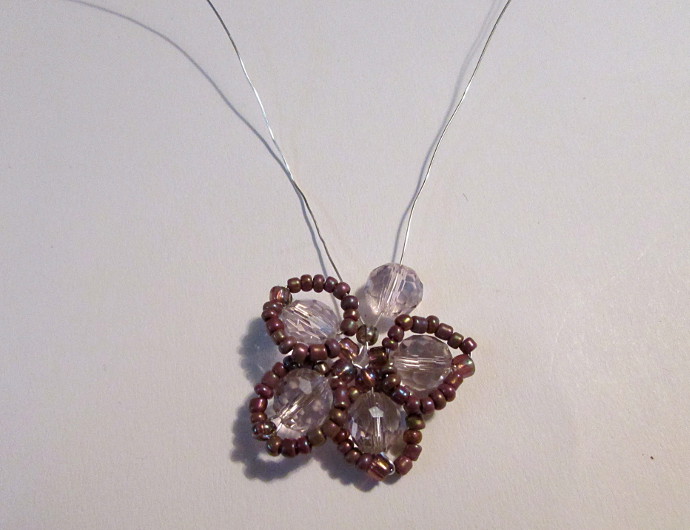
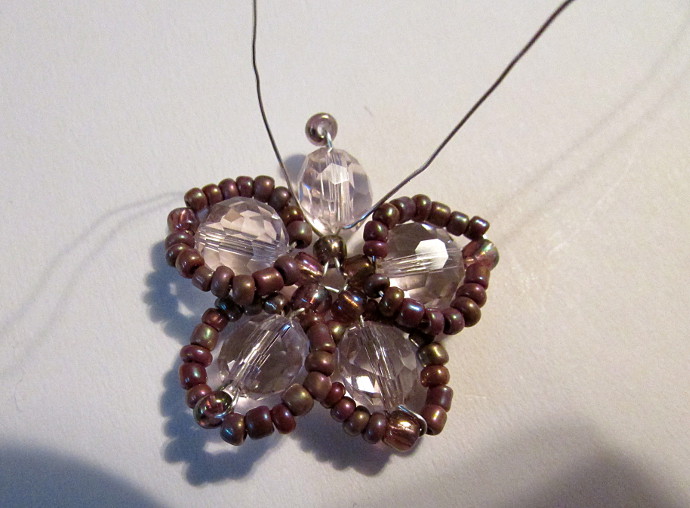
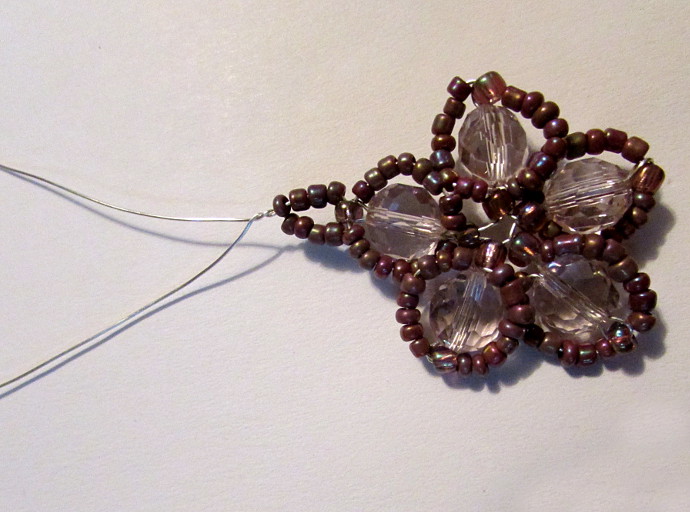
Continue working with only one side of the wire. I usually just pick the longer wire, and put the petal in that direction. Here are photos of petals 3 and 4.
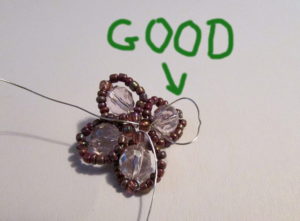
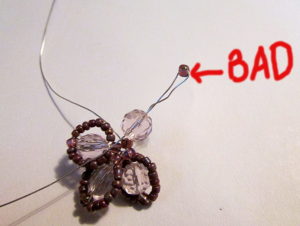
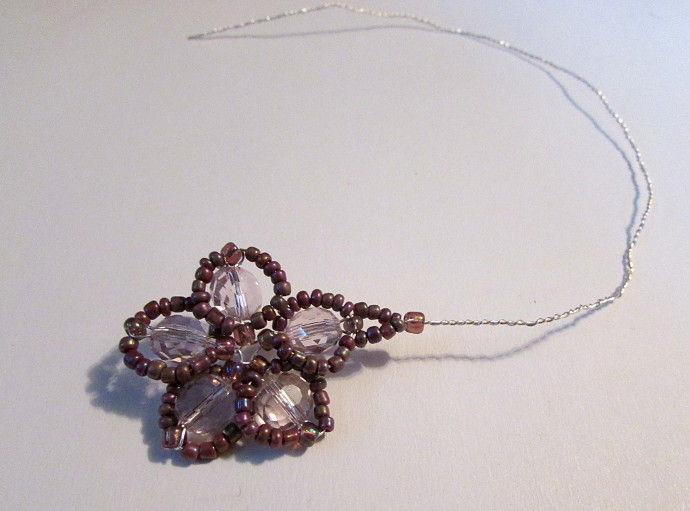
The last petal is a bit different. I had to figure out a way to get both wires to the top of the petal, to make a loop, and to not leave any extra wire hanging anywhere. Here is how I went about doing that.
Put both ends of the wire together, and put a larger seed bead through both of them.
Now separate the wires, and put the flat crystal bead only on one of them.
After the flat crystal bead add a larger glass bead, and push the wire back through the crystal bead to the bottom. Now both wires should be on the bottom of the flat crystal bead, but above the bottom larger glass bead.
Use one end of the wire, put seed beads for 1/2 of the petal, and push it through the top larger glass bead.
Use the other end of the wire, and put the amount of seed beads for the other half of the petal, and also put it through the top glass bead.
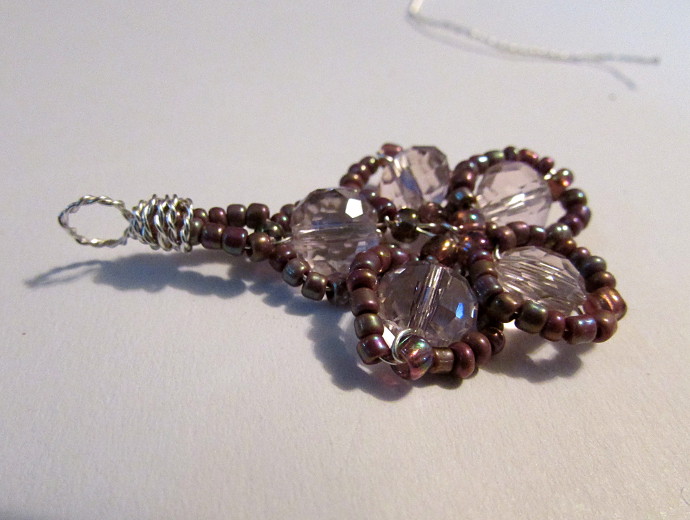
To make it into a pendant, add a few seed beads on each end of the wire, and twist the wires together.
Keep twisting the wires together. Put a larger glass bead on top.
Make a loop, and wrap the wire around the larger glass bead. Cut off the excess wire.
Here they are all done. I put them on a necklace out of thread with a slip knot, but I imagine that any other kind of chain or earrings would work really well.
***This page contains affiliate links.***
