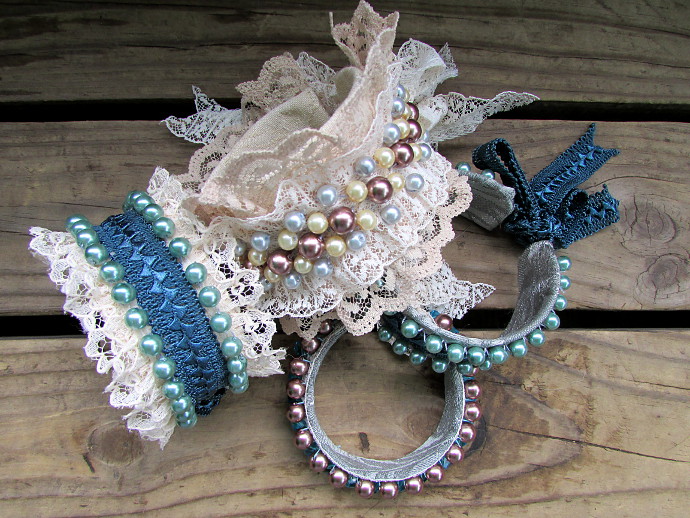
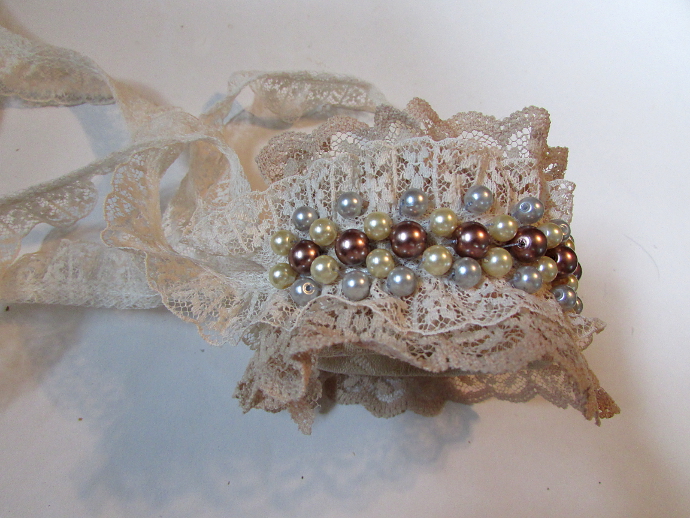
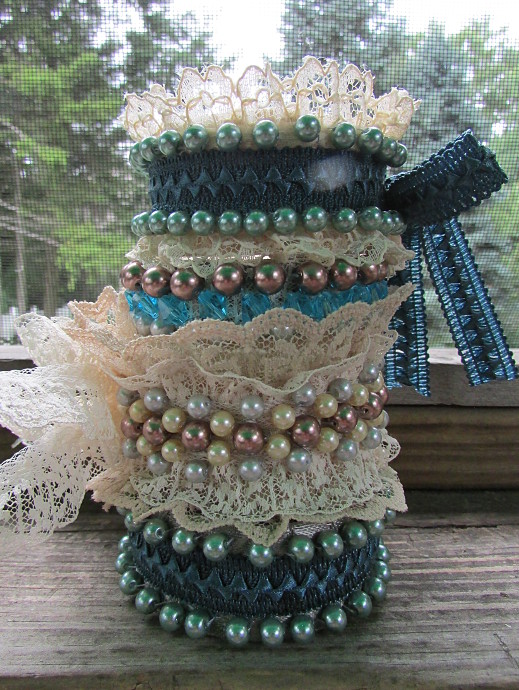
This has got to be one of my favorite bracelet tutorials ever. As always I start out not knowing what it is going to be. I mean, I know it will be a bracelet, but beyond that all I know is I am using something sharp to cut open a bottle of soap. That’s all. After a few trial and errors, this lace cuff morphed into an awesome cuff bracelet. I can see it on a wedding party, or anywhere really. I love how it came out and have made a bunch more in different colors/themes since.
***This page contains affiliate links.***
Here are the first four in ivory and turquoise, and look below to see the lace cuff bracelet tutorial.
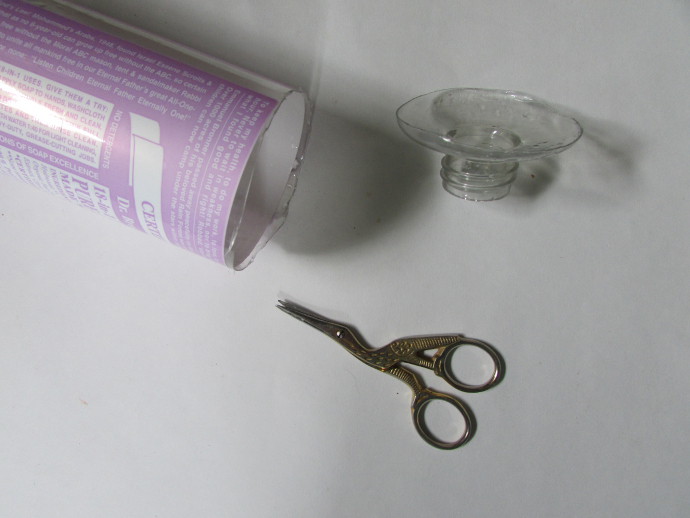
You will need a sturdy bottle of shampoo or soap that has the approximate circumference of a wrist. Sharp scissors, scraps of fabric, lace, ribbons, beads, needle and string, and fabric glue. The fabric glue that I used for this was THIS ONE RIGHT HERE, it worked wonderfully. I have used it for every project that needed fabric glued, and will use it again. For the beads, they were a mix of glass pearl beads, like THESE or THESE.
I used sharp little scissors to cut the top and the bottom of the bottle off.
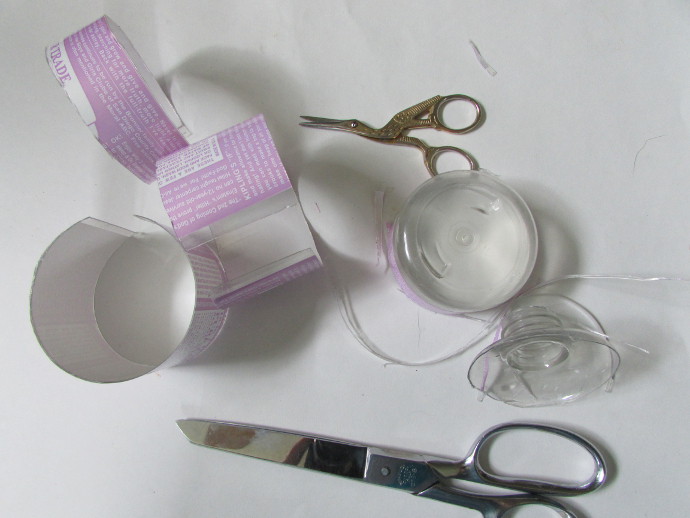
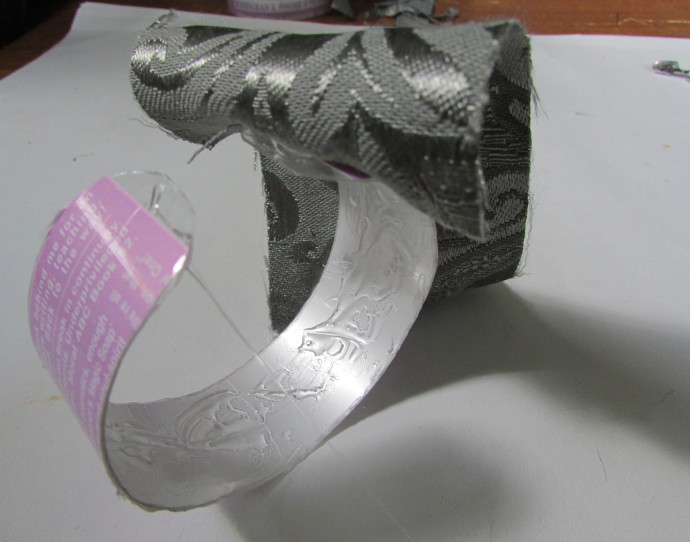
Then, cut the remaining bottle lengthwise in a straight line. After that cut across the bottle, making bracelet shapes. Like in the photo below. It can be a pain in the neck to do this, as the bottle is fairly thick and hard to cut. I used little scissors, big scissors, and a small knife at times. Though I am sure that there is an easier way of doing this.
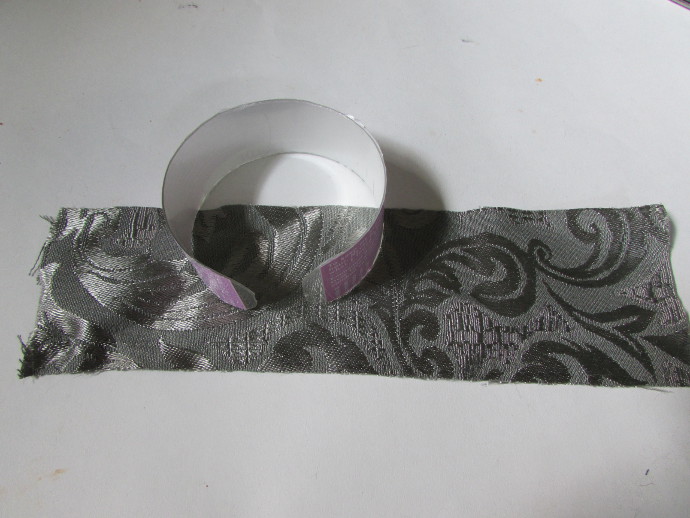
Take a piece of fabric long and wide enough to cover both sides of the plastic bracelet base, and the edges.
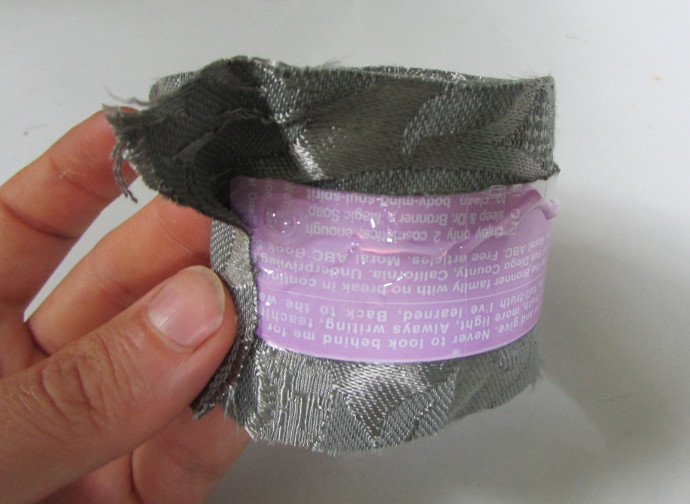
Put fabric glue on one end on the outside of the bracelet, and all along the inside of the bracelet as well.
Gently and carefully attach the fabric all along the inside of the cuff.
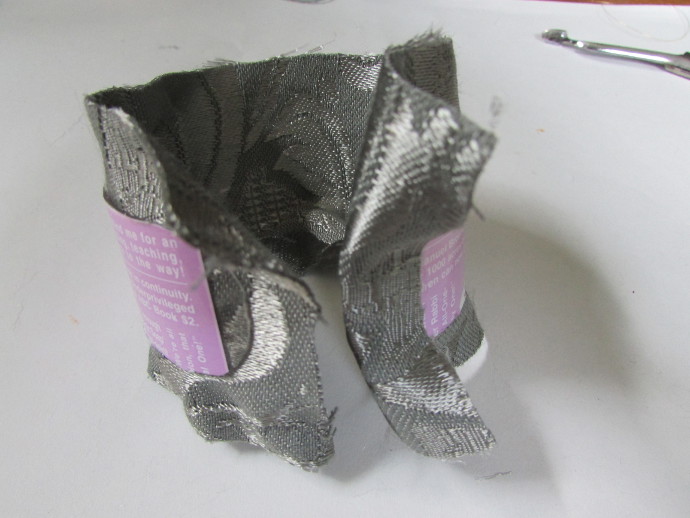
Fold the other end and attach it to the end of the cuff. Apply glue all along the front top half of the cuff. Fold the fabric over and stretch it out along the length of the cuff. This can be a bit tricky, as the cuff is round and the fabric gets really tight. It doesn’t have to be perfect, but do it the best that you can.
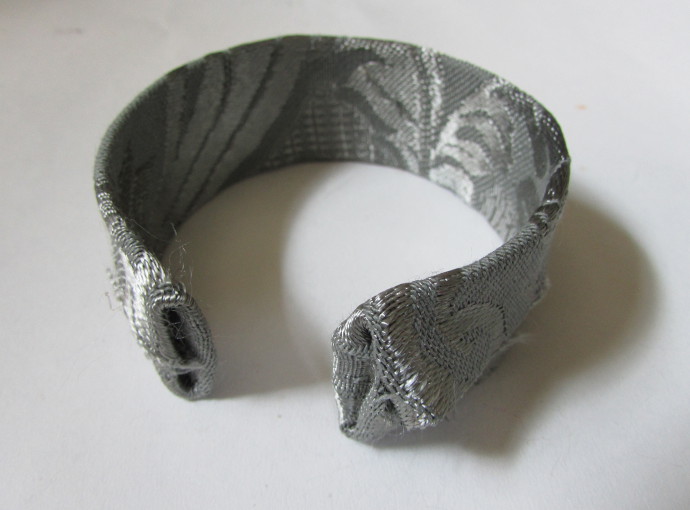
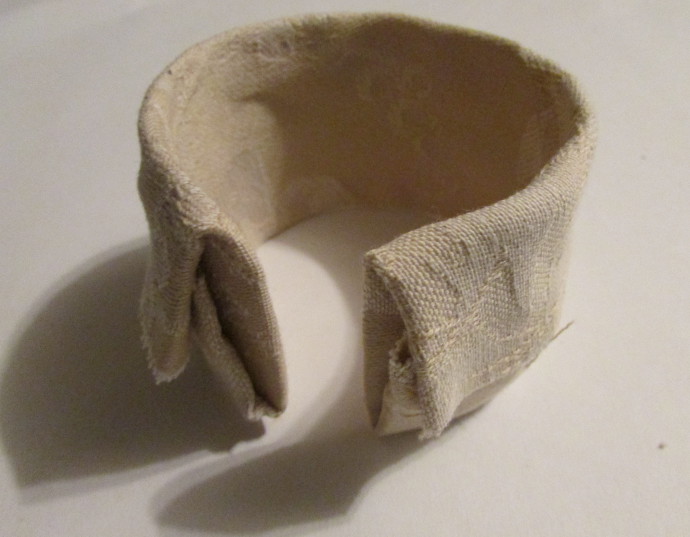
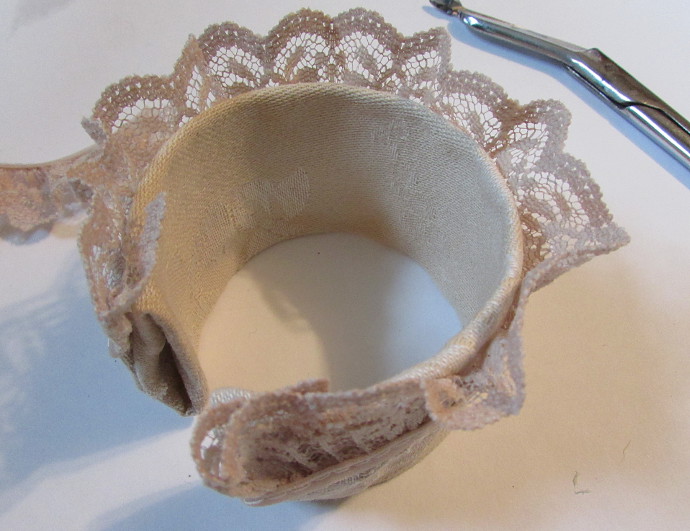
Do the dame with the bottom half of the fabric: apply glue to the cuff and fold the fabric over. This is what your bracelet should look like after you are done with the above steps:
Here is the beige one:
Time to get that ribbon and lace!
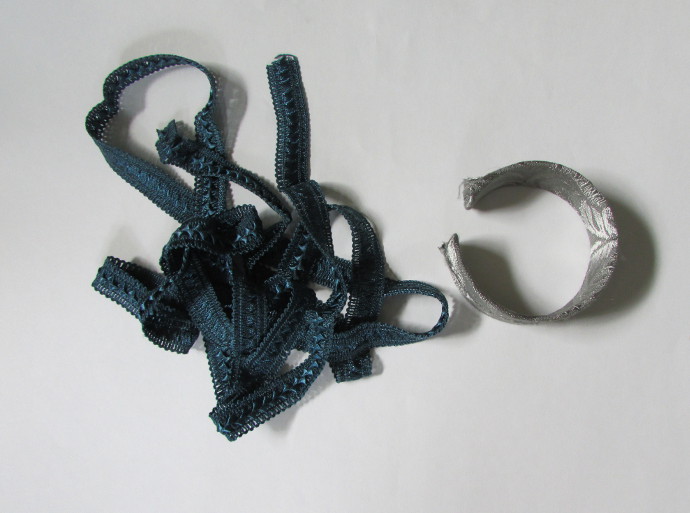
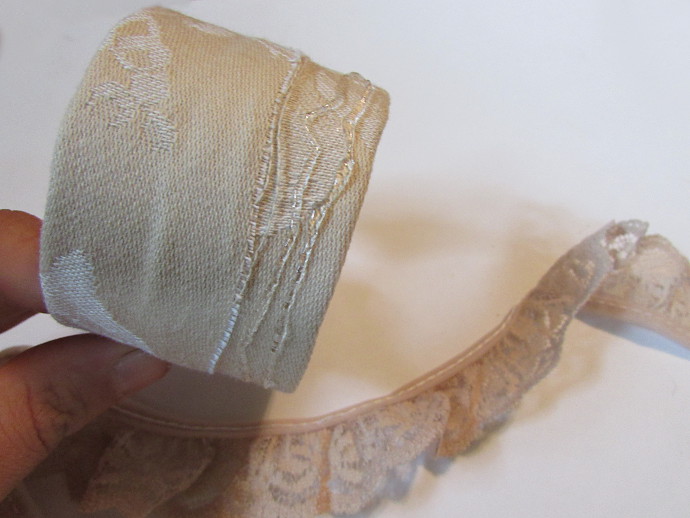
Here is my ribbon that I inherited from someone in a big craft box.
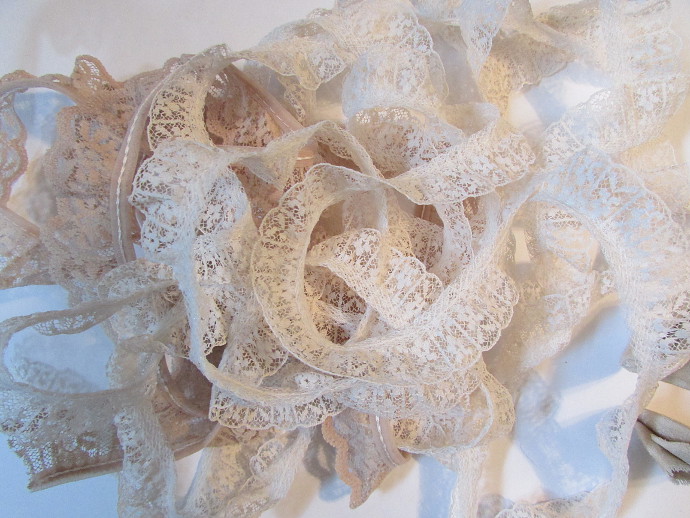
And here is my lace, which I also inherited from a friend that was moving.
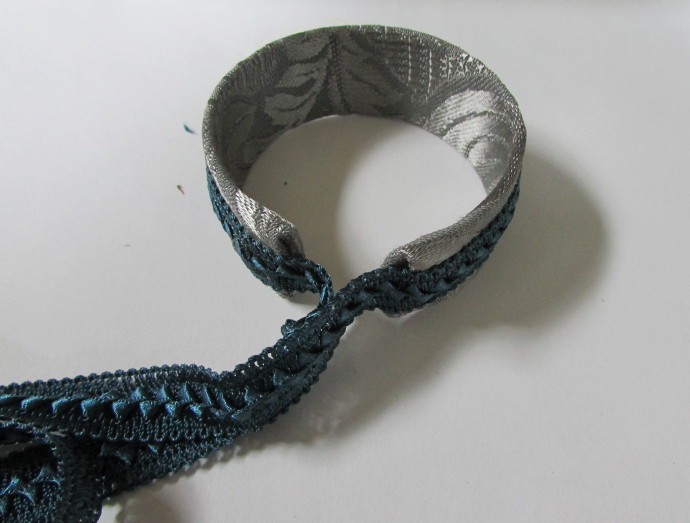
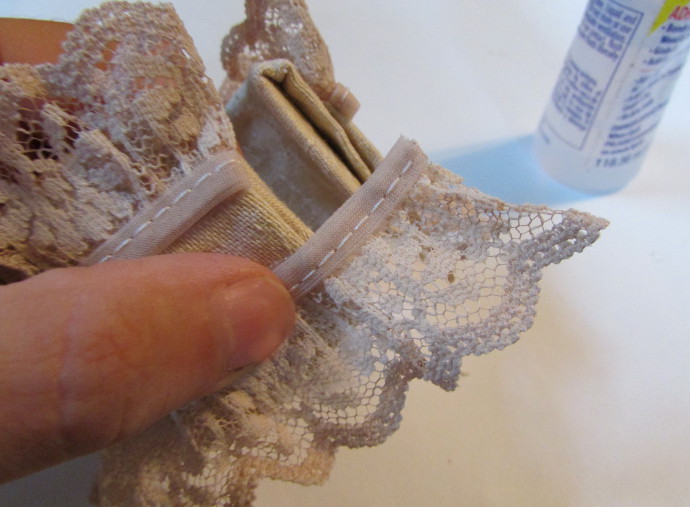
Cut a length of the ribbon and use the fabric glue to glue it along the outside of the bracelet. It has to do two things: cover the frayed fabric, and create two ends to keep the bracelet tied.
When working with lace, I did two layers of lace. The first one was decorative, and ended at the end of the bracelet, and the second one I used as ties for the bracelet. The next few photos will show the steps for the beige lace bracelet:
Apply glue to one end.
Glue the lace, folding the ends under itself.
Here is what I mean by folding the ends. Glue the lace, then cut it off so there is about 1/2 inch left over.
Fold that little piece so that it is under the main strip of lace. Look below for a photo.
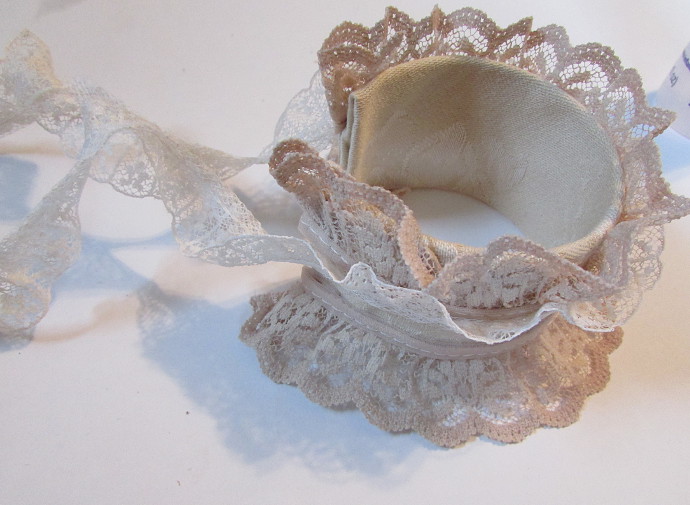
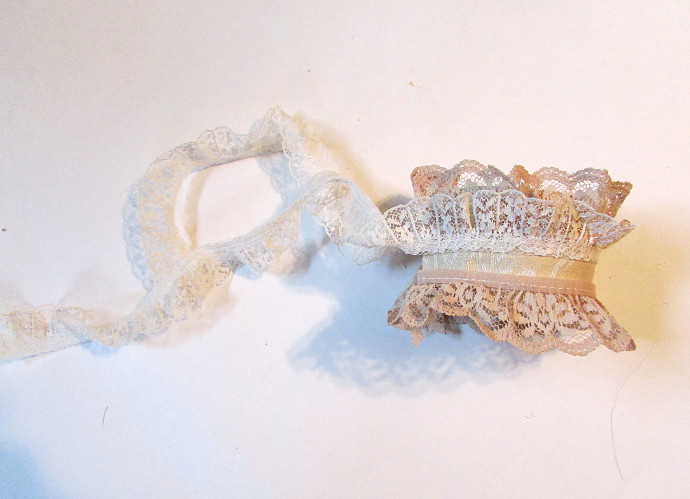
Now I attached the finer, lighter lace inside the first one. I left about a foot of the lace on each end to be used as ties.
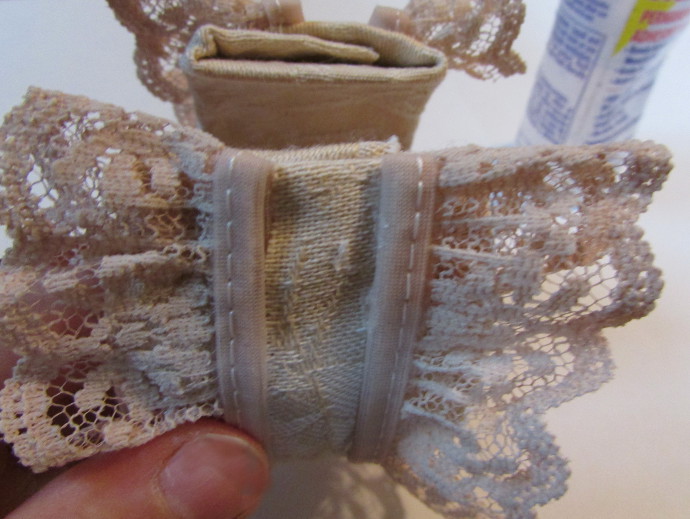
Here is the top portion of the bracelet done, now attach the same to the bottom portion.
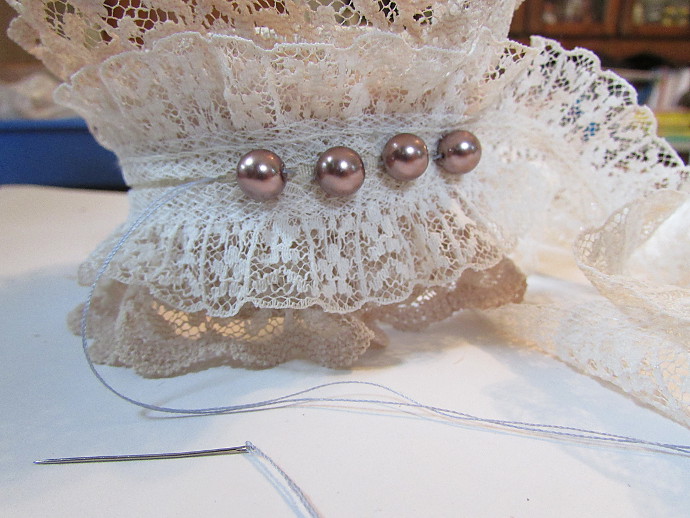
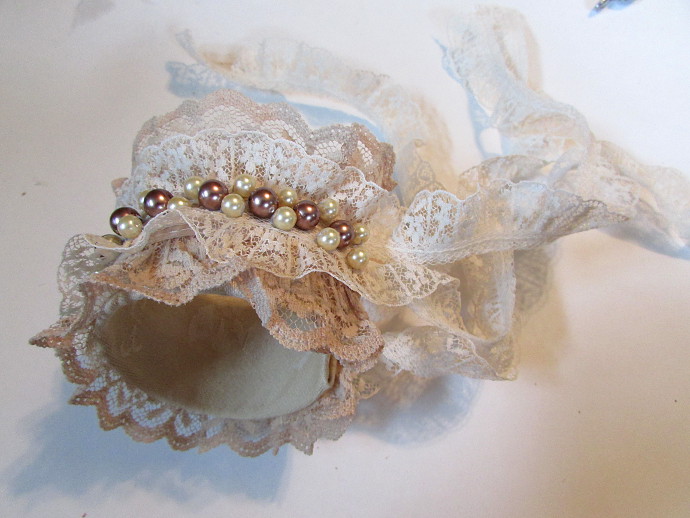
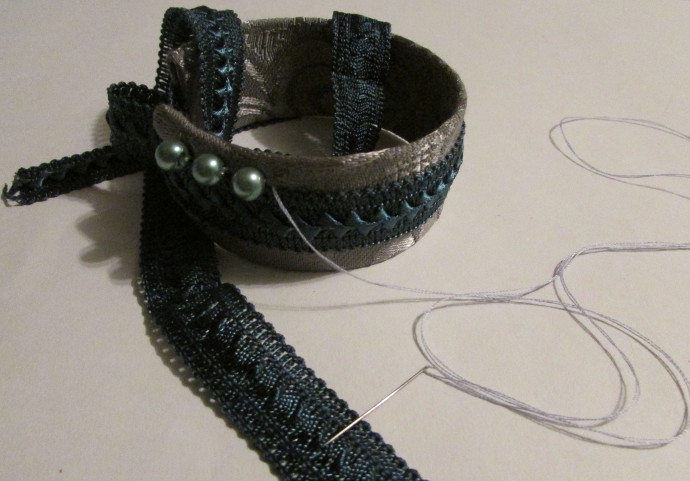
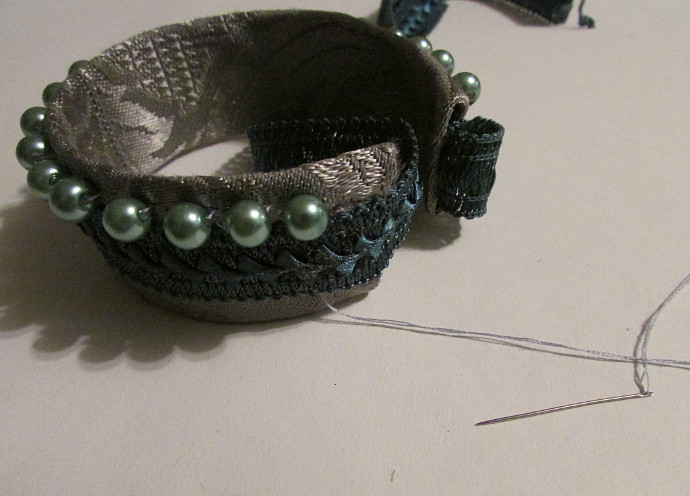
Once all the lace and ribbons are glued on, use a needle and string to attach the beads in any pattern you like.
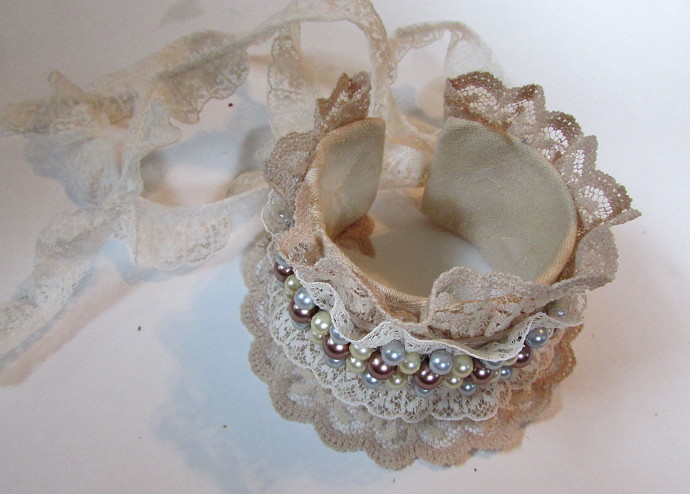
Here are the beads for the beige bracelet being attached:
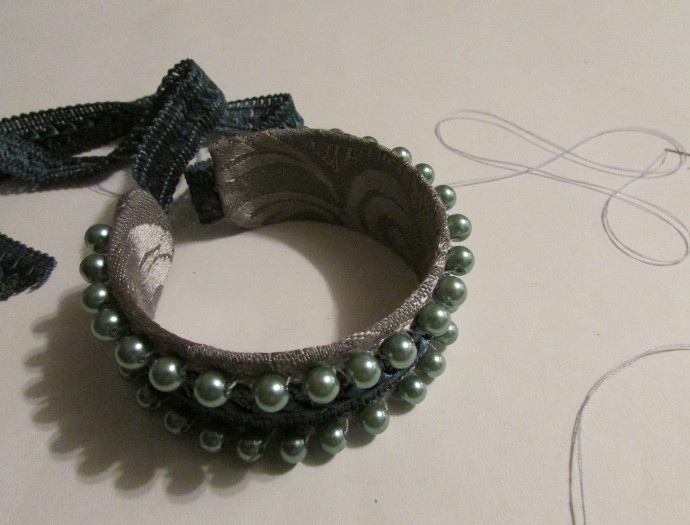
And here are the blue and silver bracelet beads being attached:
Here are the two bracelets finished. Just finish sewing on the beads and tie off the string. Push the needle through and out of the fabric.
Now to make more! The possibilities are endless!!!
