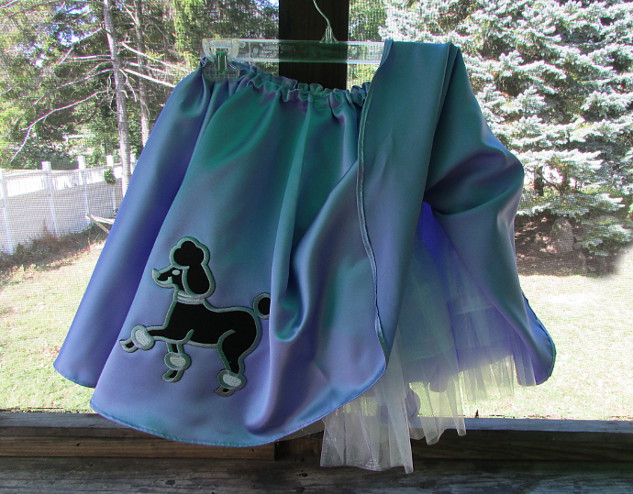
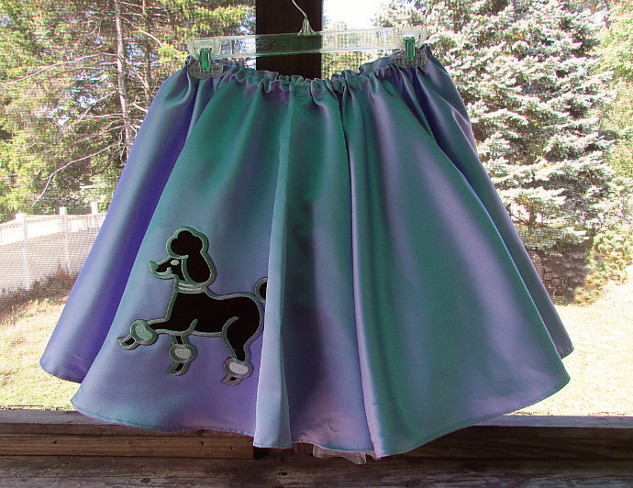
I made this circle poodle skirt for a friend’s daughter. It is a poodle skirt, complete with a poodle iron on, however, the principle of how to sew a circle skirt is the same. I do make a lot of mistakes while I sew, because for me it is all a learning process, so bear with me while I figure everything out.
Of course you would need fabric of your choice. The girl wanted purple satin, so that’s what we had. I also got some white organza fabric to make the underskirt (crinoline?). You would also need a sewing machine and some basic knowledge of how to use it. Alright, here we go. Let’s make the pattern first:
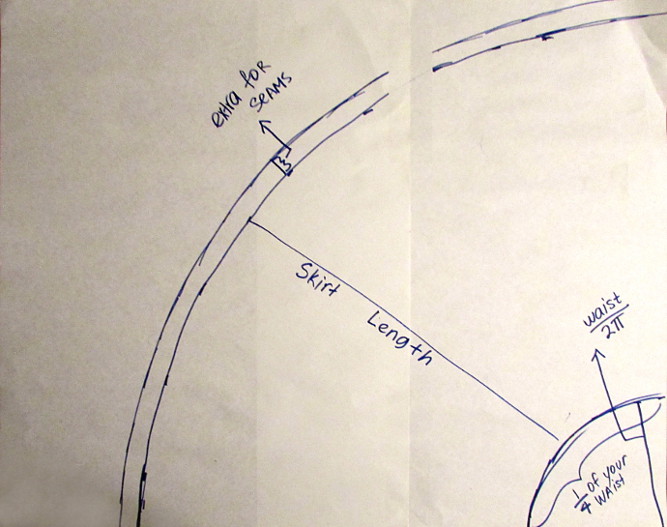
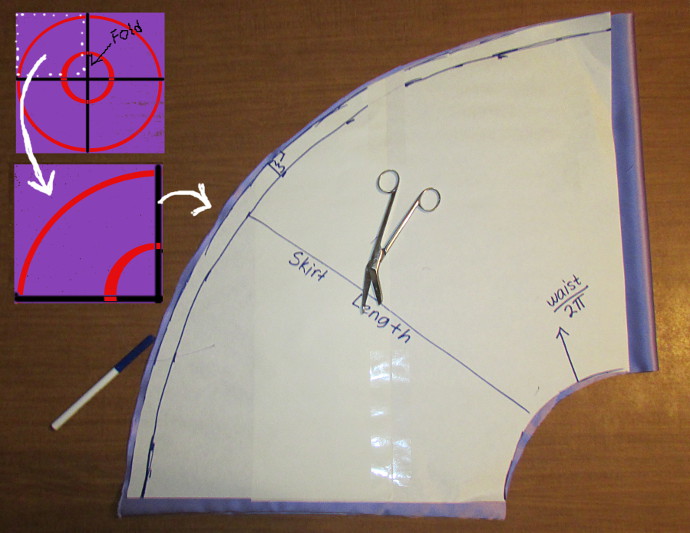
I took two large sketch papers to make the pattern, and taped them together. I am sure there is a lot of different options for paper, but that’s what I had at home. You’ll be making the pattern of a quarter of the circle. Therefore, when you cut out the skirt, the fabric would need to be folded into four, and the waist corner of the pattern will go on the folded corner of the fabric.
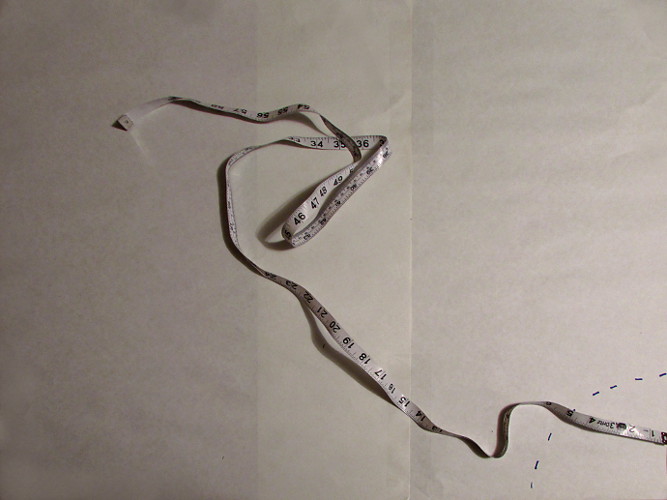
You will also need a measuring tape. Measure your waist. Since the circumference of a circle is 2*Pi*r, take the waist measurement and divide it by 2*Pi (6.28). That will give you the radius, distance from the corner to the waist line. Use your measuring tape to mark off several points along the waist. Then draw the quarter circle. Since I am lazy, and don’t want to sew in a zipper, I would want the waist to be a bit wider then the hips, so I added an inch to the radius result I got above.
Measure the length you would want. Make the marks using the measuring tape, add an extra inch for hemming the bottom. This pattern is the quarter of the circle skirt. The bottom right corner would go on the folded corner of the fabric.
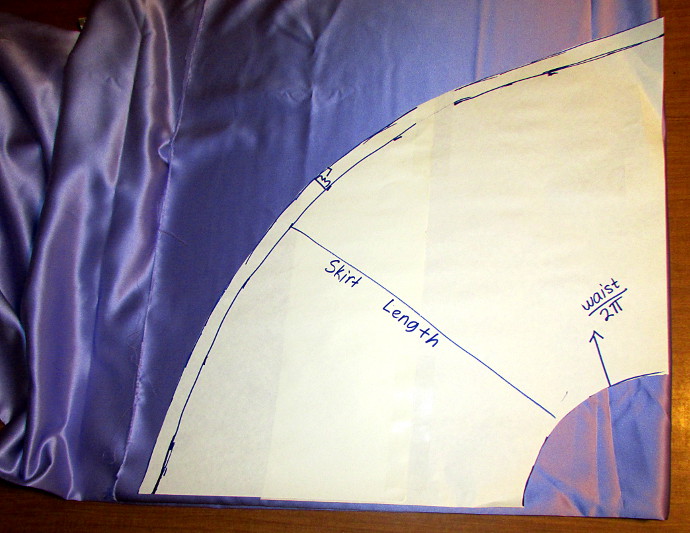
Here is the pattern over the folded fabric.
Here is the fabric after I cut it out.
I followed the same process for the organza underskirt.
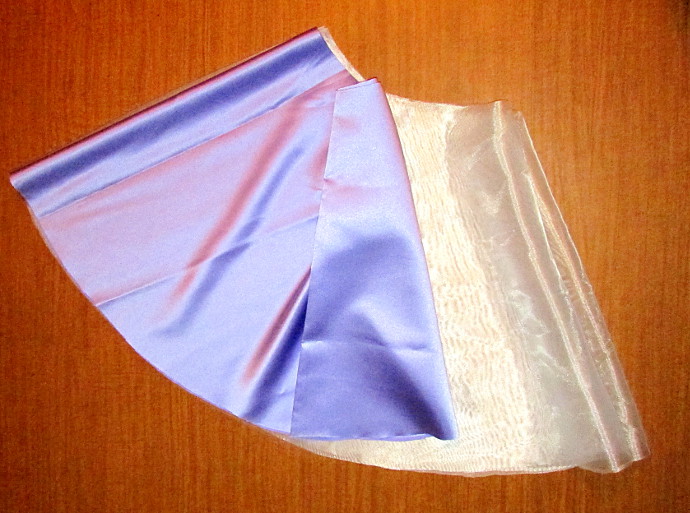
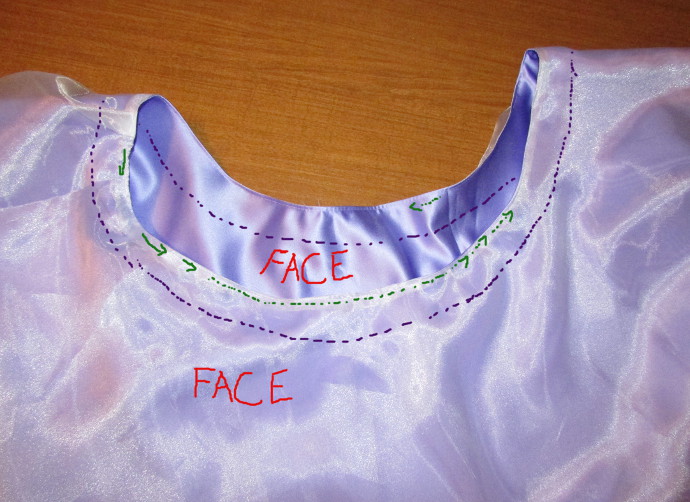
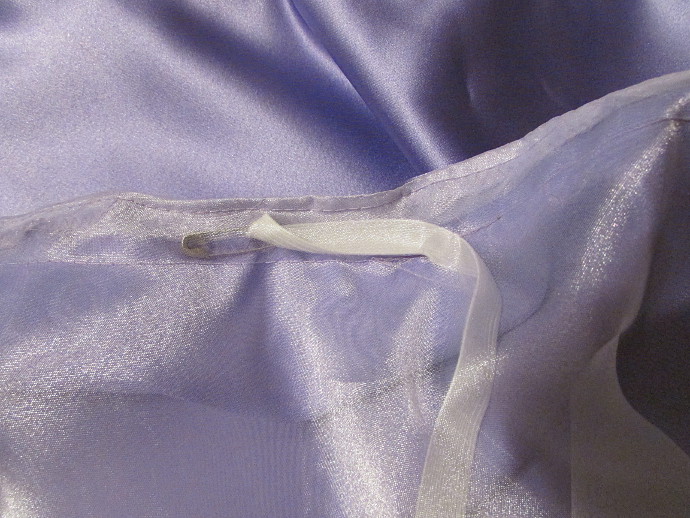
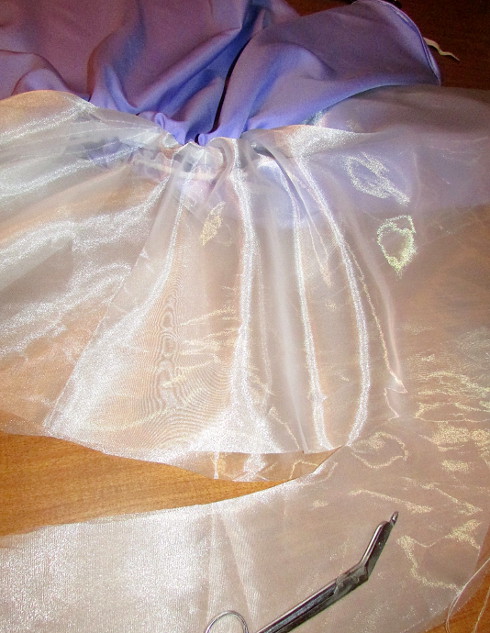
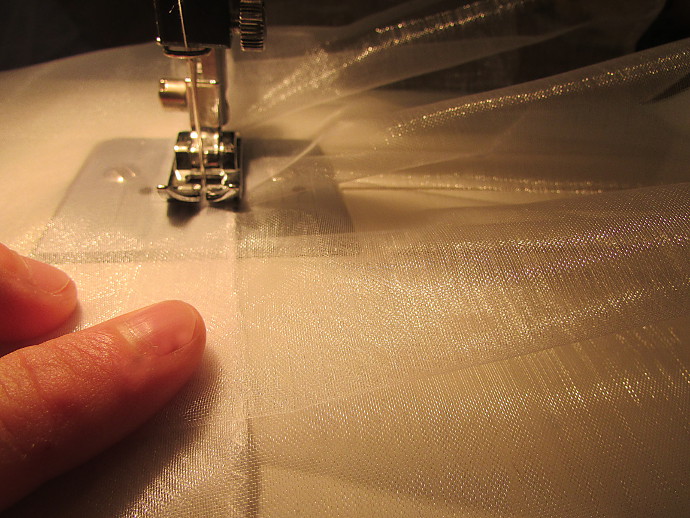
For the next step put the two parts of the skirt: the satin and the organza. Organza doesn’t really have a face side. It is the same on both sides. Put the skirt face out, like it would be worn, and then organza over it, like in the photo above. Then sew them together at the waist with a simple seam.
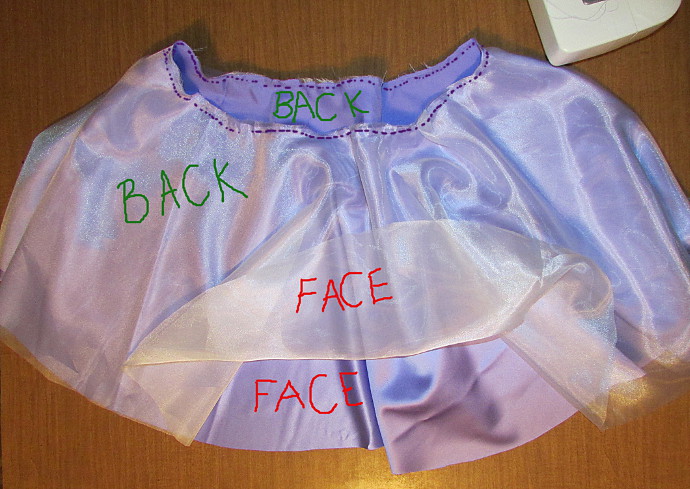
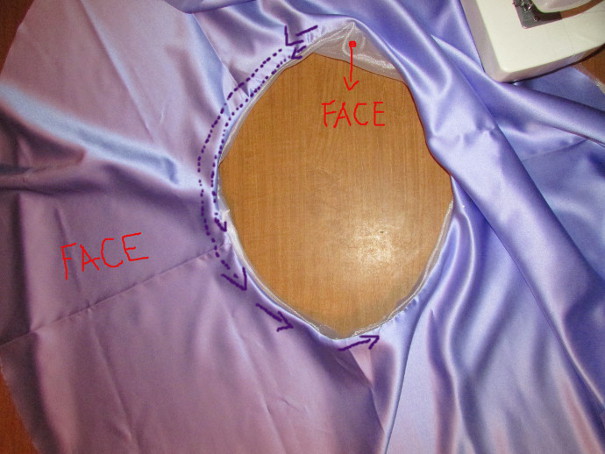
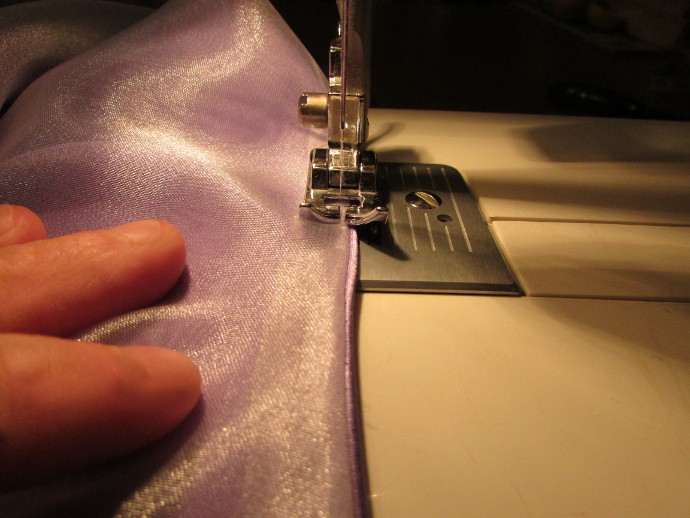
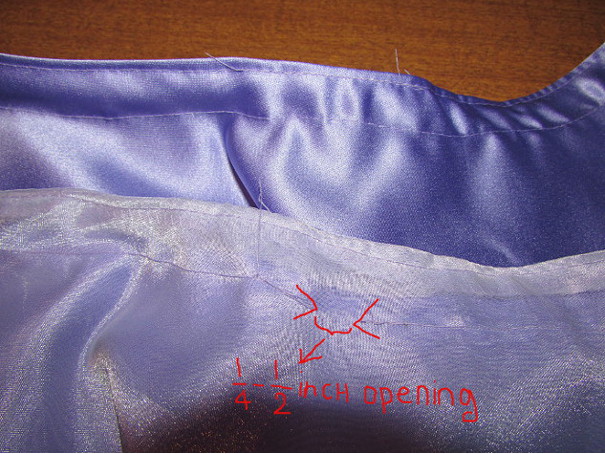
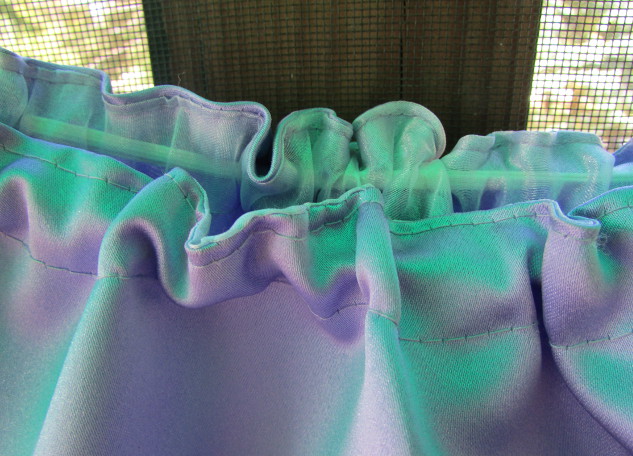
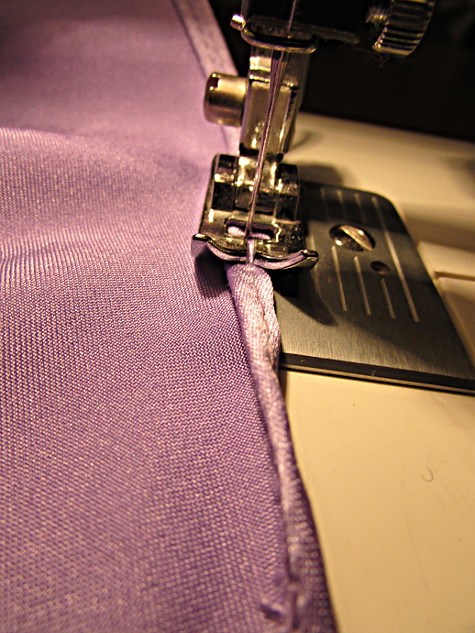
Now turn the skirt so that the seam you just made is on the inside. You will need to make two more seams. One right next to the edge, and one about 2/3 of an inch below it. The seam that’s 2/3 inches lower will have to have a small opening. Just look at the next few photos below.
Here is the first seam in progress. It is right next to the edge.
Here is another photo of the two seams.
Here is the second seam finished, and the little opening left. It is for the elastic band to be fitted into the waist.
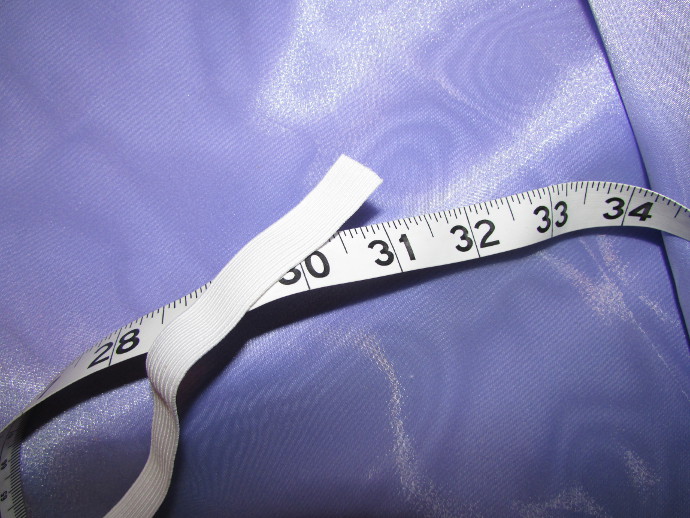
Measure the elastic band, so that it fits comfortably around the waist.
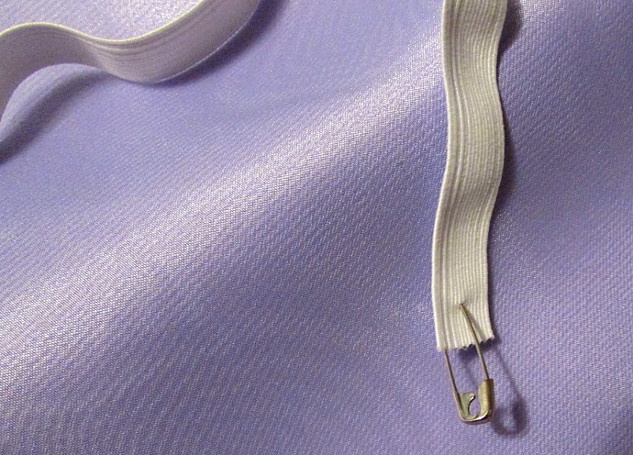
Put a pin on the elastic band.
Use the pin to help you push the elastic band through the opening.
I started out using this thick band, but in the end I wound up taking it out and switching it for a much thinner one.
Regardless of which size elastic you use, when you finish putting it through the entire length of the waist you will need to sew the ends together. However, since I was making it for a kid, I chose to just tie the ends together and leave some length. This way she can adjust it to make it more comfortable.
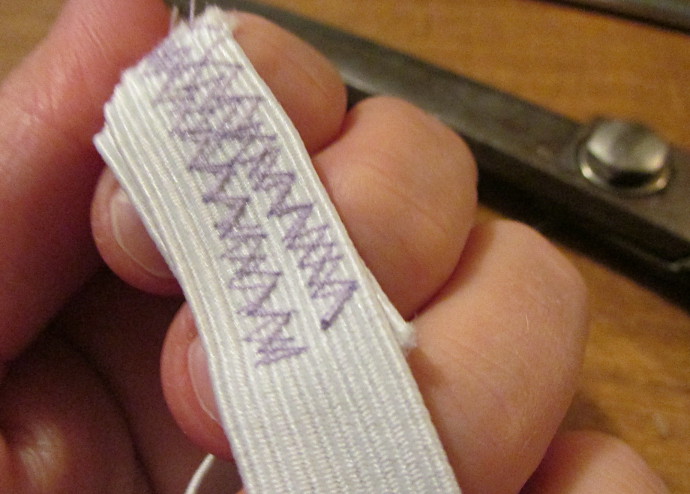
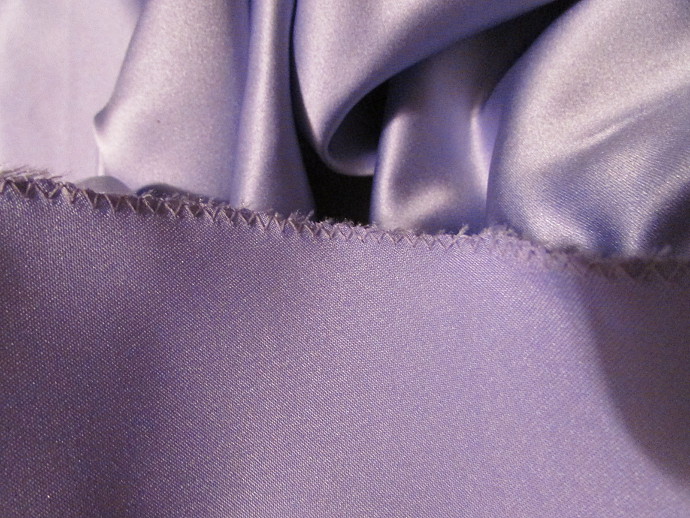
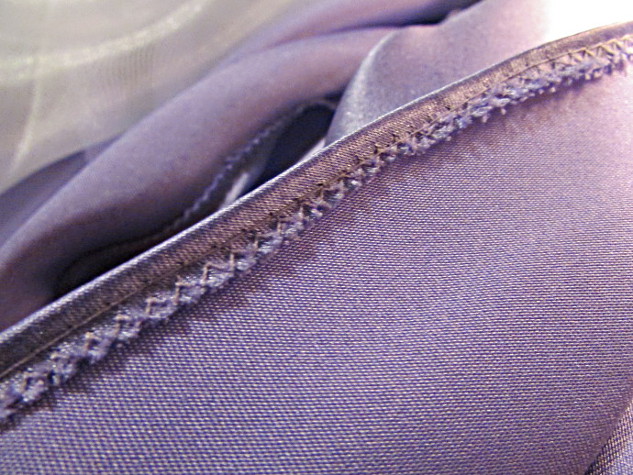
It is time to hem the bottom. First I used the zigzag seam all around the bottom edge to prevent it from raveling.
Fold it, so that the edge faces the inside of the skirt. A simple seam to sew it in place.
Fold it over again, and do one more simple seam.
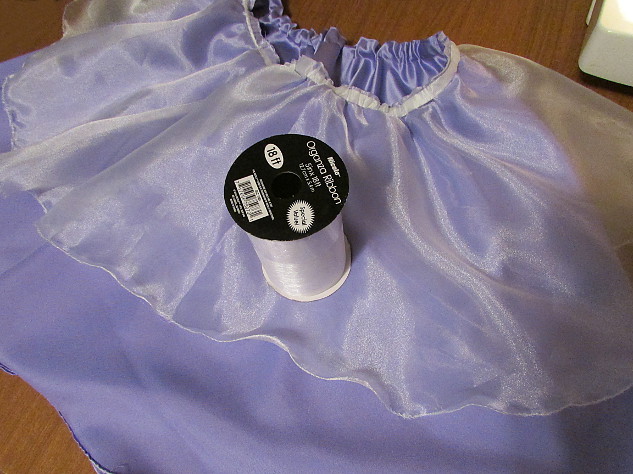
Now, it is time to take a look at the organza underskirt. I wanted to make it fluffier. So I got a few rolls or organza ribbon for a dollar each. I cut the organza along the bottom, about the same length as the organza ribbon.
I used the zigzag stitch to prevent the end from raveling.
Lucky for me, the organza ribbon edges are singed, so there is nothing I needed to do to them other then sew them on to the organza skirt. I did them in several layers, one above the other, folding the ribbon into pleats.
After the ribbon was sewn on, the skirt was done. I just ironed on the poodle and it was all done. Check it out below:
