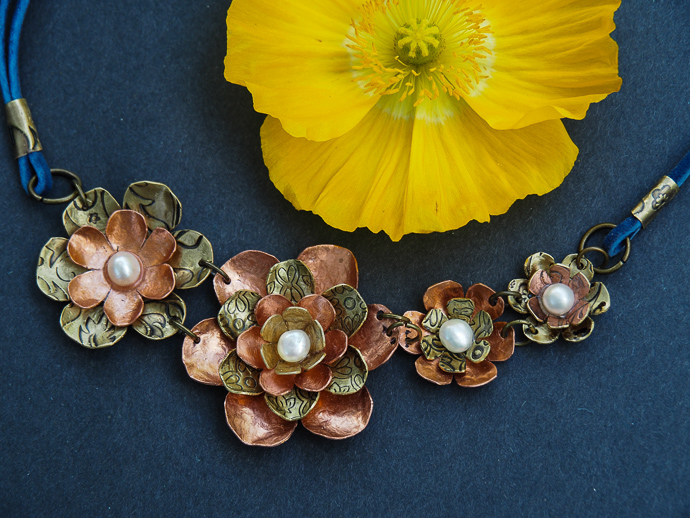
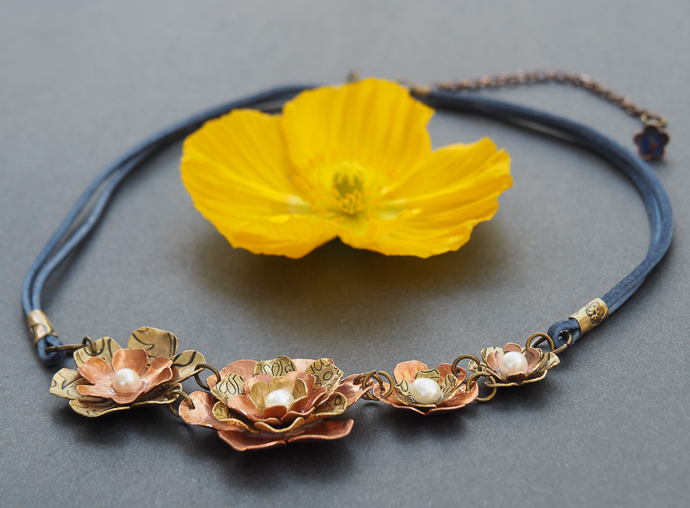
I have always enjoyed hammering metal. I know, it is an odd thing to say, but it’s true. There is something very satisfying about cutting, shaping, sanding, and just getting a sheet of metal to look like something cool. These metal flowers were a very new thing for me to make, and I found them very exciting. It was an awesome thing to do during the lock down here in NJ. Very calming, lots of loud hammering, and resulted in a pretty metal flower necklace.
***This post contains affiliate links.***
First, let’s talk about supplies. I got this awesome epoxy glue. It is actually the glue that started this whole thing.
I had some sheet metal at home that I have gotten in the past. I don’t remember exactly where I bought it from, as it was a long time ago. However, these two: copper sheet 28 gauge, and bronze sheet 26 gauge, I have purchased recently, and they will do the job well.
Jump rings, favorite bottle nose pliers, a good pair of hardy scissors, couple of beads for the middle, leather, and clasps. Oh, and sandpaper!
There are a few more things you will need: a jeweler’s block, a hammer, a hole punch, metal file. You can check out this necklace that has a similar construction, and used the same tools, all the links to the tools are there.
Here we go!
How to make metal flowers, and turn them into a necklace
Cutting and shaping the flower shapes
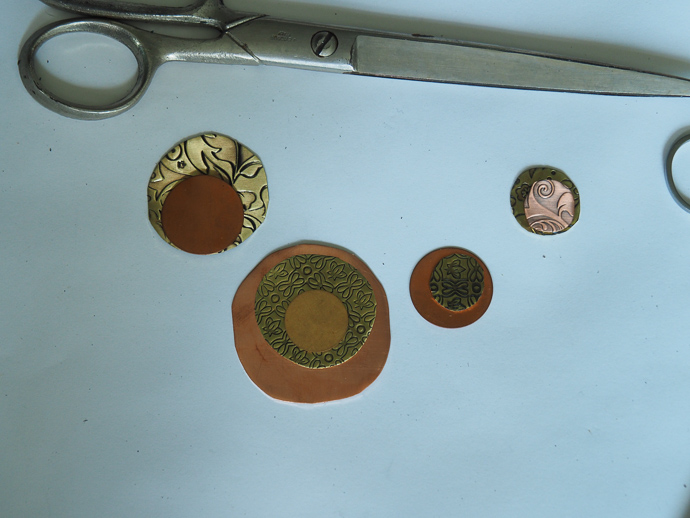
Start by cutting out several circles out of your metal. The largest one I had was about 1.5 inches in diameter, the smallest about 1/2 inch.
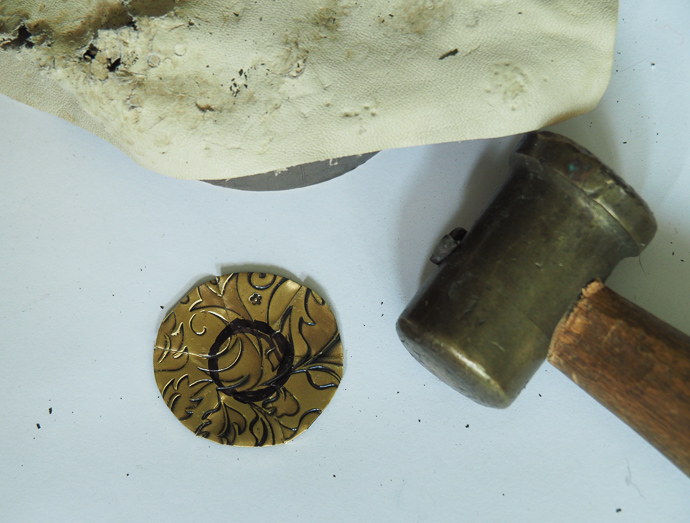
For each circle, use a permanent marker to draw the center. Then cut six indentations to make petals, not cutting all the way through, but just to the mark.
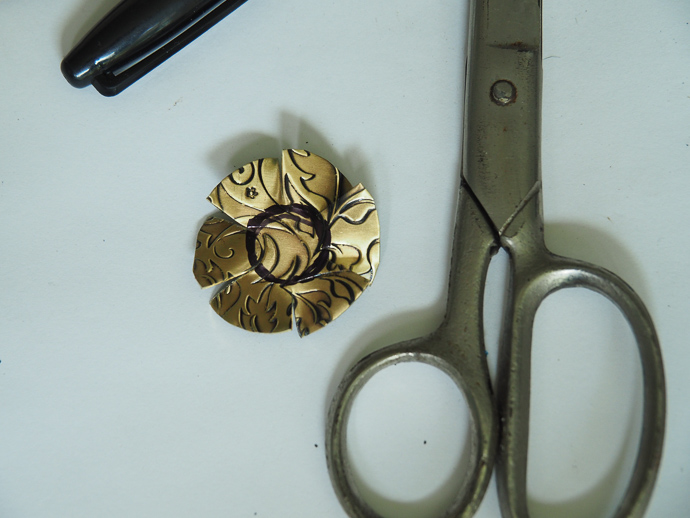
Once they are cut, bend them just a little. It will make it easier to do what you are about to do next.
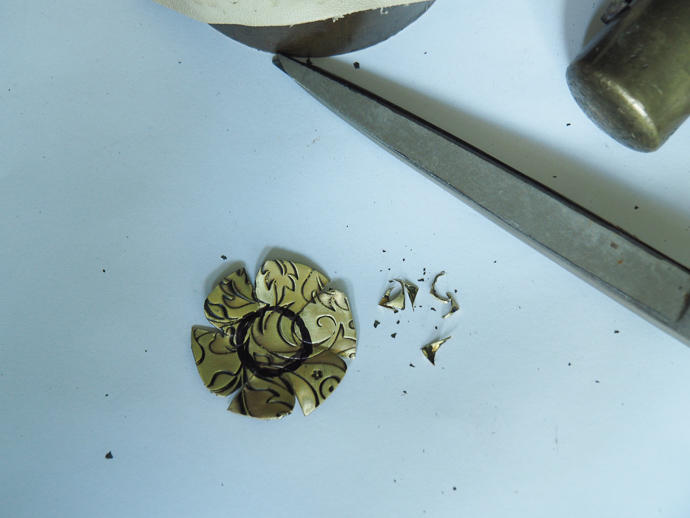
Use scissors to cut away the sharp edges. I found it easier to go in one direction first, then flipping the flower over, and going in the other direction.
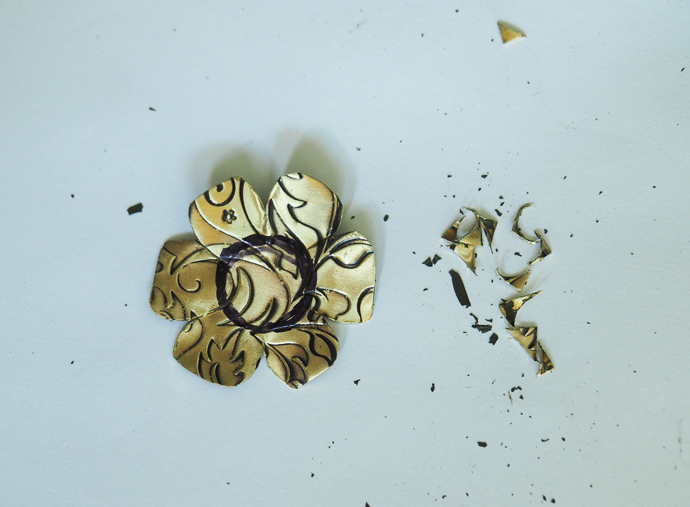
It will be a little uneven, and not perfect, but that is alright. It will all come together and mask imperfections.
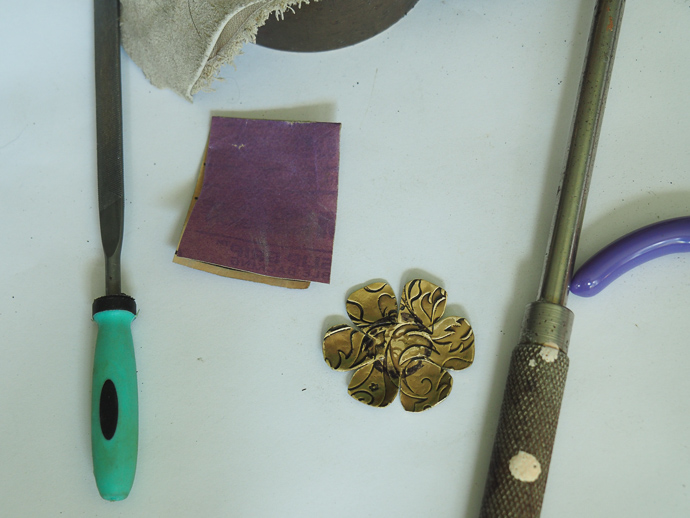
Next, send down the rough edges, make sure there are no snags.
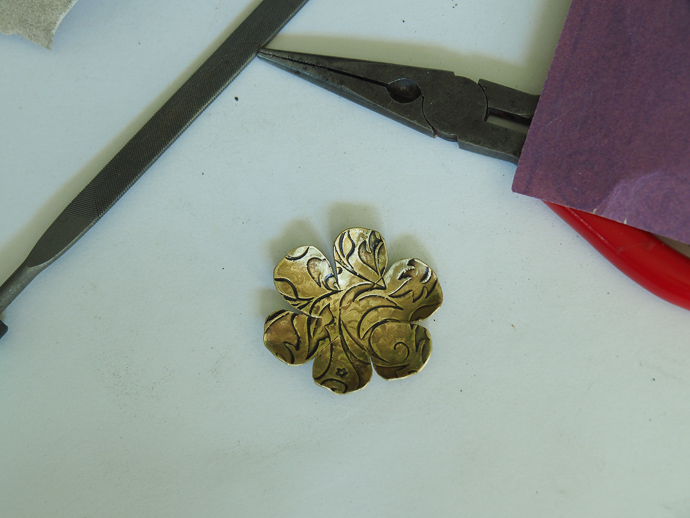
Next, use the pliers and hammer to shape the petals up and in. Do a it more sanding to smooth it all out.
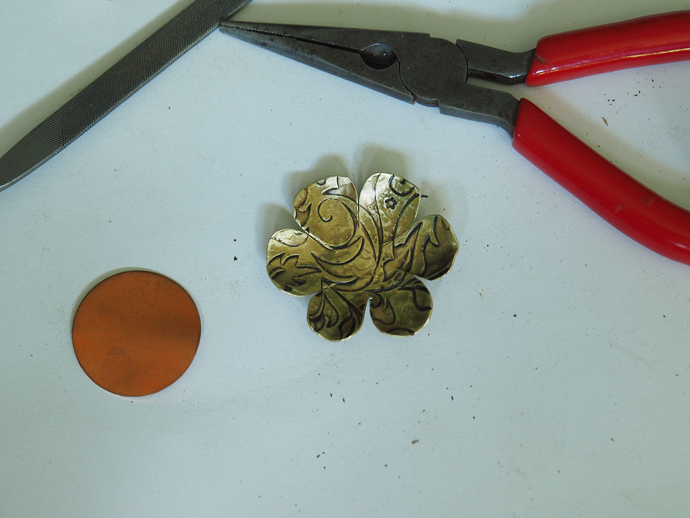
Repeat the process with the next circle.
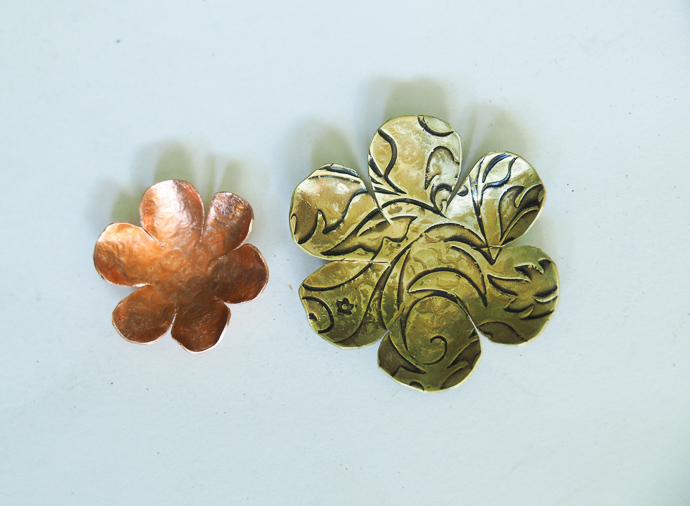
Once you have two of them, you can stack them up and glue them together.
Putting the flower shapes together into flowers
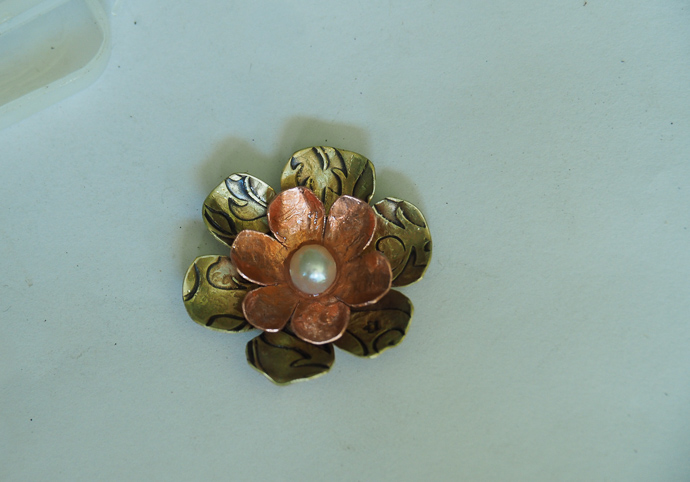
Be sure to follow the instructions on the glue! It is important. I chose to make little pearl centers because the pearl beads were flat on one side, and I like how the pearls, metal and leather look together.
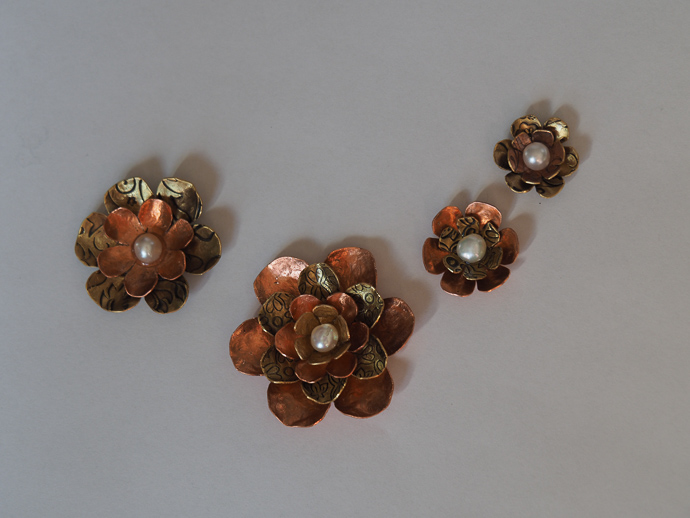
After a whole lot of hammering, shaping and sanding, I finished all of my flower layers. Finally, here are my four flowers all together. The glue cures for 24 hours, so I had to leave them alone and wait.
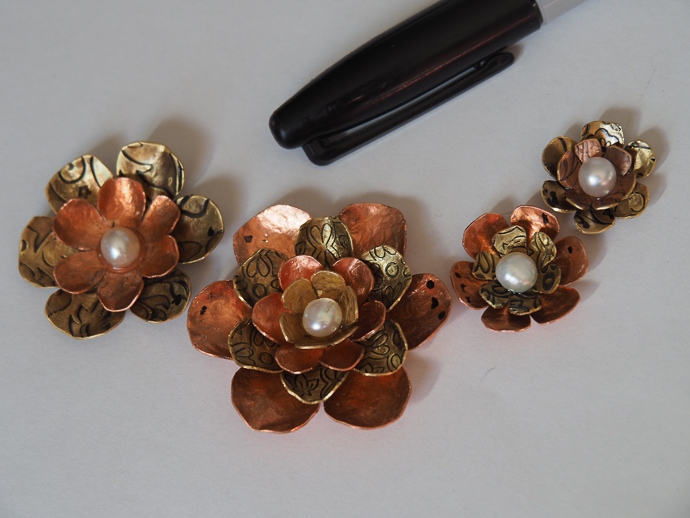
Once they are cured, I laid them out how I would want them to go onto the necklace, and used a permanent marker to mark of exactly where I would punch the holes through for the jump rings.
Connecting all the flowers
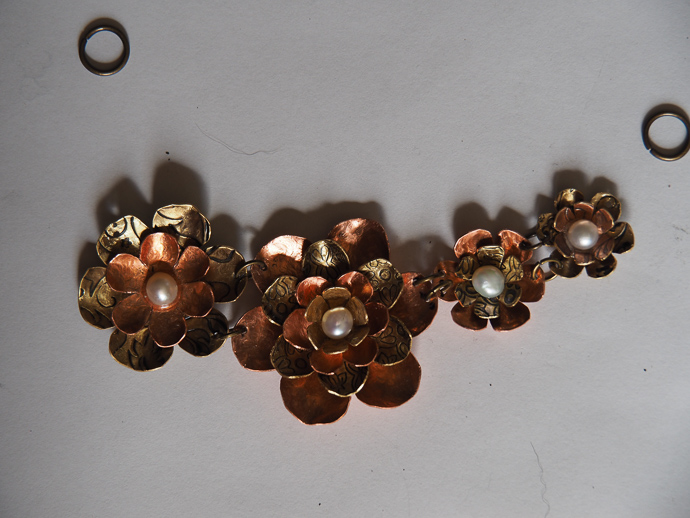
I would punch the holes one at a time, and connect the jump rings to the flowers right away. This way I could see if something needed correcting quickly.
Putting it all together
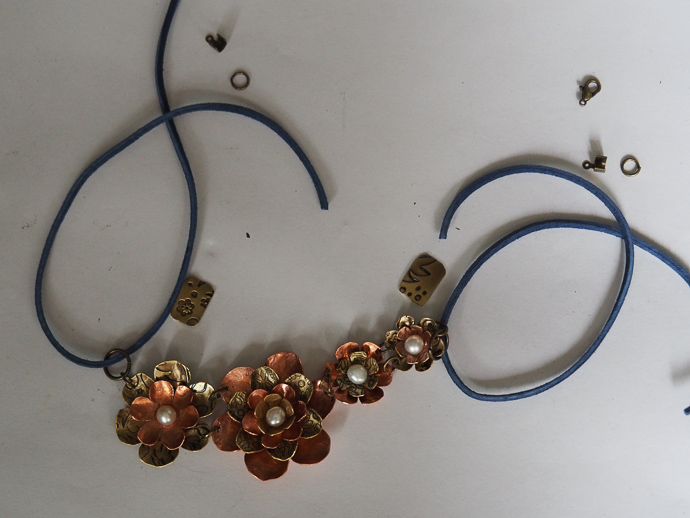
After stringing the flowers together, I attached two larger jump rings on each end, measured and threaded leather. I also cut out and sanded two small rectangles to use to secure the leather and prevent it from sliding.
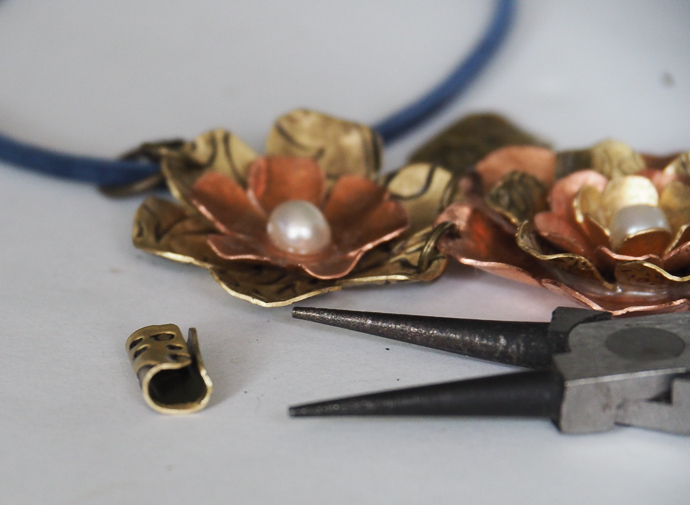
Using round pliers I bent the rectangles into little tubes.
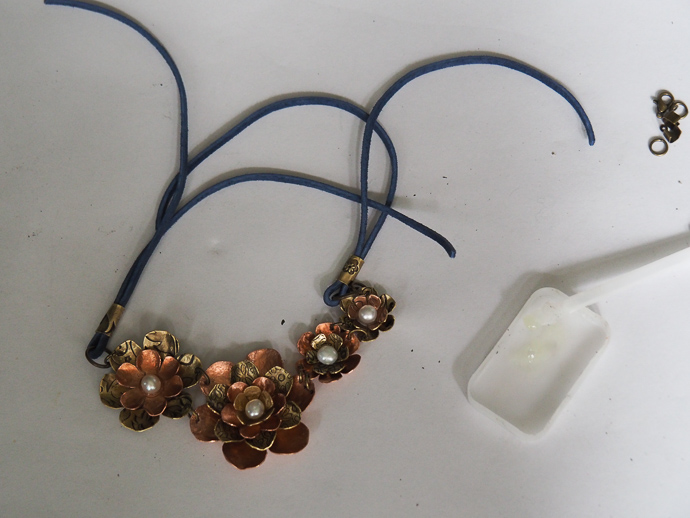
I slid the leather in, and squeezed the tubes shut around it using pliers, and a bit of hammering.
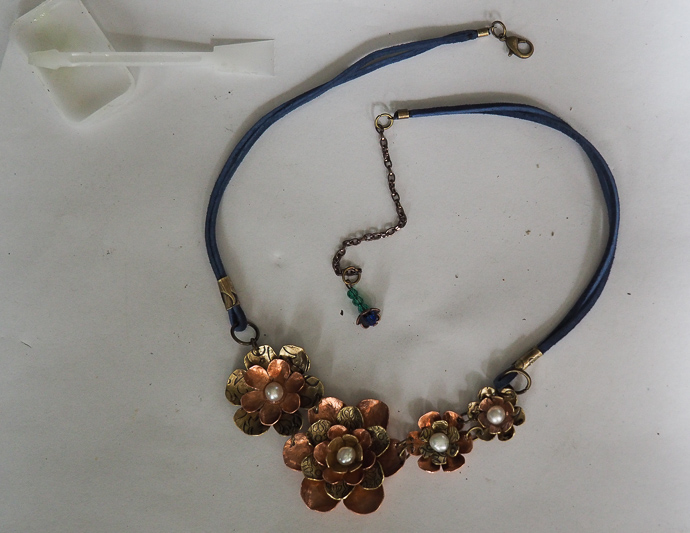
I used glue at the ends of the leather to secure the clasp, and added a chain with a little flower charm at the end to be able to adjust length.
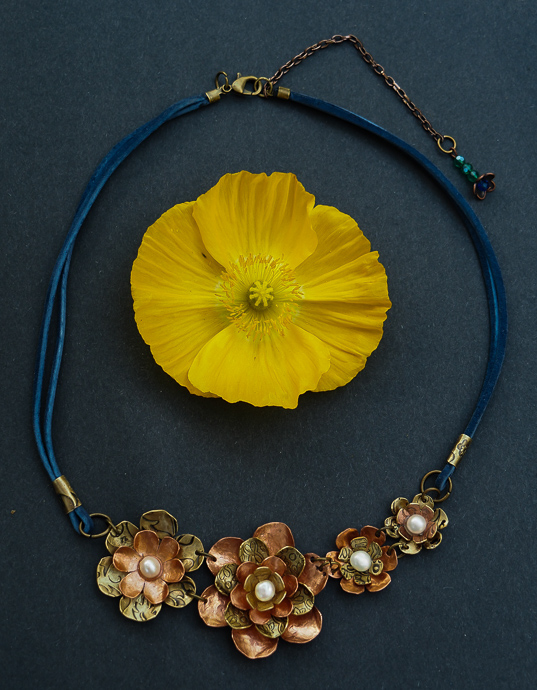
All done!
