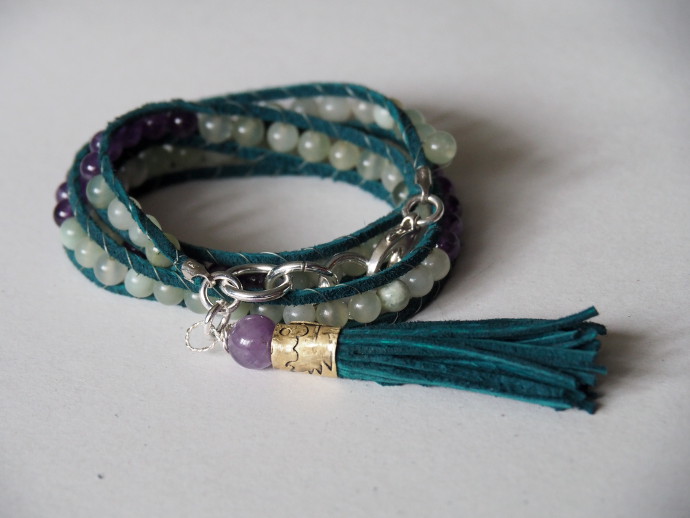
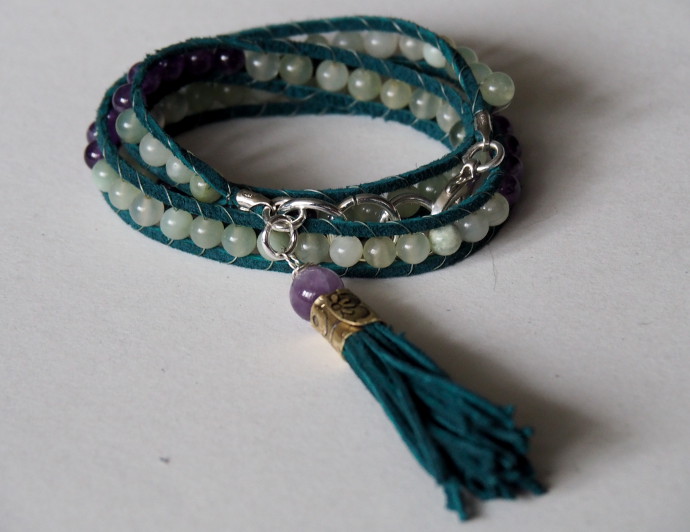
For a while now, I have looked at these bracelets and thought, “I should just try and make one.” So I did. Turns out it is pretty easy.
***This page contains affiliate links.***
Full disclaimer: Folks at Endless Leather sent me some fantastic supplies to try out and to make jewelry with. They supplied me with the leather and the hardware for this project, and before I go on, I would like to note that everything that I got from them was excellent.
I got the super soft leather lace and jewelry findings from Endless Leather.
Also, as usual, my trusty pliers, a pair of scissors, and some stone beads, I had 4 mm amethyst and jade beads at home, so that is what I used.
In addition, you will need a strong bead stringing thread. I used Beadalon Wildfire, but any strong thread will be fine. Actually, the thread I used, I wished it was a bit softer, so next time I will go with a slightly different one.
Any project that uses beads, collapsible eye needles are a lifesaver. This time I used regular needles, as the beads had large enough openings, but usually, I would use the collapsible ones.
How To Make A Boho Bead and Leather Wrap Bracelet
I start by measuring two lengths of leather around my wrist. I wanted to have it wrap around approximately 3 times. Then I took the ends of the leather and put them into one of the silver clasps, and secured it tight. I found that rubbing a touch of crazy glue on the inside of the clasp helps keep it in place.
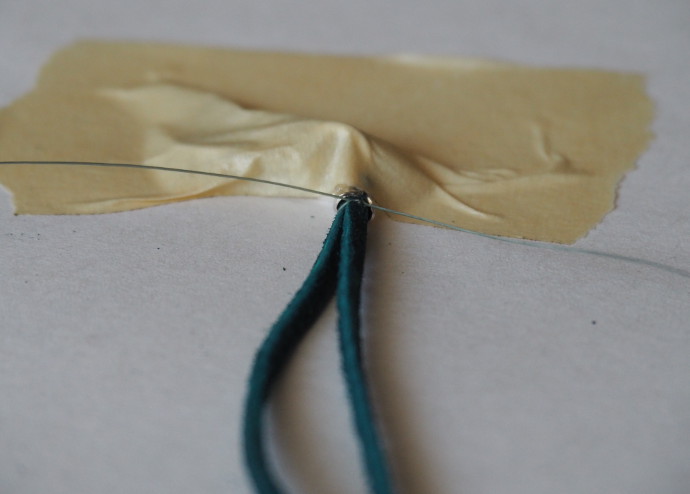
Then I taped it to the table with a bit of masking tape.
Using a long piece of the beading thread, I tied/wrapped it by the center to the top of the leather. That is where the bracelet begins.
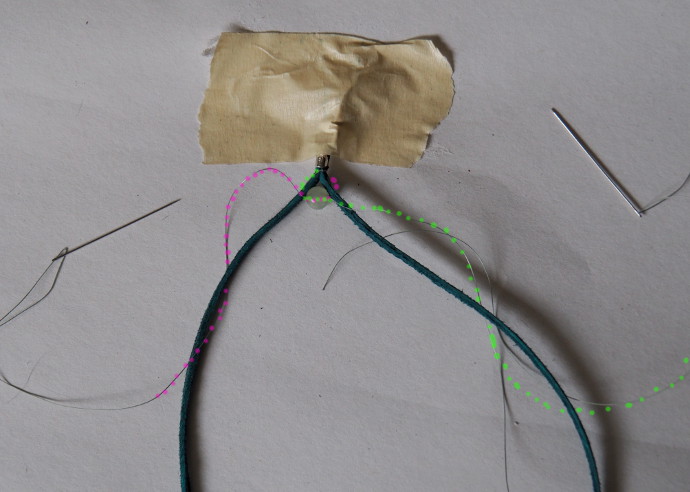
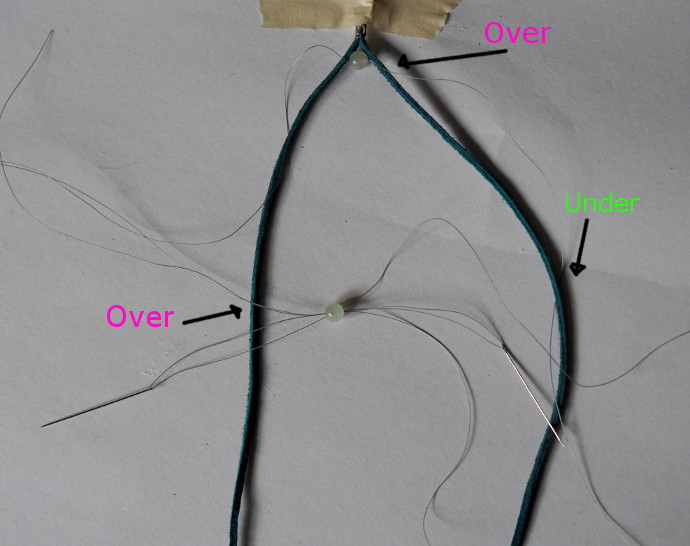
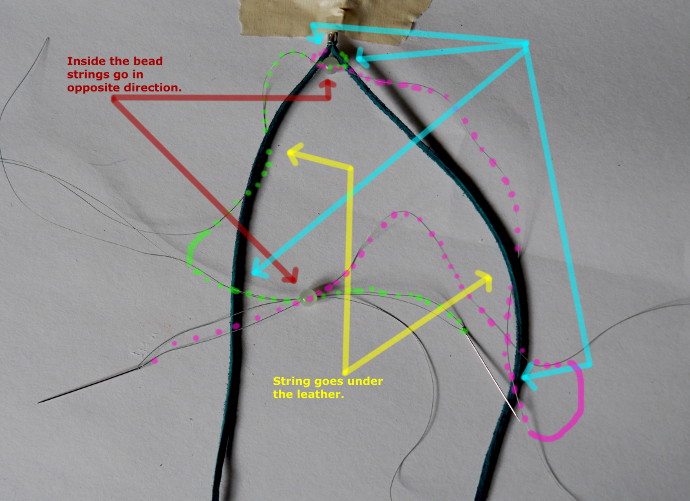
Take both ends of the beading thread and pull them under the leather, put the bead on with the threads going into the opposite directions of one another. Put the threads over the leather, and then back under. Now you are ready for another bead.
Put the second bead on the same as the first. Then slip the threads under the leather, bring them up over, and you are ready for the next bead.
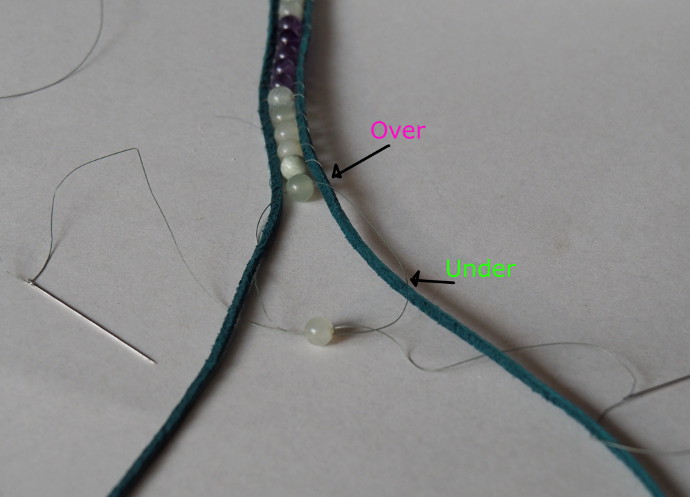
Here is the photo for the next bead with with arrows and such. Just in case.
One more time. The thread goes out of the previous bead, over the leather, under the leather, and it is ready for the next bead.
What happens if the bracelet is flipped over:
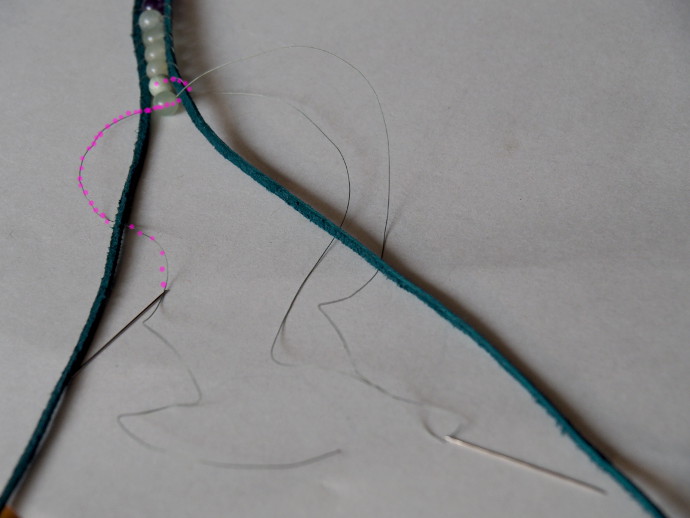
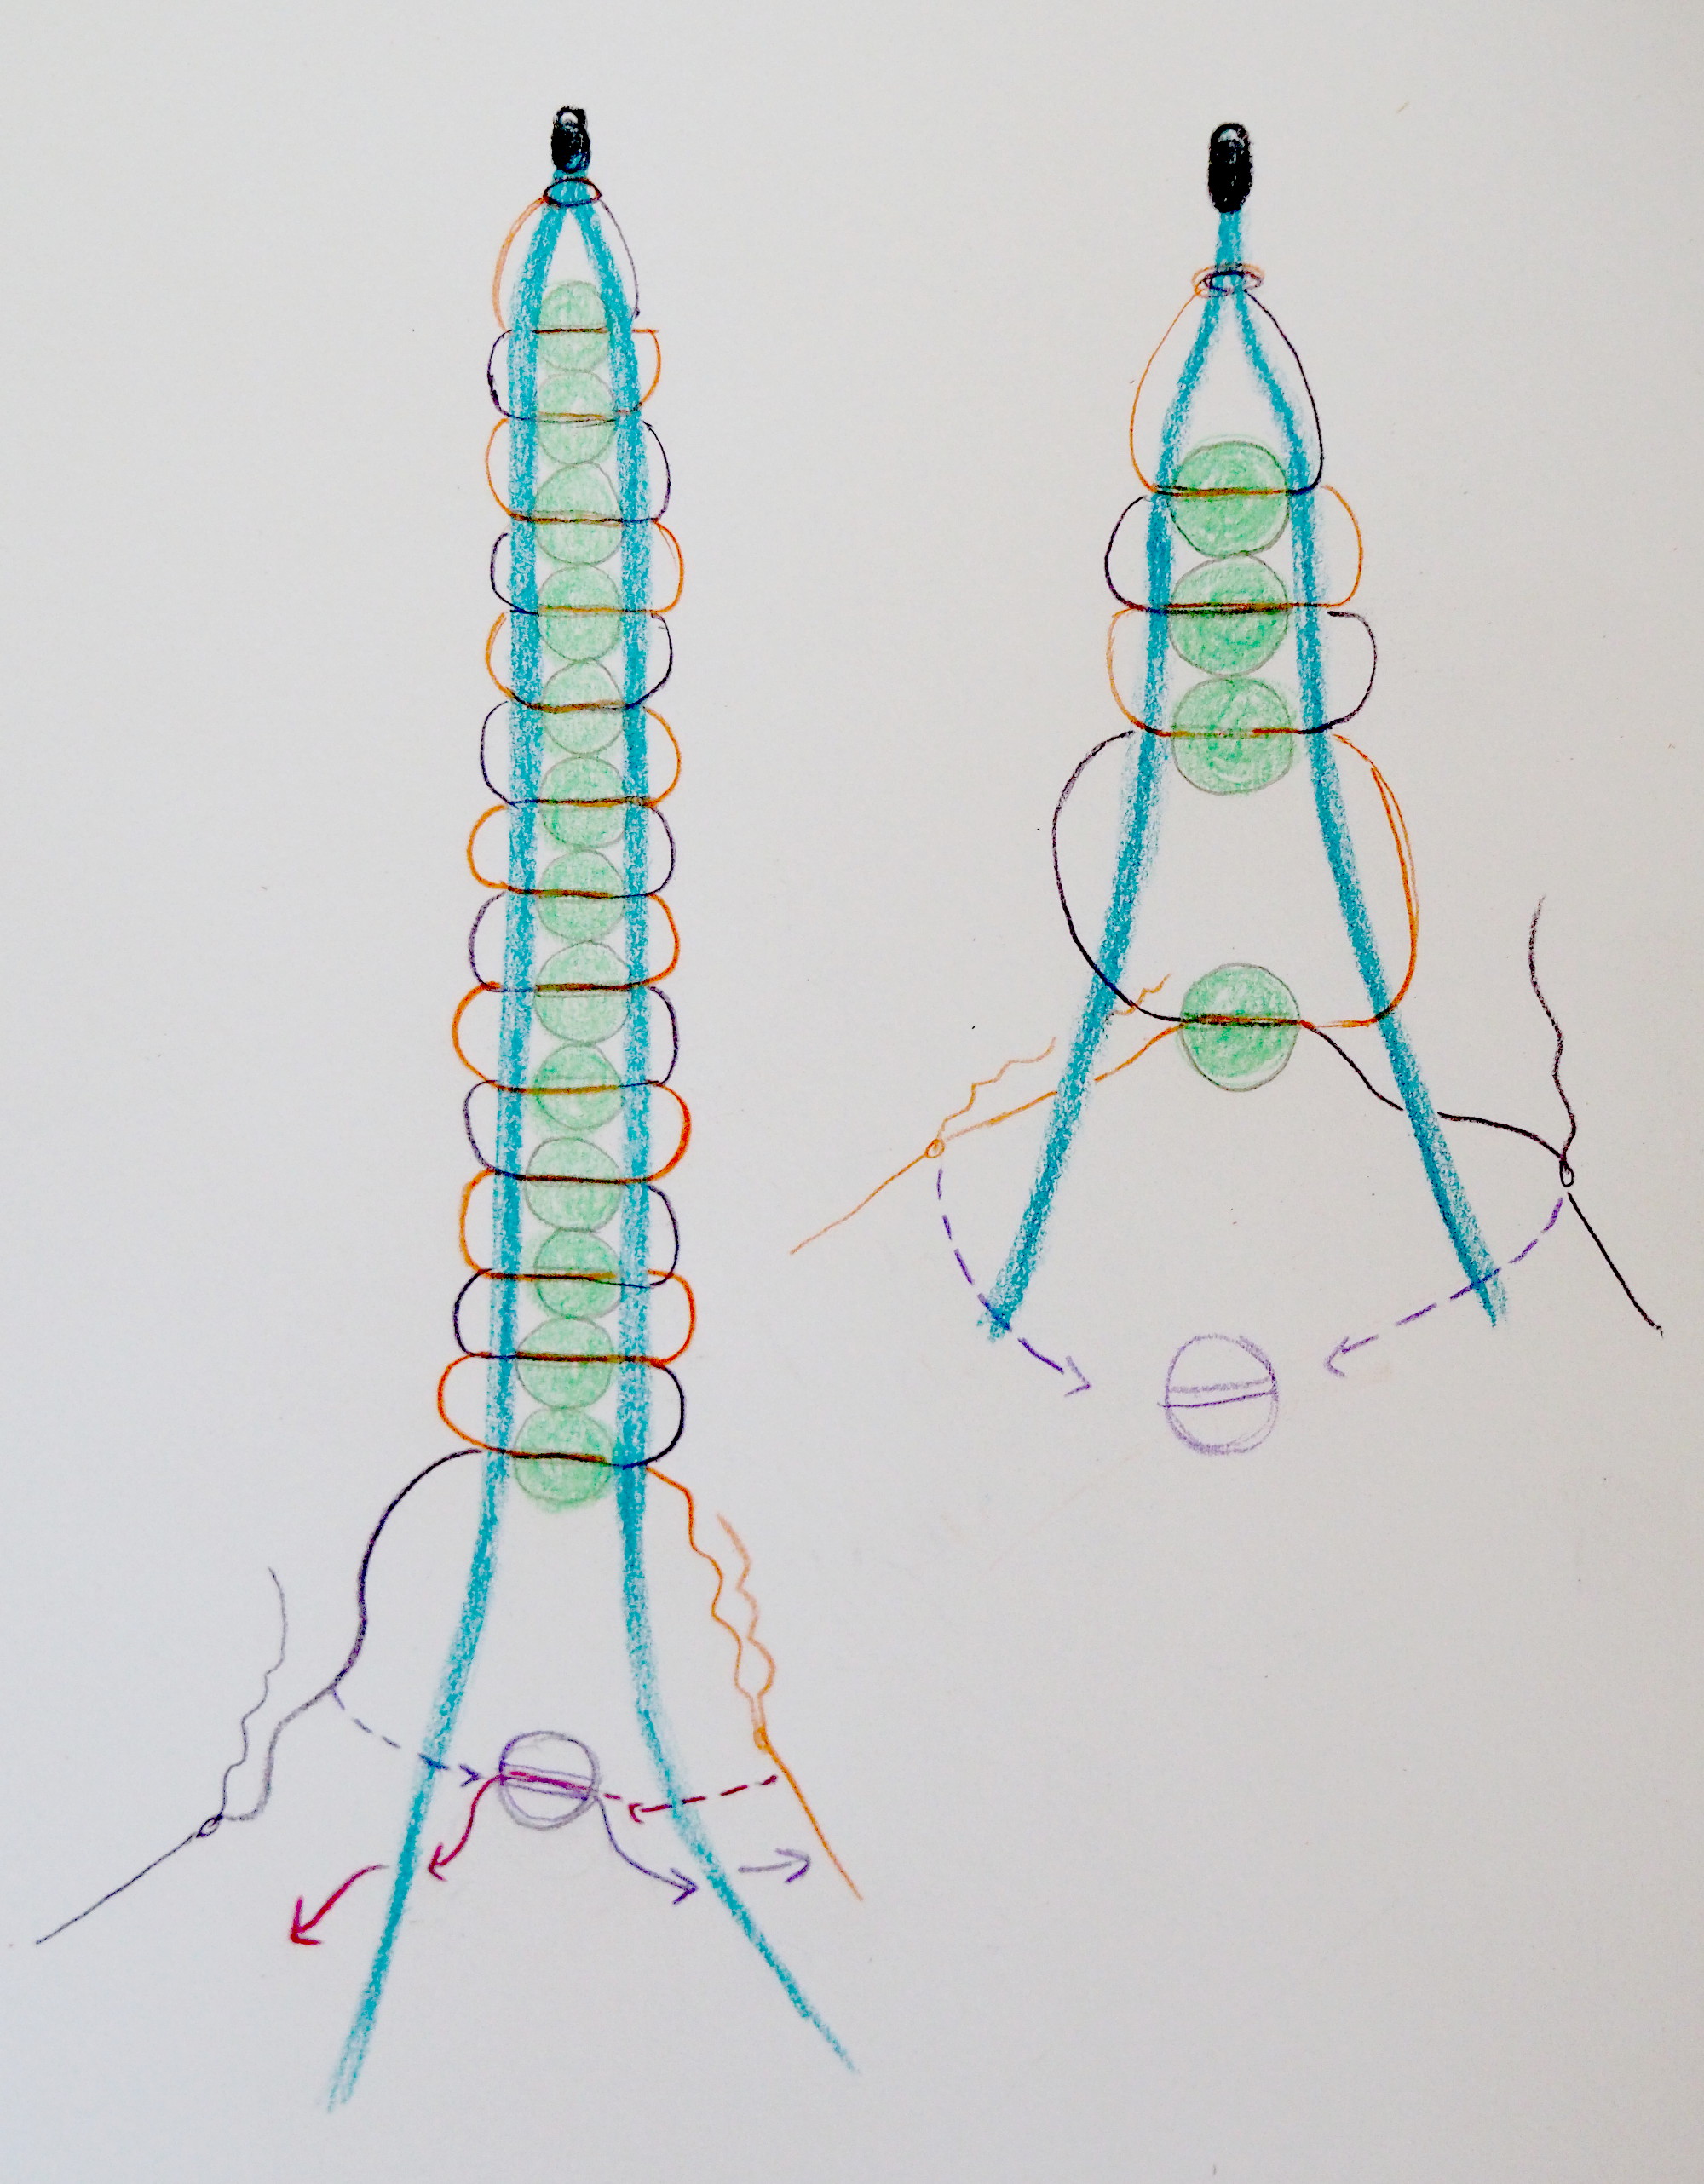
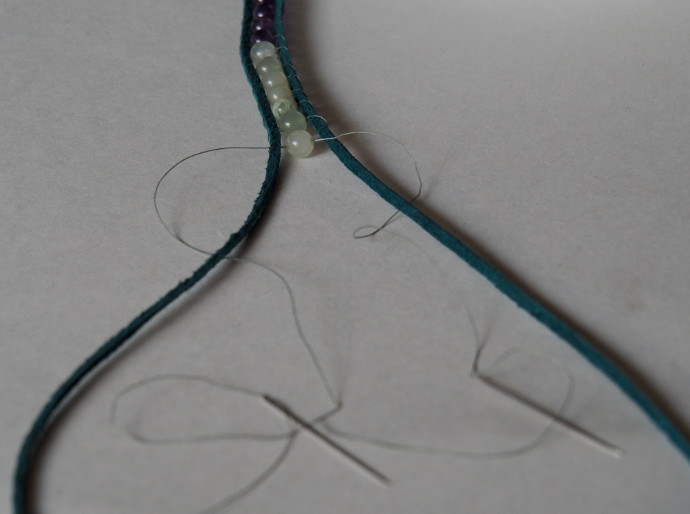
Here is a drawing for you. In the drawing I did over, then under, then a bead, but that works too. It is just wrapping the thread around the leather after every bead. In fact if the bracelet is flipped over, instead of under/over, it becomes over/under, like in the two photos below.
One more bead.
Pull the bead on, pull the thread over then under the leather.
Finishing it up:
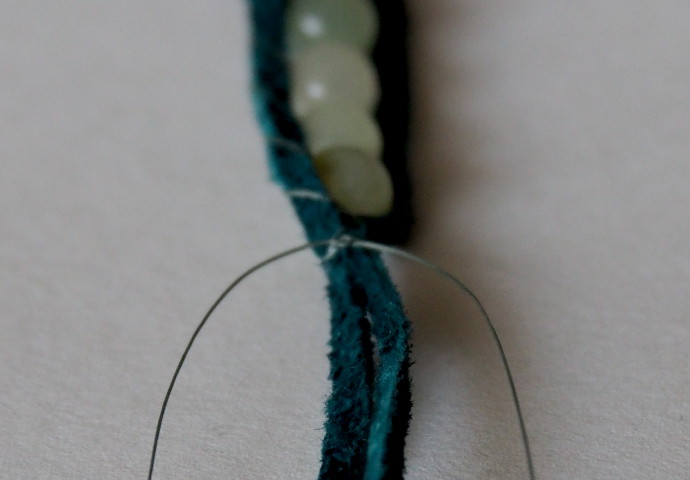
When you come to the end, just wrap/tie the ends of the thread.
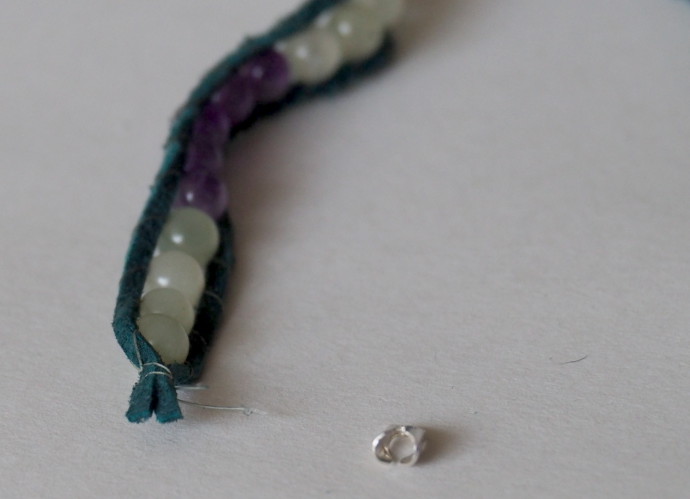
Clip them nice and small, so that they can fit into the silver clasp.
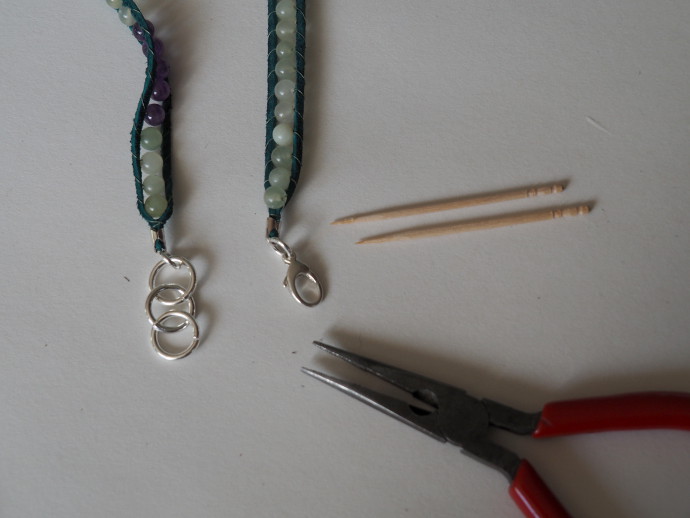
I put a bit of glue inside each clasp using a toothpick, then secure the clasp using pliers. Attach the clasp and remaining hardware.
I attached the tassel to it. You can see how to make a tassel below.
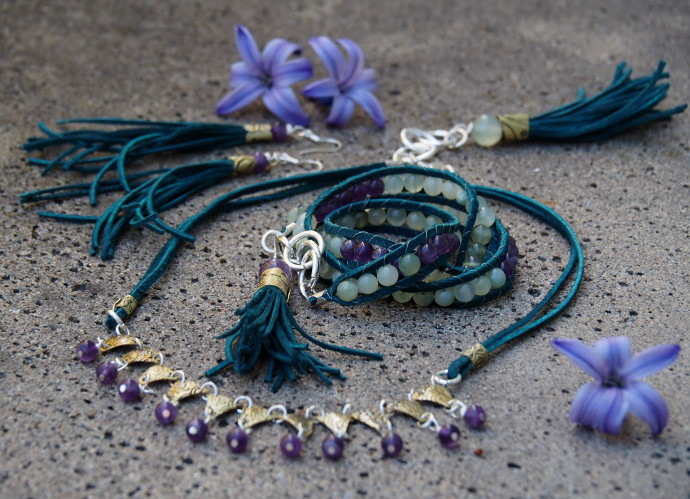
All done.
I also made a matching necklace.
