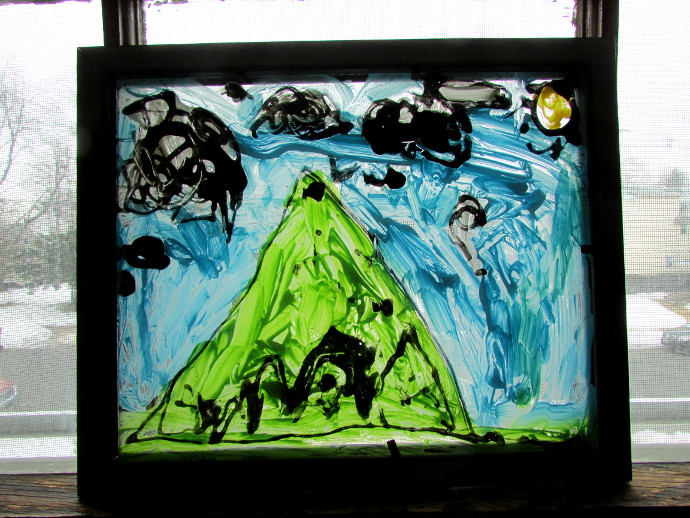
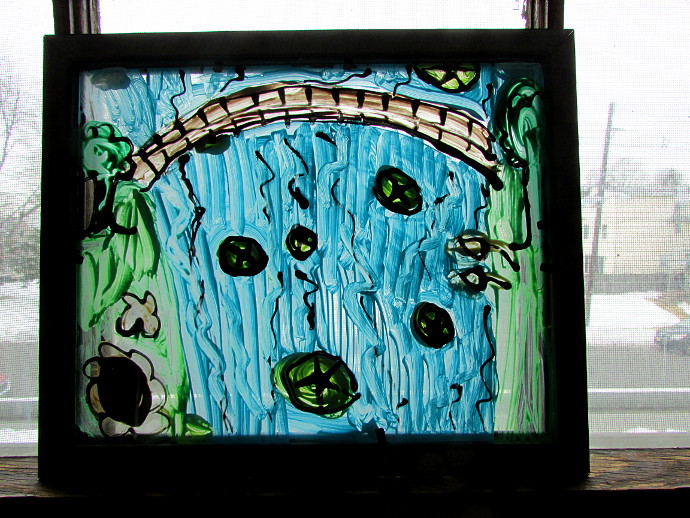
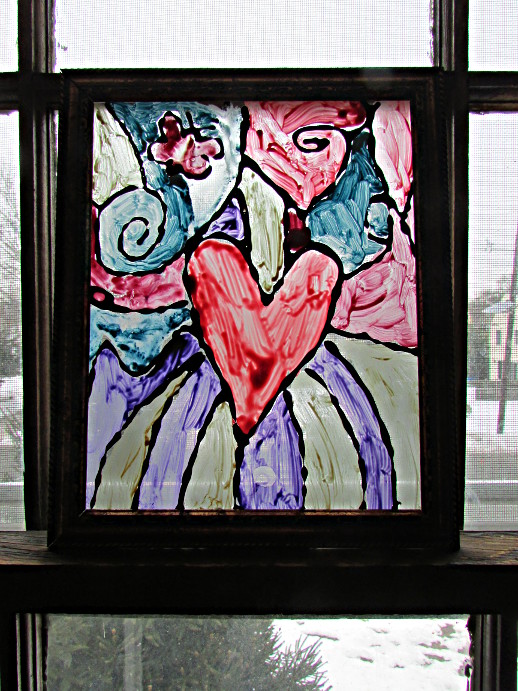
***This page contains affiliate links.***
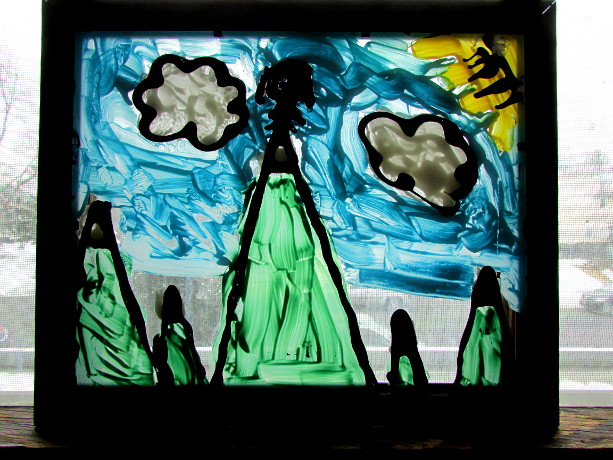
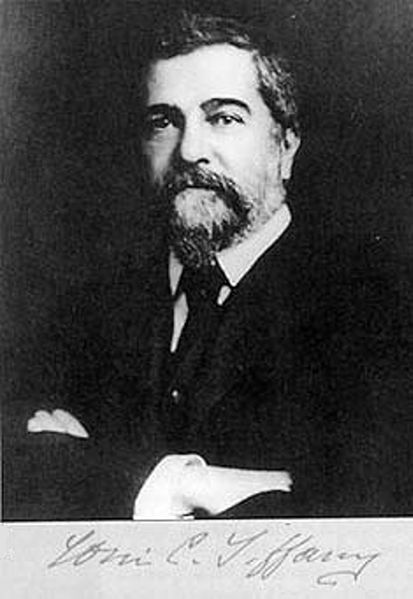
Louis Comfort Tiffany is another great artist for kids to explore. Most people associate the name with the jewelry company and that famous light turquoise color. We did a great lesson, and made faux stained glass using the directions from this great website right here: Suzyssitcom Faux Stained Glass. First, however we looked at a wonderful book of his works. I have THIS ONE that I bought at a library sale, but there are many more available.
Some Facts About L.C. Tiffany
* He was the son of Charles Lewis Tiffany, founder of Tiffany and Co.
* He lived from 1848 to 1933. Tiffany was an American artist.
* He started as a painter, but eventually glassmaking took up most of his interest.
* In the beginning of his glassmaking career he used to use cheap glass jars and bottles because he wanted the impurities that the more expensive glass lacked.
* His studios made stained glass, mosaics, jewelry, ceramic pieces and much more.
* He developed a process for opalescent window glass, which created many different hues and colors and added a three dimensional effect to the colored glass.
You can read more about him on the Metropolitan Museum Of Art Website and Morse Museum Website as well.
Here are a few of his works:
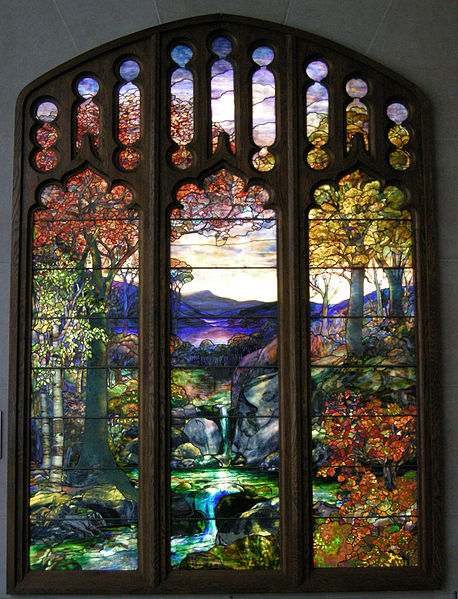
Louis Comfort Tiffany. Autumn Landscape. 1923-1924.
Leaded Favrile-glass window. Metropolitan Museum Of Art, NY, NY, USA.
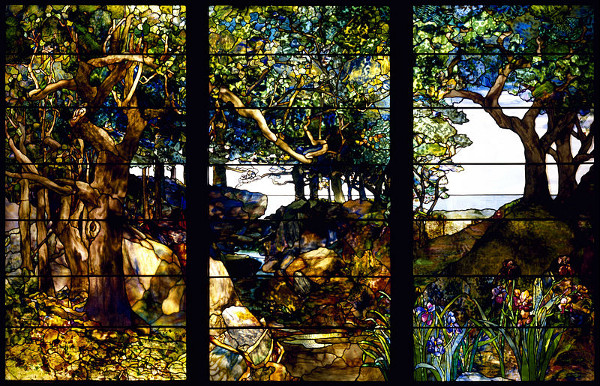
Louis Comfort Tiffany. A Wooded Landscape In Three Panels. 1905.
Leaded Favrile-glass window. Museum Of Fine Arts, Houston, TX, USA.
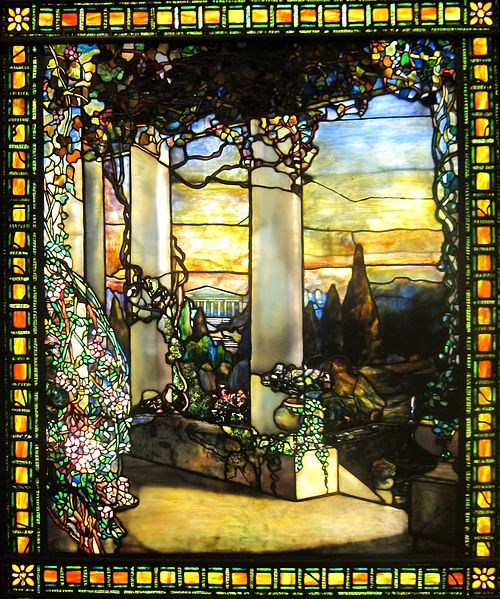
Louis Comfort Tiffany. Landscape With A Greek Temple. 1900.
Leaded Favrile-glass window. Cleveland Museum Of Art, Cleveland, OH, USA.
Our Faux Tiffany Stained Glass Art Lesson
I started out by buying some simple 8 1/2 by 11 inch frames. I bought ones with glass, and a simple frame to go around it. Enough for every kid in the class, plus an extra one, just in case of breakage. I also purchased as many regular WHITE GLUE BOTTLES. I bought ones that were 4 oz. Black acrylic paint for the fake lead, and colorful acrylic paint for the painting in part of the project, plus some small flat and round brushes. I like to use THIS PAINT when painting with kids, it’s not too expensive, and does a good job.
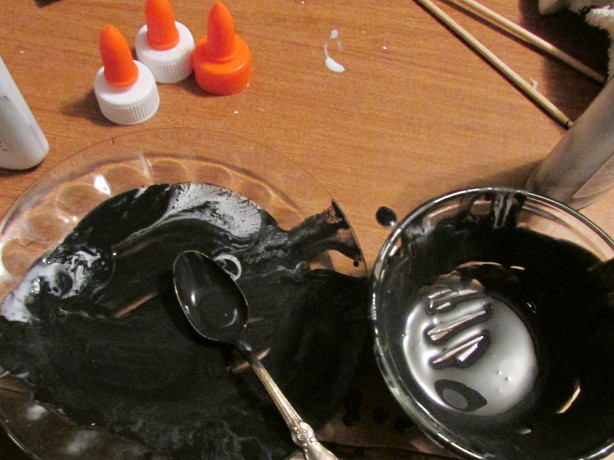
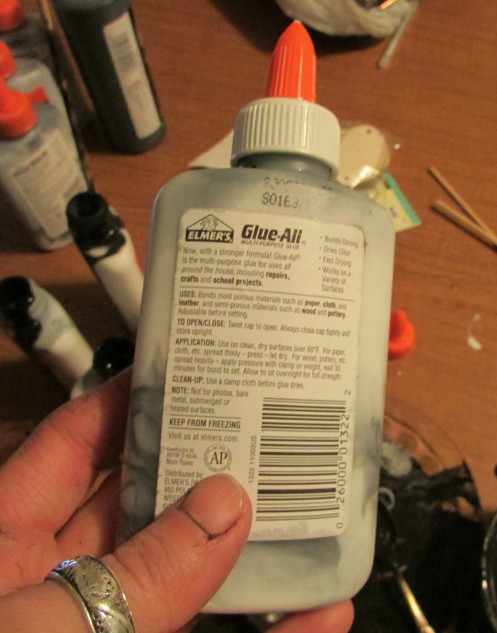
Before the class, I tried mixing the black paint with the glue by pouring a few teaspoons of glue out and replacing it with paint right in the glue bottle. It is not easy to get it to mix evenly. Eventually I got so frustrated with how long it was taking that I spilled all the glue into a bowl, added the paint until it was a good black color (you don’t need a lot of paint for the glue to be the right color), mixed with a spoon, and poured back into the bottles using a funnel. Just a note about the glue bottles, make sure they are the ones with pointy caps, it makes it easy to use them to create the faux lead lines!
Here is a photo of my glue making mess. I am glad I did that before the class. The kids would’ve been covered.
Once the glue was all ready, we were set, and it was smooth sailing from there.
Here is a photo of the glue that’s ready. Don’t let the white wall color scare you away, it is a very well mixed bottle of fake lead.
Like I mentioned above, once the glue was ready, it was smooth sailing. We started out by looking at some of the amazing works of Louis Comfort Tiffany.
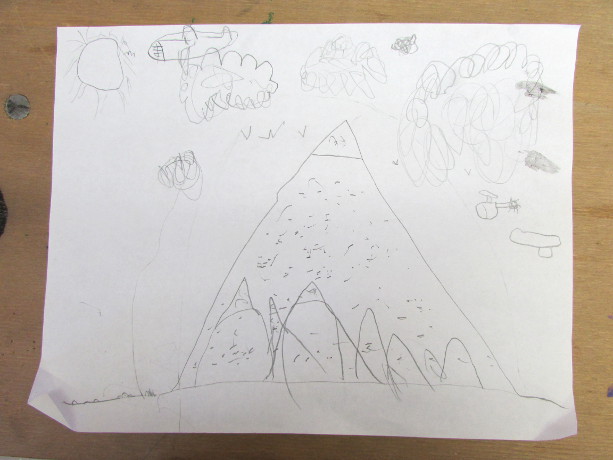
First, the kids drew a sketch of their stained window on a paper the same size as the frame glass. Using good old #2 pencils.
Don’t put too many tiny details, they will turn into ‘lead’ dots, instead focus on larger shapes, and make sure they fill the entire space!
Here is one of the beautiful sketches done by one of the kids:
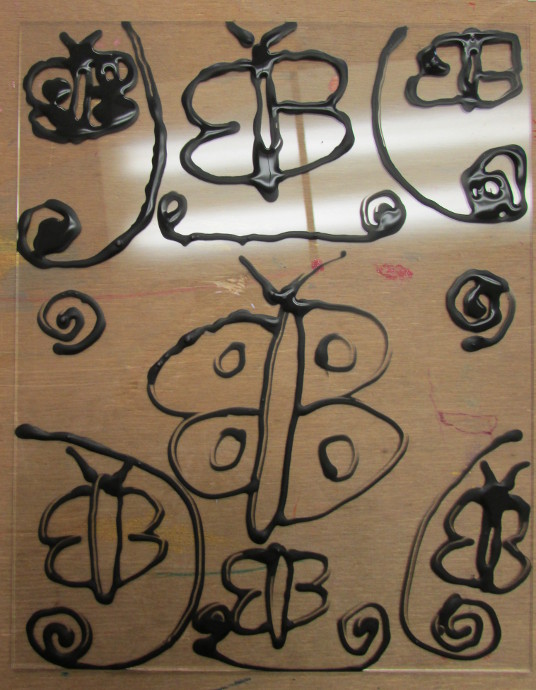
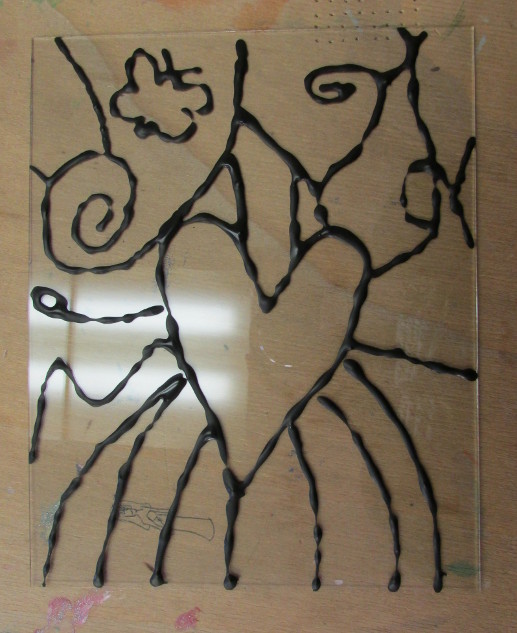
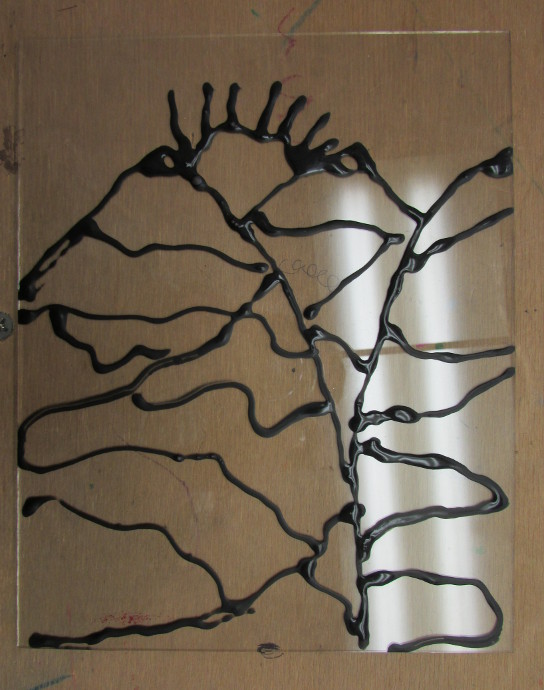
After their sketches were done, I took out the glass from the frame. Don’t forget to remind the kids that the glass is sharp. Gently put the glass on top of the sketch, and use the glue to trace the lines of the sketch on the glass with the fake lead.
After the sketches are all transferred to the glass, allow for the ‘lead’ to dry. Once it’s done drying, paint them in!
They all came out BEAUTIFUL!!!
