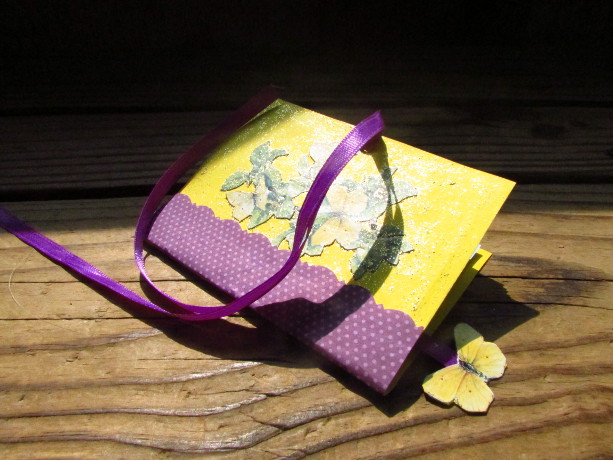
Handmade Notebook Tutorial
from cardstock, paper, and recycled cards.
It is that time of the year again, time for the kids Market Day and Craft Fair. Every year we make lots of fun crafts for the kids to sell. The big guy likes the process of making it, and the little guy really enjoys playing a real store, with real customers. We bake, knit, paint, draw, cut and glue our way to it, and really enjoy every step of the way. Last year I made a bunch of these little notebooks, some bigger, and some really small. They were a hit, and later someone even asked me how to make them. Finally, I found the time to make one and take pictures of it for this handmade notebook tutorial.
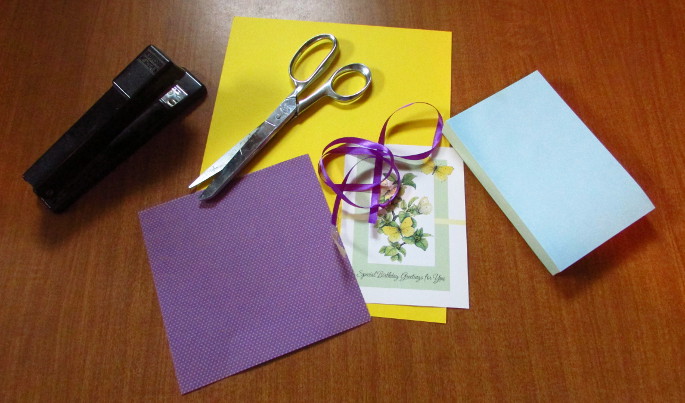
What you will need is a page of cardstock paper for the cover and a piece of pretty scrapbooking paper in the pattern and color of your choice.
A ‘biggie’ scratch pad that has 6×4 inch paper (I usually buy mine in a 99 cent store), or you could cut the paper yourself to the size you like, if you prefer.
A piece of decorative paper for the edge, and a piece of ribbon.
You’ll also need a stapler and glue, scissors, a hole puncher, and as an option some pattern scissors.
If you would also like, you can use a recycled card for decoration and the bookmark.
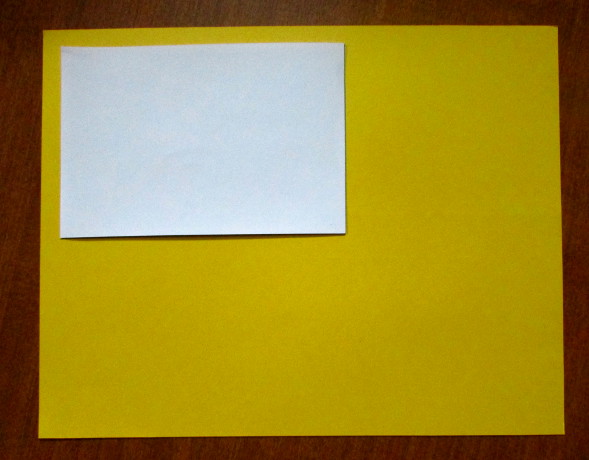
First I take a page from that ‘biggie’ scratch notebook I got for the pages. It will be the size of my pages before I fold them together. I use that paper to measure the size of the cover that I will need.
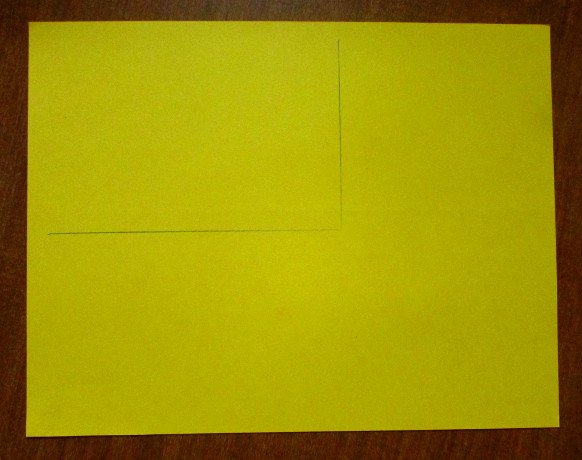
I put it down on top of my cardstock paper that I got for the cover of the notebook and trace it around, leaving about 1/3 of an inch off, because the cover needs to be a little bigger then the pages.
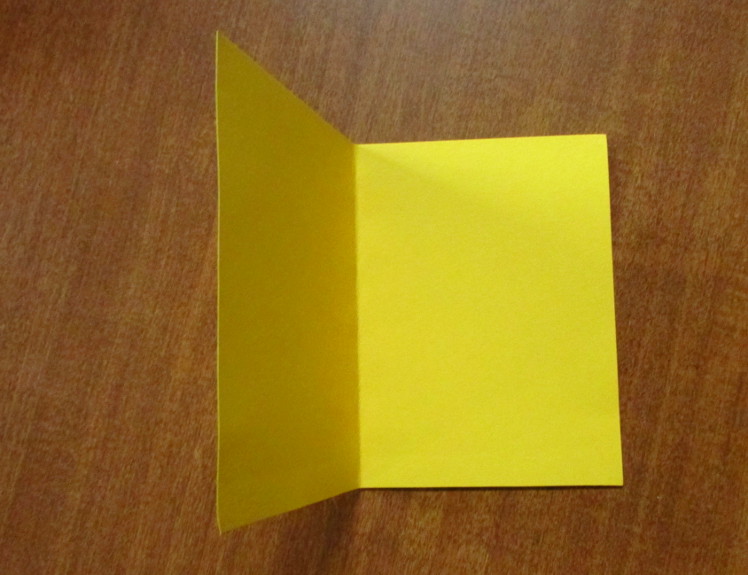
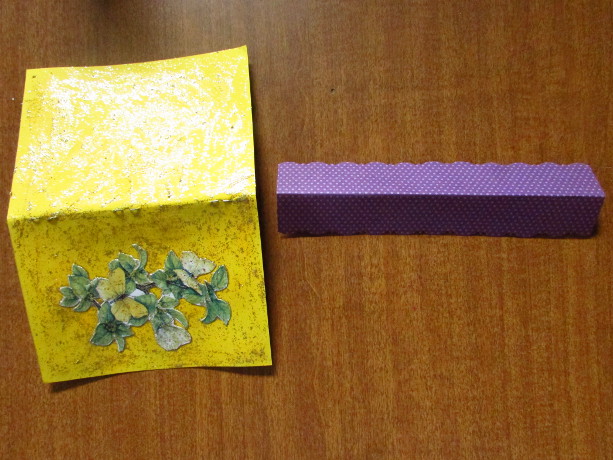
Cut it out and fold in two. This will be the notebook cover.
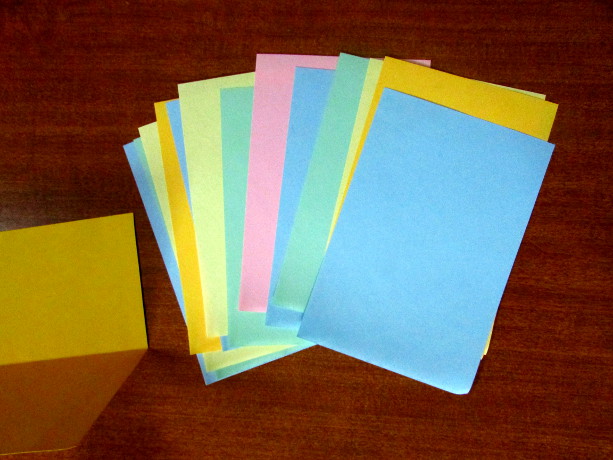
Take some papers from the biggie pad for the pages. First make sure that your stapler can staple that many pages plus the cover together.
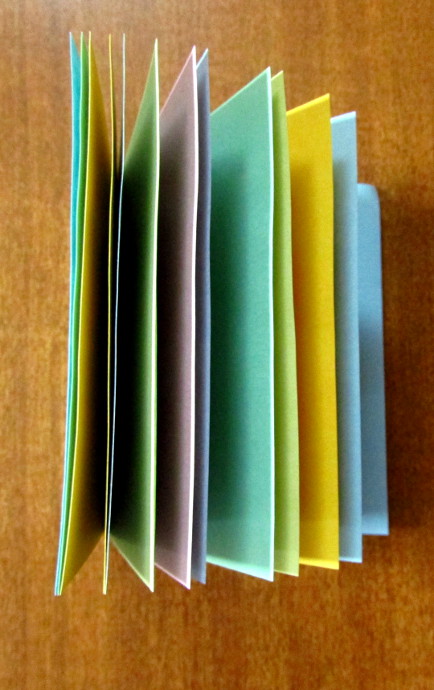
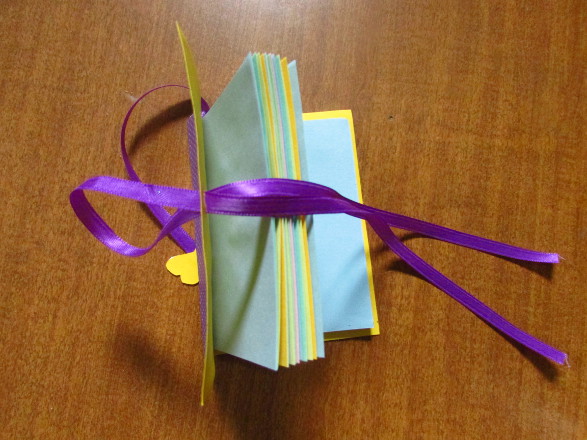
Fold the pages together in half, like in the picture on the top.
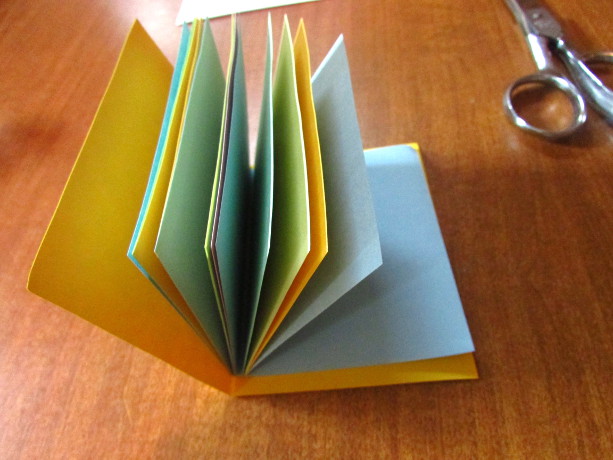
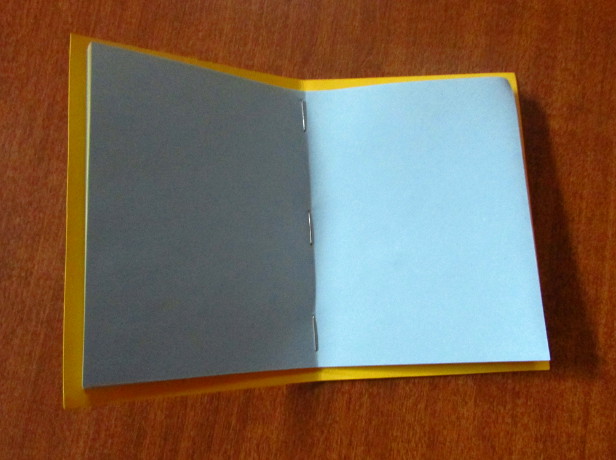
Then put them inside your cover, like in the picture above.
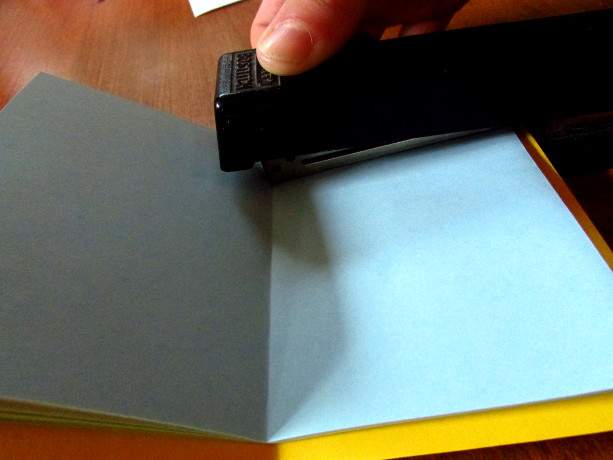
Align the pages together at the fold, then position the stapler above the fold, so that the staples will be right at the fold. Staple it all together on top, middle and bottom.
Do it carefully, to make sure it’s nice and straight!
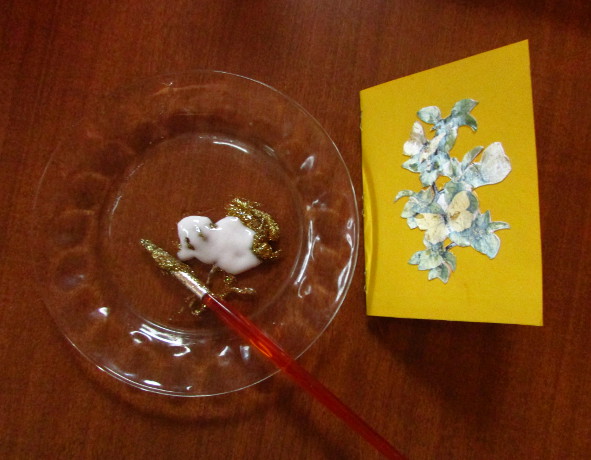
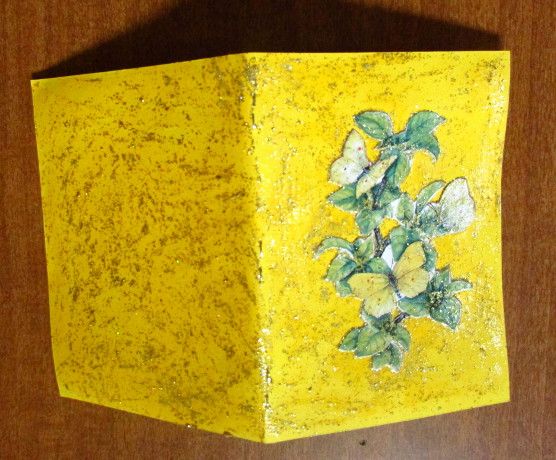
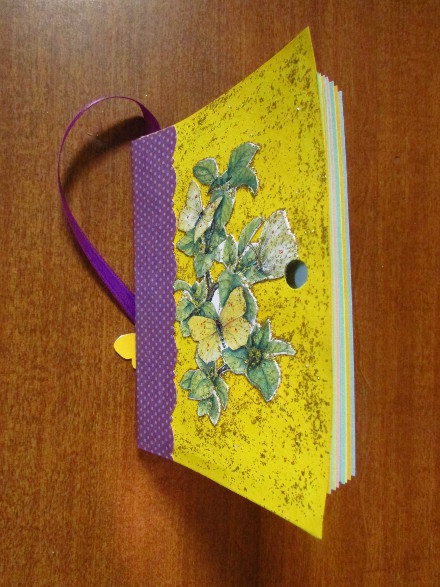
Next, I cut out the pretty picture from my recycled card with a small pair of scissors, and glued it on the front of the cover.
I mixed some sparkly paint with white school glue and covered the entire cover with the mixture, using an old brush.
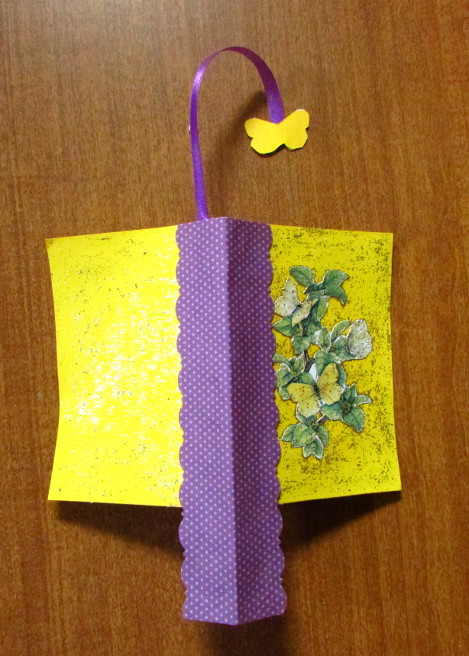
Now I used the pattern scissors to cut out a piece of the purple scrapbook paper to cover the edge of the notebook. Once I cut it to a width I liked, I set it aside, and proceeded to make the bookmark.
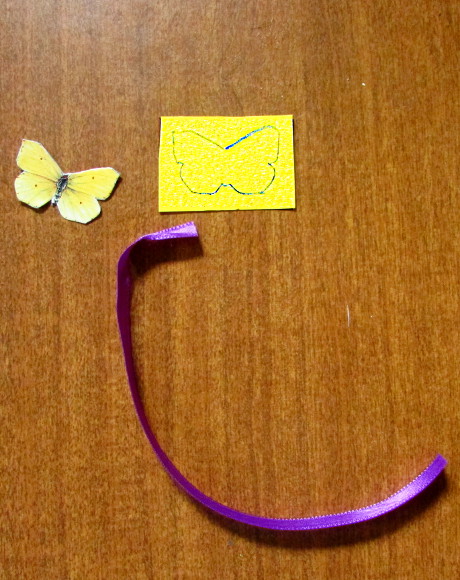
First I cut out a small butterfly from the card. I traced it on a small piece of yellow cardstock paper.
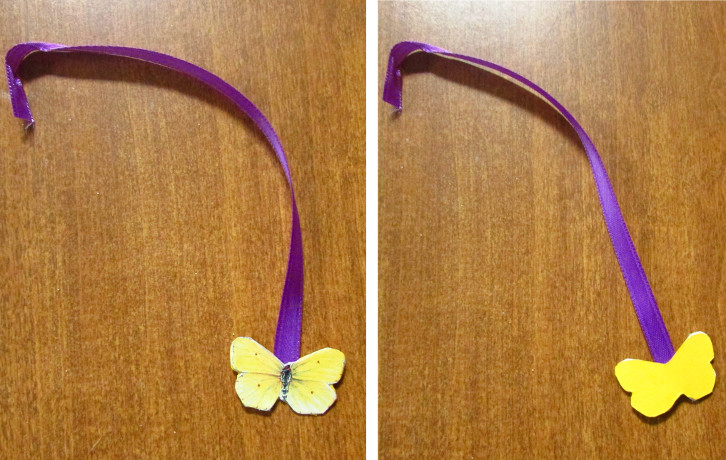
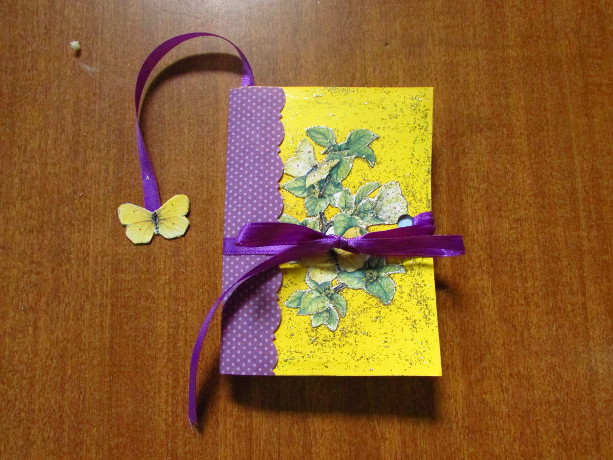
Took a small length of the ribbon, and glued the butterfly on one side of the ribbon, and the yellow cardstock butterfly on the other side, making it into a cute bookmark.
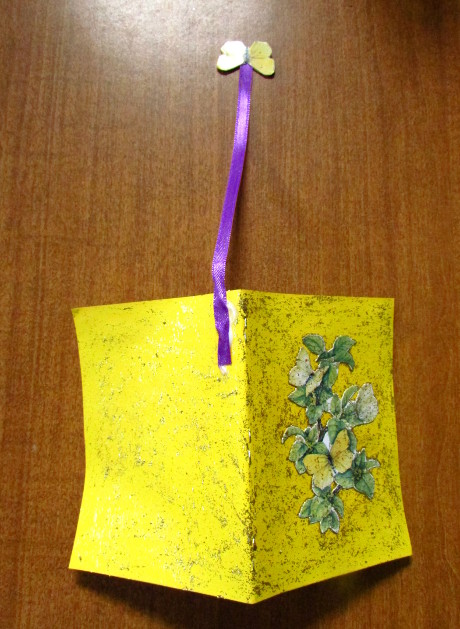
I glued the bookmark to the top back corner of the notebook, as in the picture above.
Then used the purple paper to cover the edge with the staples and the end of the bookmark. I glued it on with a thin layer of glue, and trimmed it to size. When gluing it on, make sure to fit the edge by the bookmark perfectly, as you don’t want to have to trip that one, just the one on the bottom.
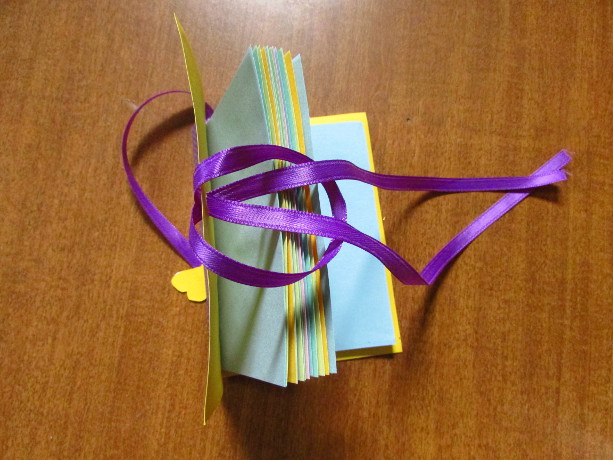
Use a hole puncher to make a hole for the tying ribbon.
Put two ends of the ribbon through making a loop, like in the top right photo. Now pull the two ends through the loop, gently tightening it.
